EasyManuals Logo

Pulsar XT User Manual

Pulsar XT
20 pages
To Next Page IconTo Next Page
To Previous Page IconTo Previous Page
Page #9 background imageLoading...
Page #9 background image
9
Pulsar XT Installation Cont’d
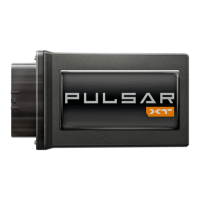
STEP 3 - Pull the lower
dash panel while out being
careful not to break the
plastic clips. See image for
plastic clip locations.
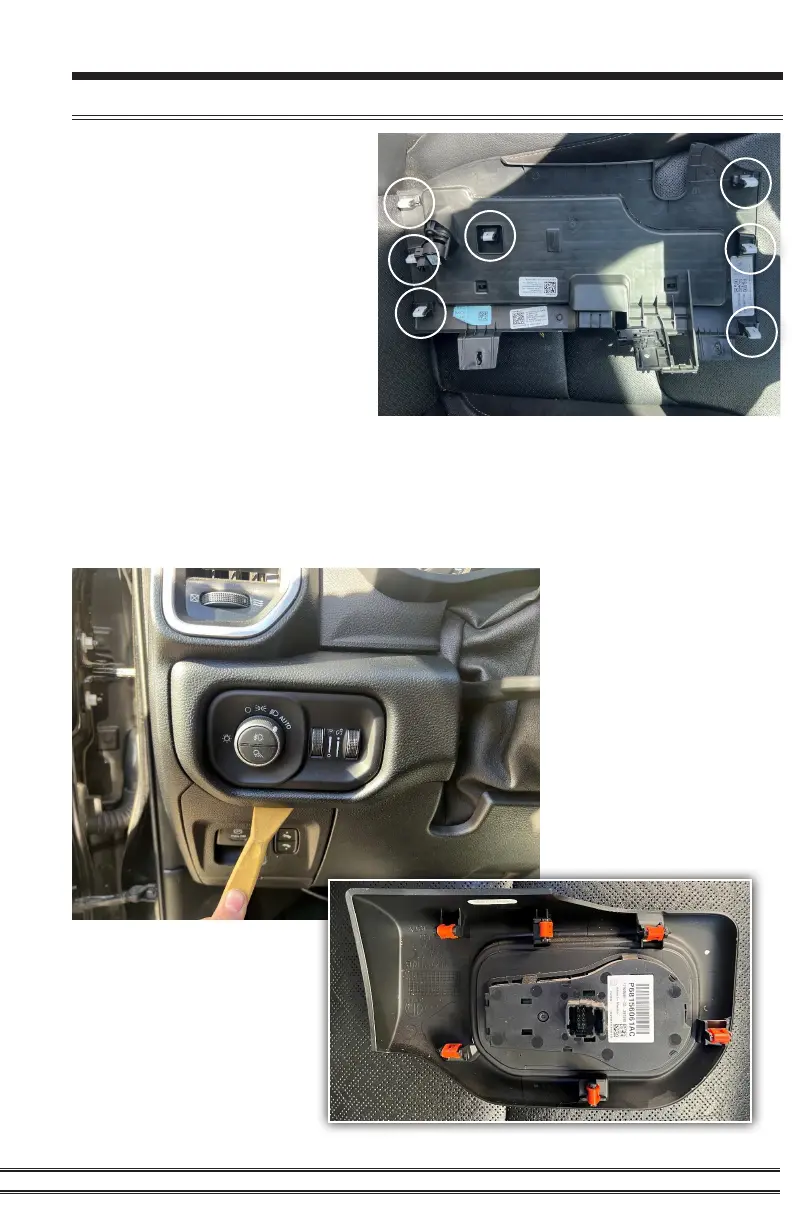
STEP 4 - To make the CAN junction box more accessible, use a
trim tool to carefully work around the 6 clips on the lighting switch
panel. Once removed, set the panel aside.

Questions and Answers:

Question and Answer IconNeed help?

Do you have a question about the Pulsar XT and is the answer not in the manual?

Pulsar XT Specifications

General IconGeneral
BrandPulsar
ModelXT
CategoryMotherboard
LanguageEnglish