5
Installation Instructions
trim plate
finished wall
finished wall
stud
Step 1
Step 3
Step 2
Hot
Cold
Showerhead
water ON
Hand Shower
Step 2
Step 1
Step 2
Step 1
Step 2
Step 3
Step 4
Step 1
Step 3
Step 4
Step 1
Step 2
6
8
9
11
10
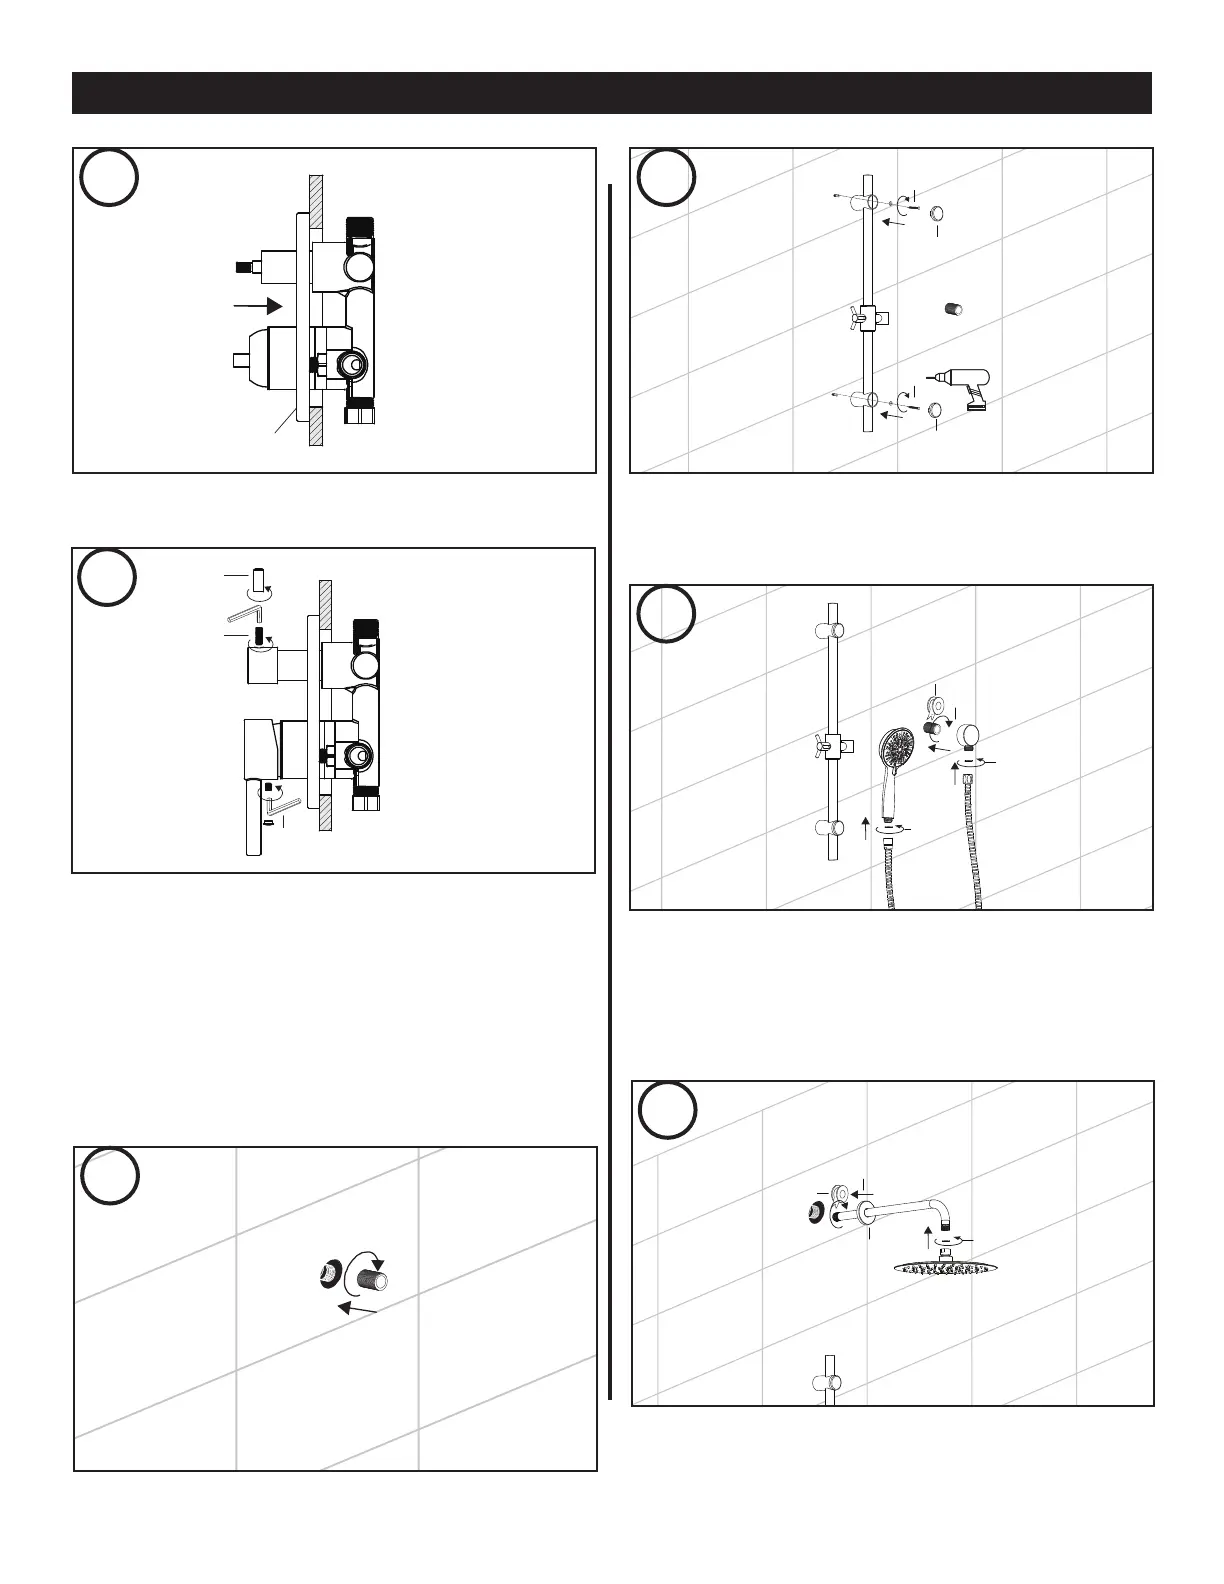
After nished wall, install valve trim plate.
We recommend caulking around the trim.
Screw in nipple.
[Step 1] Choose desired position and drill wall anchors
into nished wall. Drill in gasket, and mounting screws
onto slide bar.
[Step 2] Place cap covers on slide bar.
[Step 1] Place plumbers tape on nipple threads.
[Step 2] Screw in shower arm into plumbing and thread.
[Step 3] Slide escutcheon for smooth nish.
[Step 4] Insert washer into showerhead and thread
onto shower arm.
[Step 1] Place plumbers tape on nipple threads.
[Step 2] Screw in wall connector.
[Step 2] Insert rubber washer into hex end of hose and
connect to wall connector.
[Step 3] Insert rubber washer into tapered end of hose
and connect to handshower. Place in holder.
wall
trim plate
finished wall
finished wall
Step 1
Step 3
Step 2
7
[Step 1] Insert allen wrench into diverter threaded pin
and thread to diverter body. Place on top of diverter
cartridge, and thread with allen wrench until secure.
[Step 2] Thread diverter handle onto diverter
threaded pin.
[Step 3] Install valve handle and secure with set screw
using allen wrench. Place cover over set screw.
 Loading...