www.PyleUSA.com
4 5
www.PyleUSA.com
OPERATION
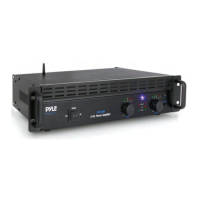
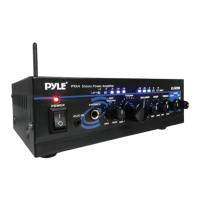
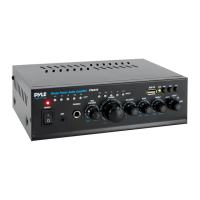
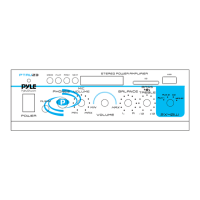
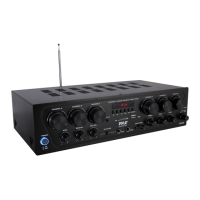
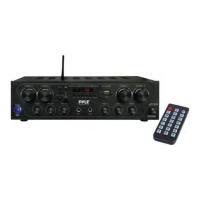
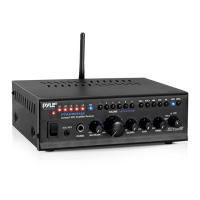
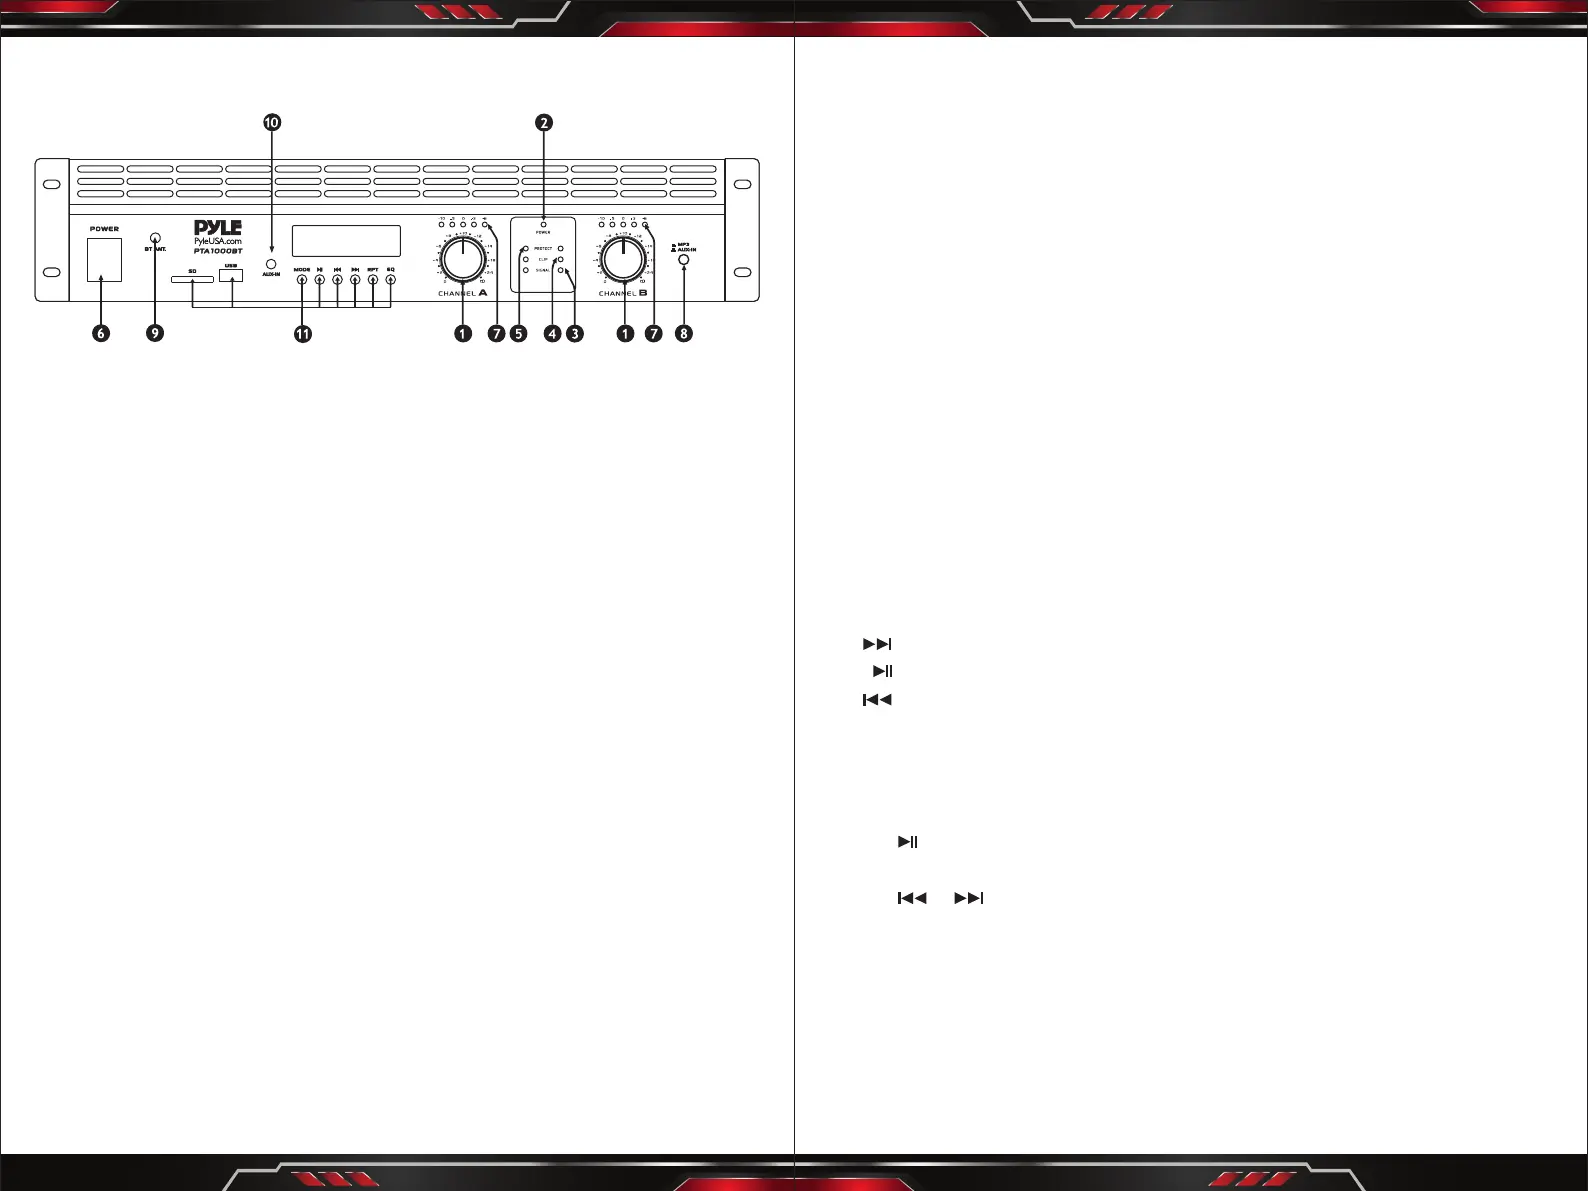
Front Panel
1. INPUT GAIN (dB)
These controls are used to adjust the input gain of each channel.
They determine how loud each channel of the power amplier will sound for
a given input signal level. The maximum input gain is achieved by turning the
control completely clockwise - this setting yields the maximum mixer/system
headroom. Turning the controlback counter-clockwise will yield lower system
noise at the expense of mixer/system headroom. Turning the control fully
counter clockwise turns this setting OFF. It is always a good idea to power up
any new installing at this setting to protect the system loud speakers.
2. POWER LED (POWER)
These indicators illuminate when the AC main power is being supplied to the
amp and both channels are operational. If either channel experiences faulty
conditions, exceeds safe operating temperature limits, or if the main circuit
breaker trips, then both channel power LED will be dark, indicating shutdown.
If the BRIDGE mode is selected, the PWR indicator on channel B will remain
dark as a positive indication of this mode selection.
3. SIGNAL ACTIVITY LEDS (SIGNAL)
These indicators illuminate when the associated channel output signal level
exceeds 1 Volt RMS.
4. OVERLOAD LEDS (CLIP)
These indicators illuminate when the associated channel has been over
loaded.
5. FAULT LEDS (FAULT)
These indicators illuminate when the amplier has just been turned ON or if
the amplier has detected a problem, such as overheating or circuit problems.
6. POWER SWITCH
This heavy-duty, rocker-type switch turns on the power to the amplier.
When the unit is turned on, there is a three-second delay, which reduces
/eliminates the turn-on transients assodated with the system equipment
connected to the amplier and protects loudspeakers.
7. LEVEL INDICATOR
Channel A and Channel B level LED indicator.
8. BT/AUX IN BUTTON SWITCH
Press to switch Wireless BT mode. Unpress for AUX mode.
9. Wireless BT ANTENNA: Wireless BT receiver antenna for better signal.
10. AUX INPUT JACKS: Connect AUX input to these jacks.
11. DIGITAL MP3 PLAYER
• Support USB SD Card
• Music format: Mp3, WMA , WAV
• Connect via Wireless BT, Compatible Wireless BT: version 5.0
• With LCD dispIay, shows ID3 format.
• FM: 87.0 - 108MHz
• 6 Preset digital EQ eect.
USB, SD, Wireless BT/FM mode
Forward/Next channels
Play/Pause/Scan
Reverse/Previous channels
RPT: SD/USB repeat Play
FM Radio
• Press MODE key to select FM radio mode.
• Press key once, then it will begin to scan the FM frequency range and set
P1 to P30 stations.
• Press or key to select the desired stations or use the track select key in
1 to 30 get the desired stations.
Wireless BT Audio Playback Operation
• Press MODE key to select Wireless BT mode.
• Enable the Wireless BT function of your external gadget and search the
Wireless BT ID of the product then connect. Once connected, you can play the
audio les in your gadget and listen your favonite music with high power
audio output of the product.
 Loading...