Introduction / Quick Start
5
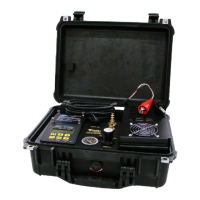
Opening the MP50 case turns power ON.
Note: It may take up to 20 seconds for the unit to power up.
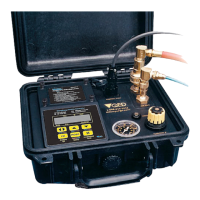
Note: An option to use an external air source is built into the MP50. To
use external air source (rather than the built-in air compressor) simply
connect the air source to the “Air In” port.
Select desired Cycles Per Minute (CPM) with (default value is 4
CPM, lower CPM for deeper wells, higher CPM possible with shallow
wells- .
Turn throttle to set depth on gauge to 10-20 feet deeper than the pump
location in the well.
See Page 6)
Cycle
I I
Press to START pumping.
When water discharge begins, adjust throttle until a slow, steady flow-
stream is achieved.
Press keys to set the desired purge flow rate.
To collect samples, continue purge flow, or use key to directly
control sample flow and pause.
Quick Start: Attach Red Positive (+) cable clamp to the Positive (+)
terminal of battery. Attach Black Negative (-) cable clamp to the
Negative (-) terminal of battery. Connect the light blue coiled pump hose
to the fitting labeled “AIR OUT” on the MP50. Turn the controller throttle
until the gauge reads the approximate depth of the sample pump (See
Page 6) Follow instructions on the battery panel:
Note: A moisture vent is provided and located on the side of the MP50
case. Excessive accumulation of moisture can impede proper operation
of the MP50. During cold and/or damp weather conditions, it is
recommended that the moisture vent be pushed at frequent intervals
during operation of the MP50.