9
EN
4. INSTALLATION
4.1 Mounting the wall mounting bracket
The product is designed to sit in the wall mounting bracket vertically.
1. Select an installation position located in the proximity of the electrical outlet.
2. Fit plastic toggle anchors in the holes (not in set).
3. Fix the wall mounting bracket to the wall and tighten two M4x20 screws (not in set).
Note: Do not drill into pipes or main cables beneath the surface during preparation for mounting
holes. The xing points must be capable of supporting the product's total weight.
4.2 Assembling the hand-stick vacuum cleaner
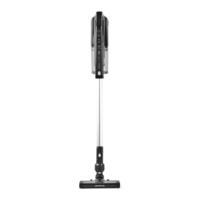
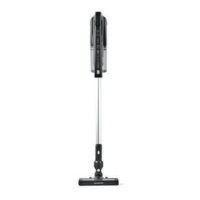
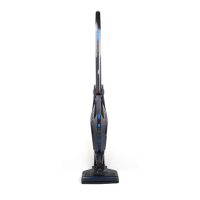
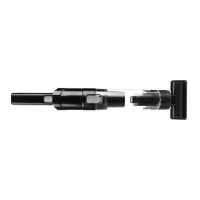
1. Insert the tube into the oor nozzle connector by pressing it in until it clicks securely into place.
2. Insert the main body into the top of the tube by pressing it in until it clicks securely into place.
3. Ensure all connections click securely into place.
4.3 Fitting and removing accessories
CAUTION: Before changing accessories, always switch the vacuum cleaner o rst.
CAUTION: Risk of injury! Never hold the crevice nozzle close to the body, or it may
stick to the skin. If the nozzle does get stuck, switch o the appliance immediately.
• To use 2-in1 round brush nozzle, press the release button to unlatch and slide the
brush up or down until it locks in place.
• All four accessories: crevice nozzle, motorised pet tool, 2-in1 round brush nozzle,
and oor nozzle can be connected to the tube and directly to the main body.
4.4 Folding the tube
To easily access hard-to-reach areas under furniture, pull the release
lever up to position the tube to a lower angle.
1
2


 To Next Page