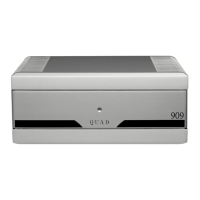
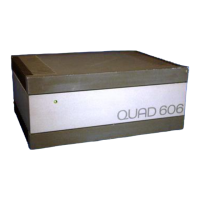
Remove the led circuit board from the front of the amplifier
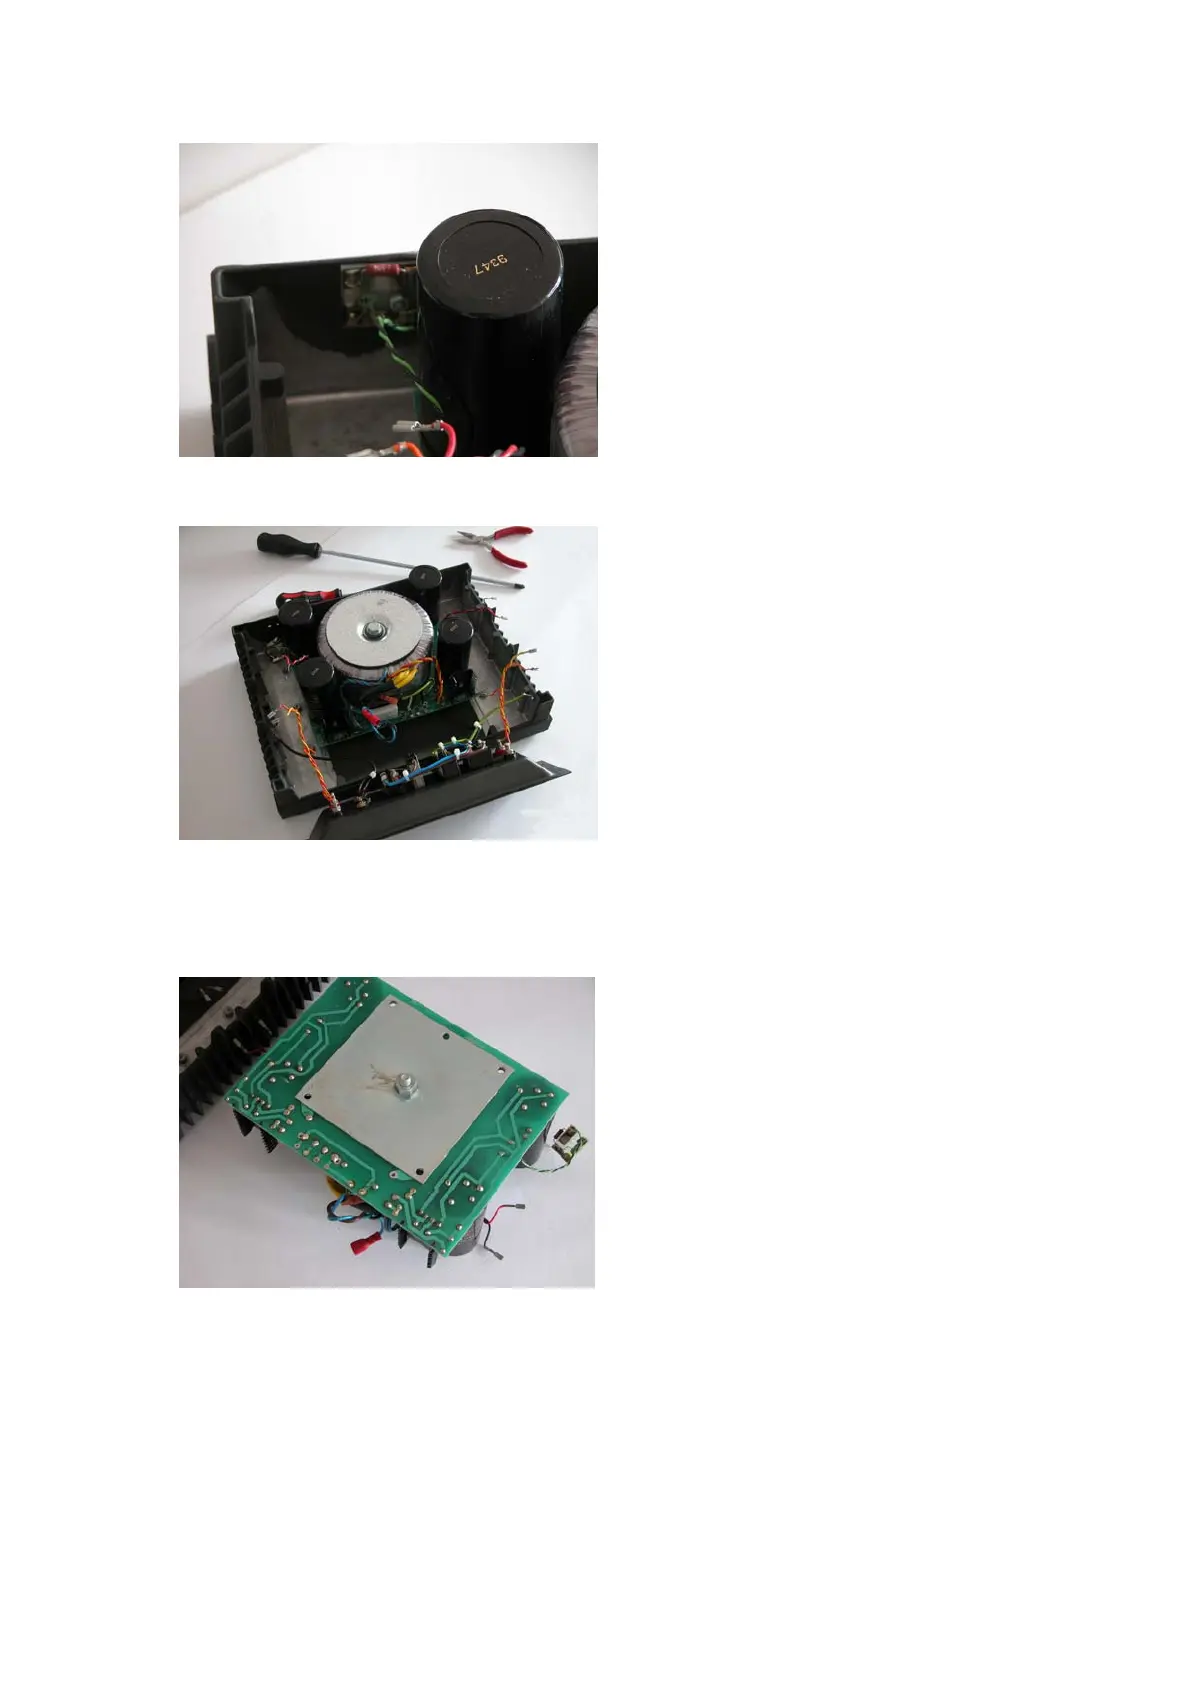
Remove the connectors from the PSU, make notes, or pictures! There is no need for
soldering here. There are four large posidriv screws around the transformer, remove those.
Be careful, sometimes they are a little bit covered by the transfo, lift the Psu Pcb to loosen
those screws.
Now the Psu caps can be replaced. The revision of the amplifier boards is not different from
the MKI, in some cases the MK II has already the input and feedback modification
implemented. Rebuilt in reverse order.
Appendix
Exploded view, Circuit diagrams, Pcb layouts, Wiring diagram
 Loading...