931134 Rev. A
IX. Set-up & Adjustment
39
IX. Set-up & Adjustment
931134 Rev. A
38
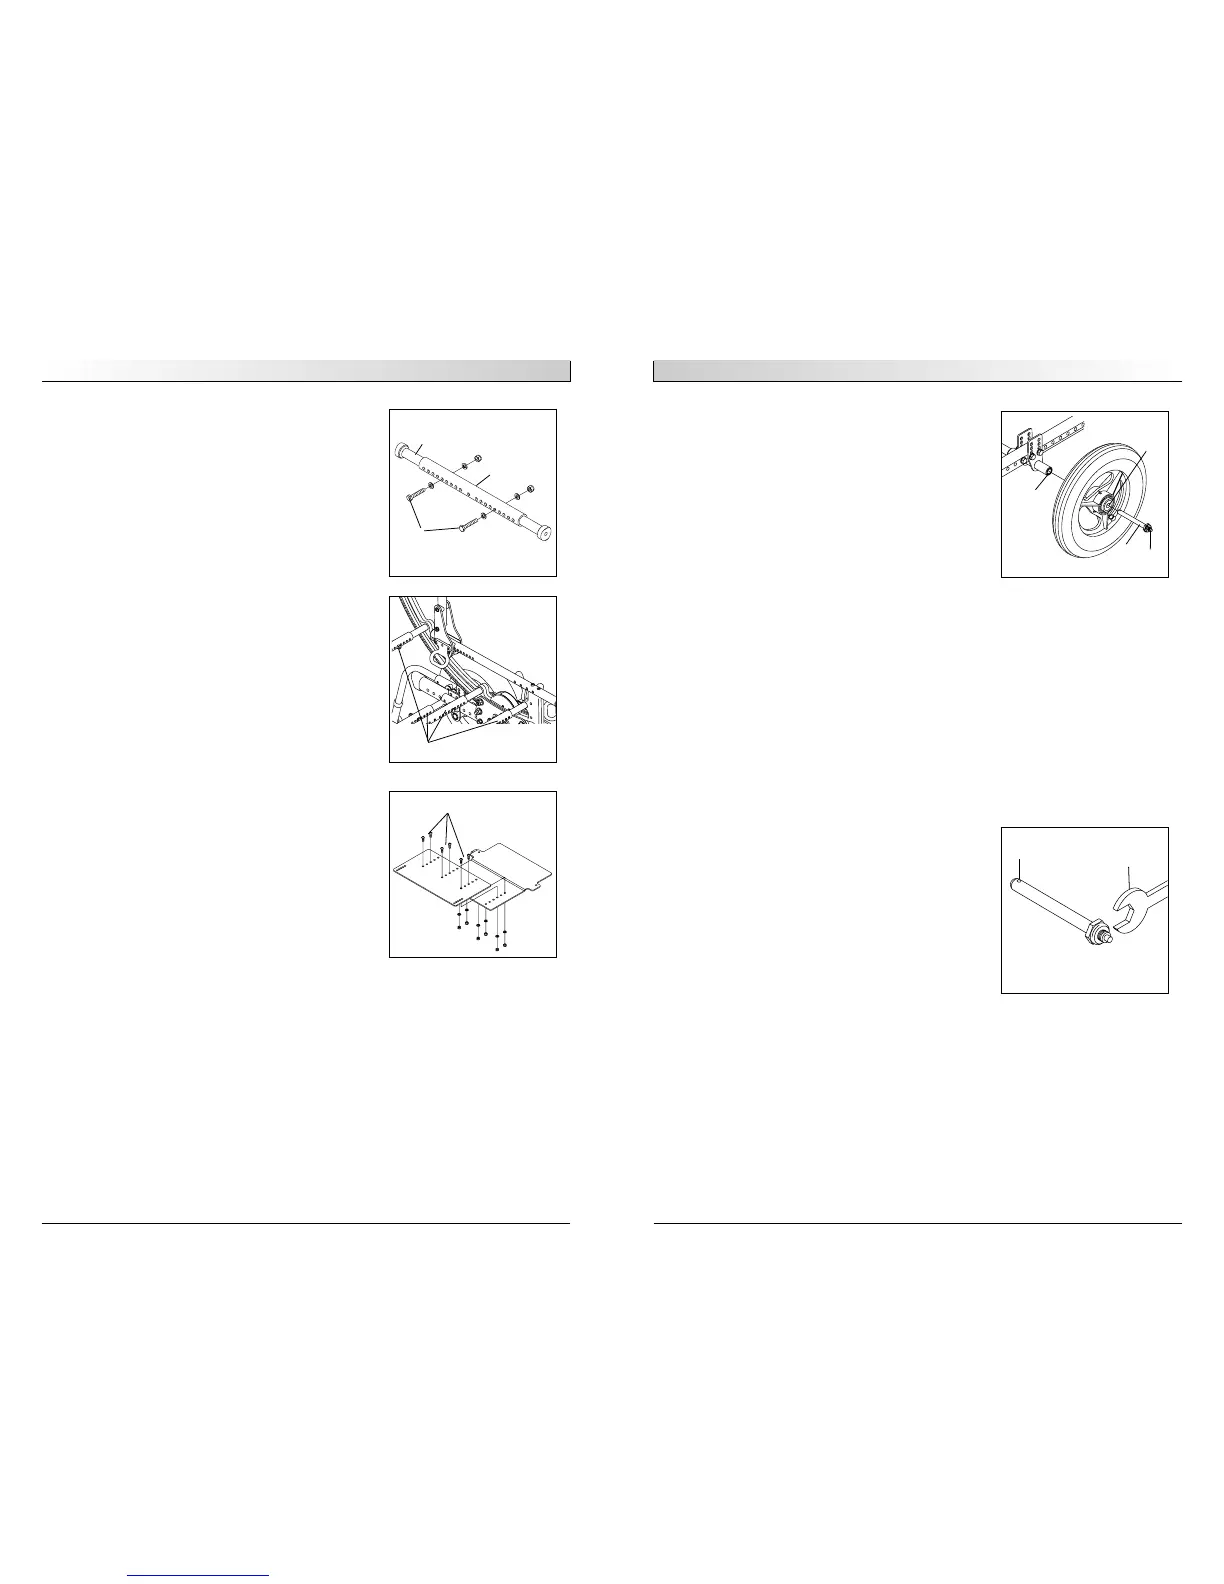
T. REAR AXLE
1. To Mount and Remove Rear Wheels (optional)
Do not use this chair UNLESS you are sure both quick-
release axles are locked. An unlocked axle may come
off during use and cause a fall.
NOTE– Axle is not locked until the quick-release but-
ton (A) pops out fully.
2. To Install Wheel
a. Depress quick-release button (A) fully. This will
release tension on ball bearings at other end.
b. Insert axle through hub of rear wheel (B).
c. Keep pressure on button (A) as you slide axle
(C) into axle sleeve (D).
d. Release button to lock axle in sleeve. Adjust
axle if it does not lock.
e. Repeat steps on other side.
3. To Remove Wheel
a. Depress quick-release button (A) fully.
b. Remove wheel by sliding axle (C) out of axle
sleeve (D).
c. Repeat steps on other side.
4. Rear Wheel Axle Adjustment
Tight axle sleeves should be maintained for proper per-
formance of the wheelchair.
a. To adjust the axle you will need a 3/4" wrench
to turn the outside axle nuts.
b. You will also need a 1/2" wrench (E) to lodge
the ball bearings (F), on the opposite end of
the axle, and prevent the axle from turning.
c. Turn the outside axle nut counter-clockwise to
tighten.
d. There should only be zero to ten thousandths of
an inch (.010) of play.
5. Weight Distribution
Weight distribution between the front and rear wheels
is primarily adjusted by moving the rear axles forward
or rearward on the frame.
Moving the axles REARWARD provides better forward
and rearward tipping stability.
Q. FRAME WIDTH
The frame of the IRIS is built to accommodate growth
from 14" to 22" wide using the existing components.
Moving one hole position on each side of the strut pro-
vides a 1" frame width change.
1. Width Adjustment
a. Remove the bolts (C) from one side of the strut
tubes (D) for all strut tubes.
b. Slide the adjustable extension (E) to the
desired width according to the matrix in the
ordering guide.
c. Replace and tighten the bolts in all strut tubes.
d. Repeat on the other side.
IMPORTANT NOTE– The adjustment on each side of the
chair should be exactly equal and the alignment of the
holes must remain horizontal.
NOTE– Use a torque setting of 200 in.-lbs. When set-
ting-up frame width.
R. SEAT PAN
The seat pan of the IRIS is designed to accommodate
depth adjustment.
Depth adjustment
a. Loosen and remove all bolts (F).
b. Adjust the seat pan to the desired depth.
c. Replace and tighten all bolts.
S. CUSHION INSTALLATION
a. Place cushion on seat pan with hook material
side down. The beveled edge of the cushion
should be in front.
b. Press firmly into place.
A
B
C
D
E
F
C
E
D
D
F