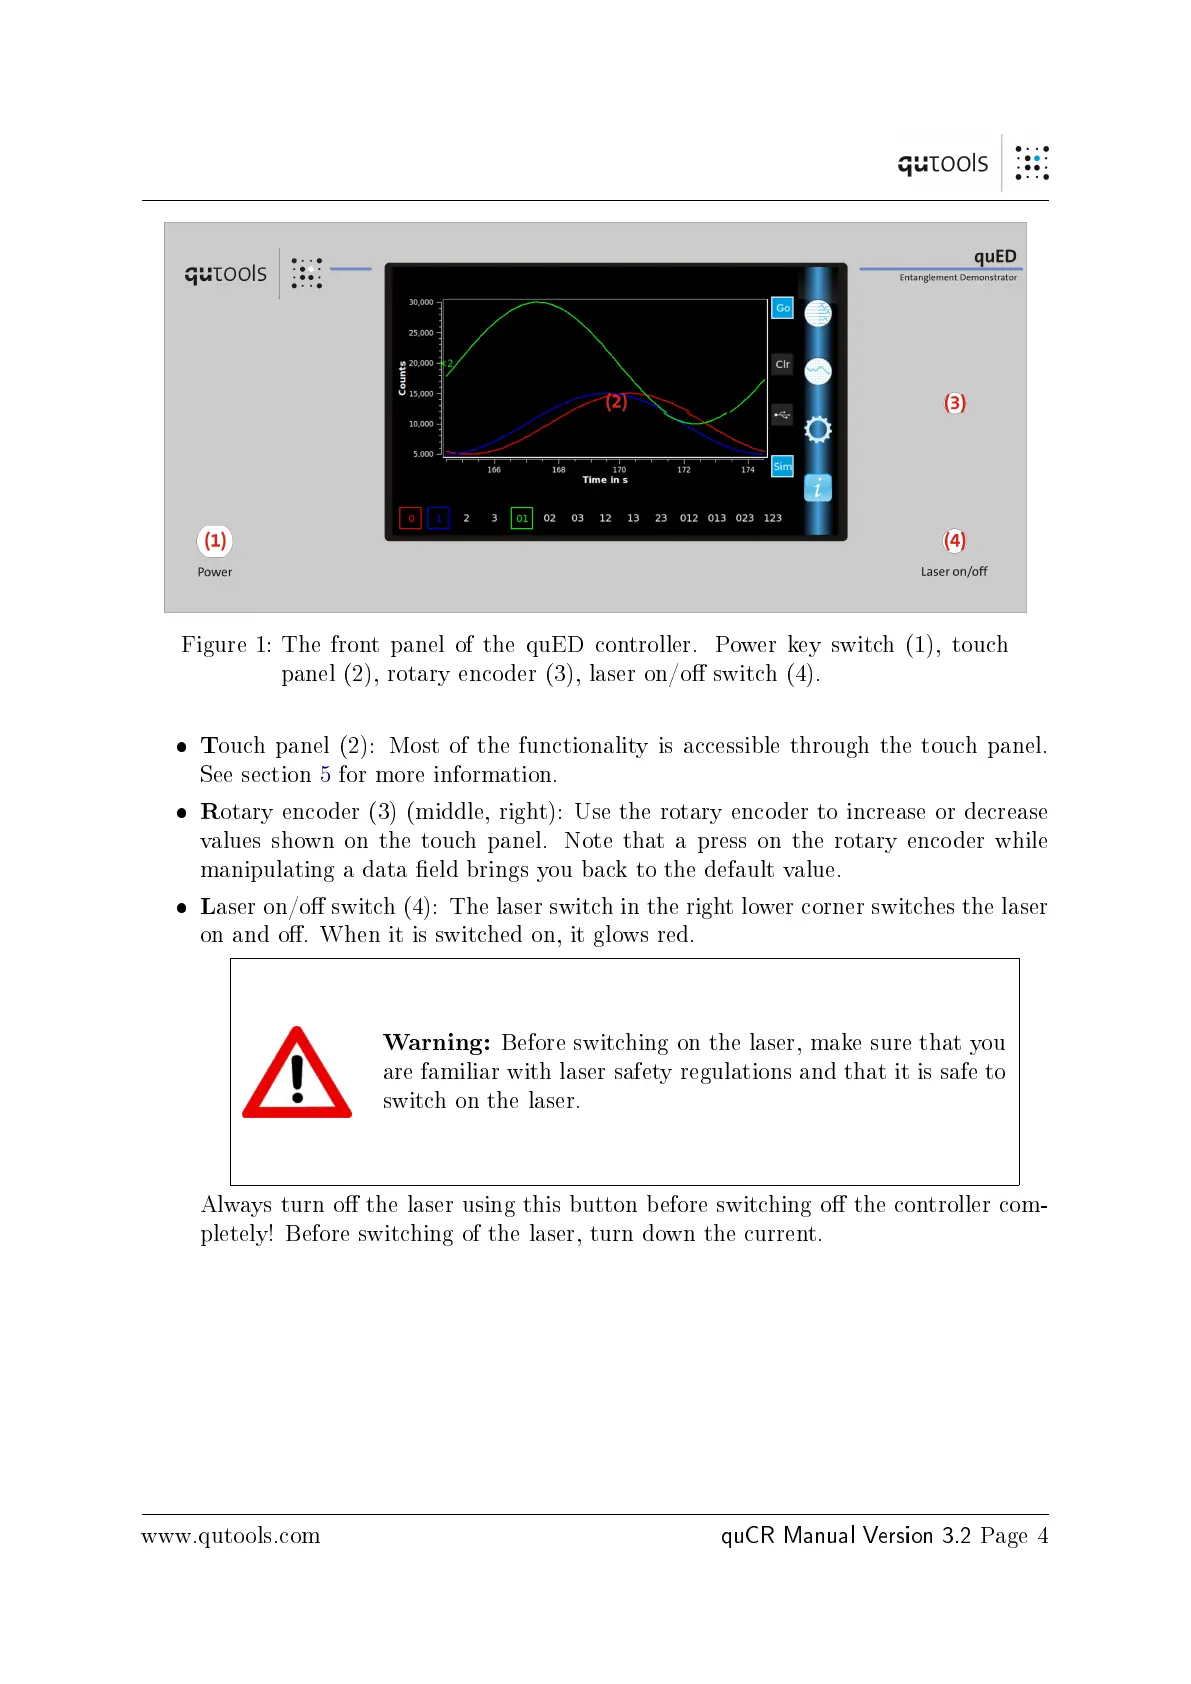
Figure 1: The front panel of the quED controller. Power key switch (1), touch
panel (2), rotary encoder (3), laser on/o switch (4).
T
ouch panel (2): Most of the functionality is accessible through the touch panel.
See section 5 for more information.
R
otary encoder (3) (middle, right): Use the rotary encoder to increase or decrease
values shown on the touch panel. Note that a press on the rotary encoder while
manipulating a data eld brings you back to the default value.
L
aser on/o switch (4): The laser switch in the right lower corner switches the laser
on and o. When it is switched on, it glows red.
Warning:
Before switching on the laser, make sure that you
are familiar with laser safety regulations and that it is safe to
switch on the laser.
Always turn o the laser using this button before switching o the controller com-
pletely! Before switching of the laser, turn down the current.
www.qutools.com
quCR Manual Version 3.2
Page 4