Race Platform Assembly Instructions - Remember to ‘measure twice, cut once’
1) Cut the two sheets of plywood to their rectangular size first. Each sheet will be the same. Your local home center can
usually do this for you for little or no charge. Once cut, glue the two sheets together with construction adhesive, making
sure the smoothest sides are showing -- top and bottom. Secure them together with a half dozen sheet rock screws.
2) As shown on the plan, decide the end shape (straight, angled, or rounded) and cut this using the appropriate saw. You
should set the CompuTrainer and bike on the platform before doing this so you don’t cut too much off.
3) Locate and drill 6 holes the diameter needed to accept the Tee Nuts. These are driven in with a hammer from the
bottom of the platform. Once the Tee Nuts are installed, you can thread the Leveling Feet into place.
4) Lay out your Floor tile and apply according to the manufacturers instructions. Trim to size with a utility knife.
5) Decide what to apply to the edges of exposed plywood. Check your home center to see what they have that would be
appropriate. Sand and paint the edges at the very least to hinder absorption of sweat.
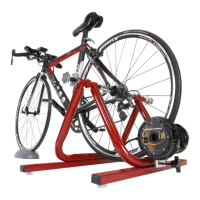
6) Center the CompuTrainer onto the rear of the platform with the Hinge side of the stand (where the Load Generator
mounts) towards the square end. Mount a bike and square everything to the platform by measuring from the squared end
of the platform to the front of the stand on both sides, left and right and with the front wheel centered up front too. When
satisfied with everything, remove the plastic decals that cover the 4 mounting holes in the trainer stand base and drill four
1/8” pilot holes and screw the #14 flathead screws through the CompuTrainer floor members.
7) With the CompuTrainer Stand secure and with bicycle mounted determine the best placement of the Off the Bike
Handlebar Controller Mount described below (if you choose to build it too) and the location of the DIN Cable routing
holes. Be careful drilling through your new flooring. It’s best to pre-cut the flooring away before drilling holes.
A Simple ‘Off the Bike’ Handlebar Controller Mount Pedestal
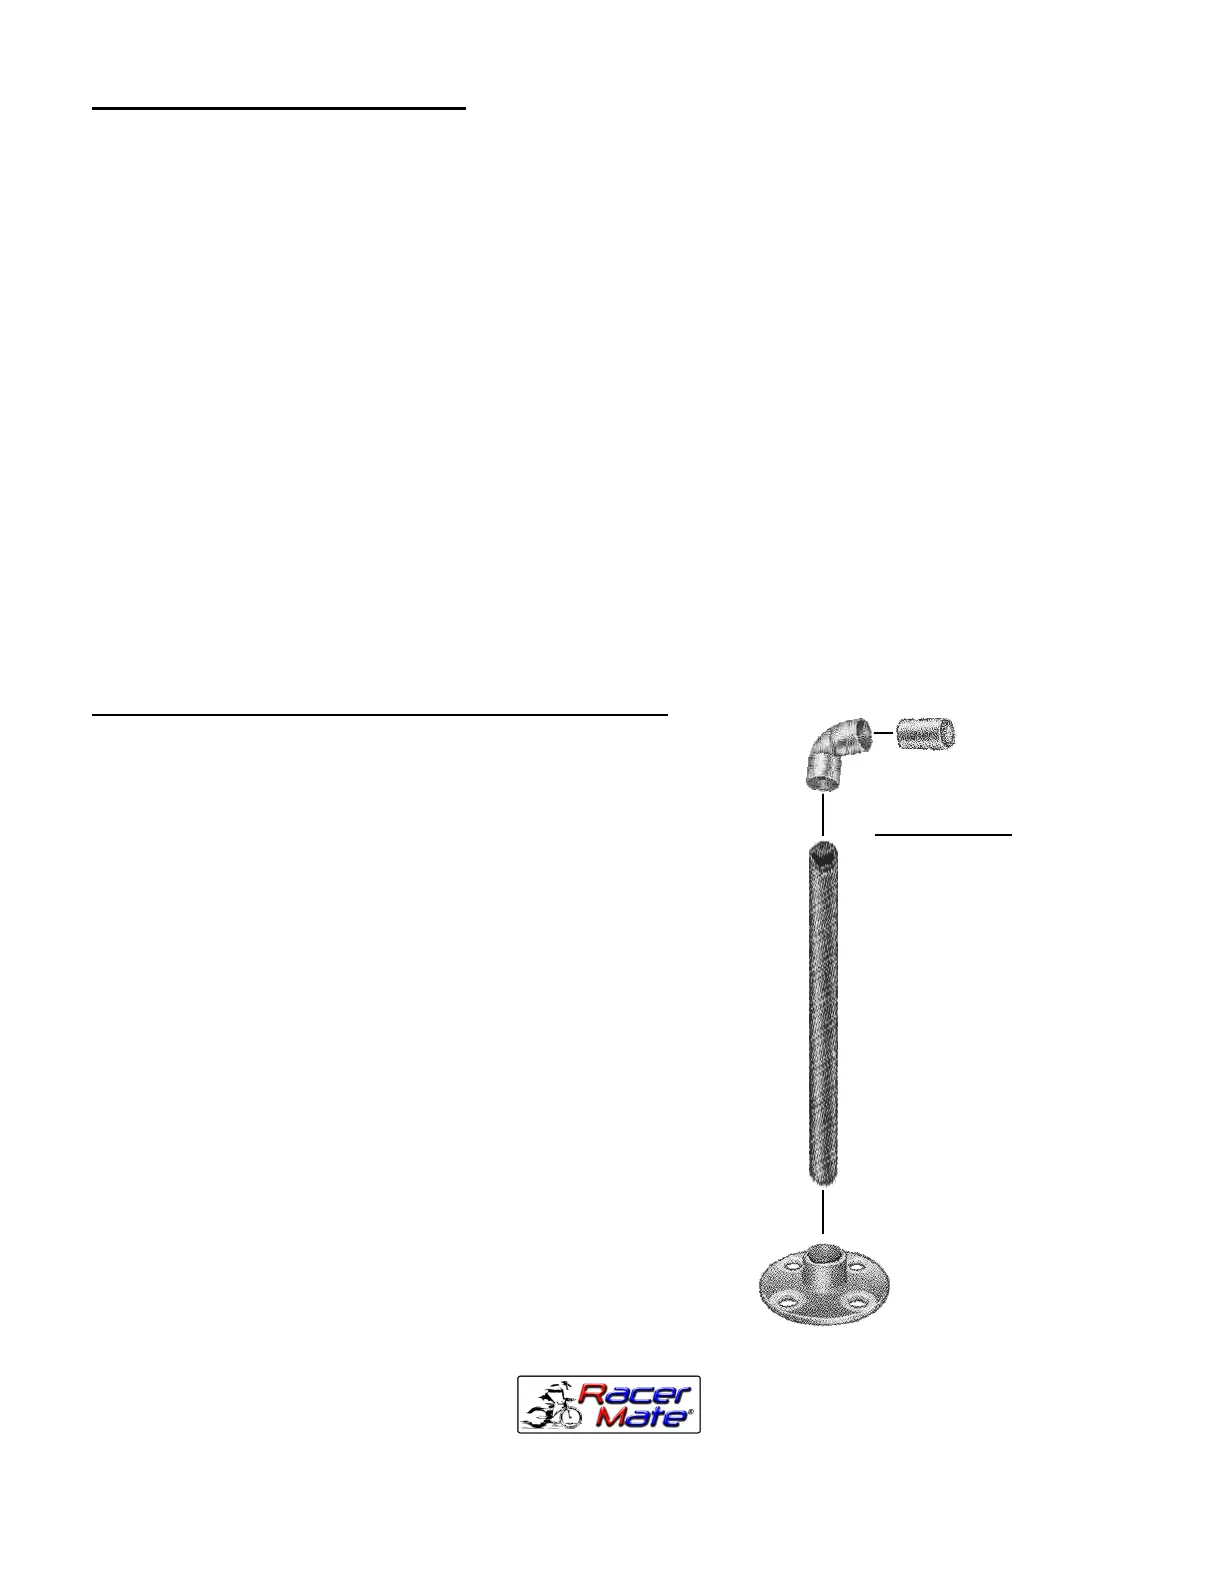
You can build this optional Controller Mount Pedestal out of 1” O.D.
copper or plastic tubing. When mounted alongside the bike, the only
part [maybe] attached to the bike will be the cadence sensor. Be sure,
wherever you position this mount, that your cadence sensor wire will
reach the Handlebar Controller.
1) Cut a 34” piece of straight 1” tubing and super glue a 90º elbow to
the top.
2) Then take the remaining short piece (2” long) of the same tubing to
make the handlebar portion. Insert this piece into the 90º elbow.
3) You can either drill the appropriately sized hole into the base and
glue this assembly into the platform using more construction adhesive or
use an optional floor flange (as pictured) and screw it to the platform.
4) Attach the Handlebar Controller to this Mount just as you would to
the handlebars of your bicycle.
5) Determine the location of and drill two 1.5” holes through the
platform for the DIN Cable - one in front of the Load Generator on the
Trainer Stand and one just behind the Controller Mount pedestal.
6) Now run the DIN Cable through the rear hole and up through the
front hole and plug it into the already attached Handlebar Control
Module.
Items Needed:
3’ of 1” Copper or Plastic
Tubing (bring the Controller
Hook with you to the home
center to check size)
1” 90º Elbow
(Optional) 1” Floor Flange
with four 1¼” sheetrock
screws to attach to base
Quick set “super” glue
3016 N.E. Blakeley St. Seattle WA 98105
(206) 524-7392 Toll Free (800) 522-3610 Fax (206) 523-4961
E-mail: service@racermateinc.com • web site: www.racermateinc.com
Maker of CompuTrainer™ and Velotron™
 Loading...