14
Connecting Inputs
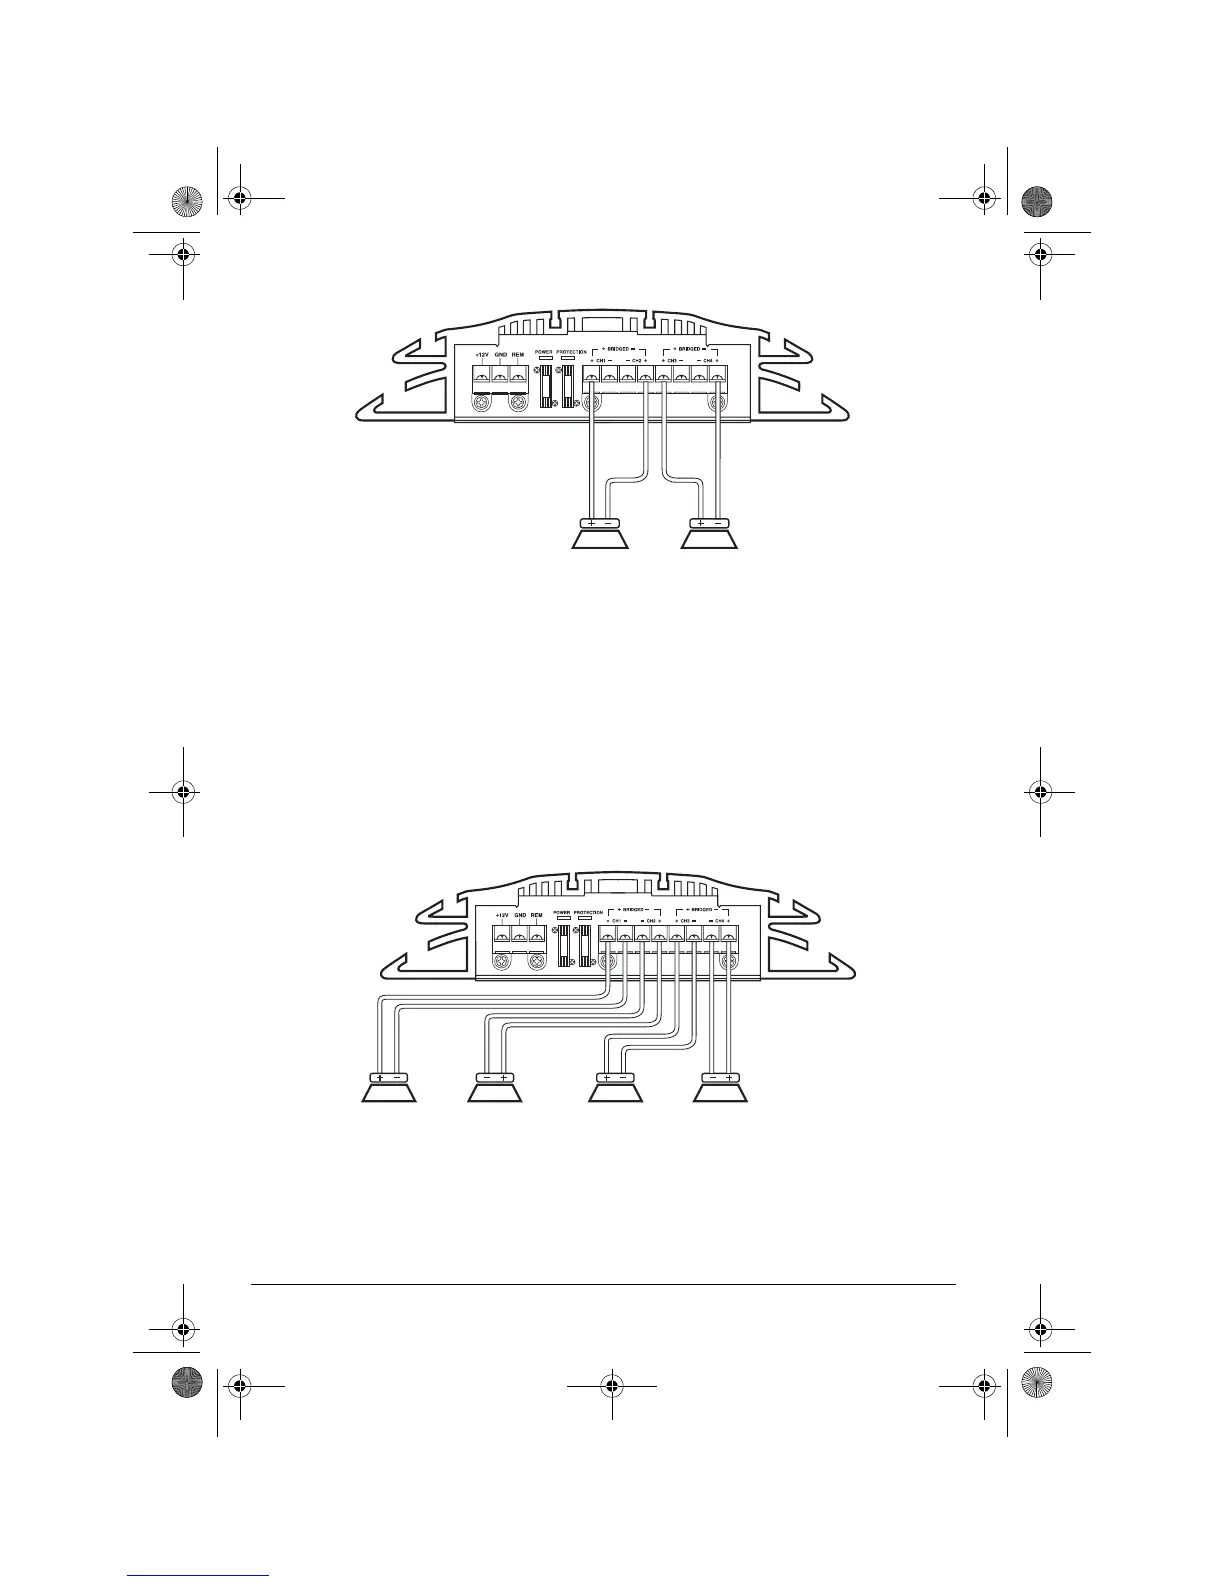
Connecting Two Speakers (Bridged Connection)
Caution:
This connection produces 130
watts per channel. Use this connection only if
you have high-power speakers that can han-
dle a power output of 130 watts.
Note:
CH2 (+)
and
CH4 (+)
are
used as nega-
tive (–) terminals for a bridged connection.
1. Use a screwdriver to connect the left
speaker’s positive (+) wire to the ampli-
fier’s
CH1 (+)
terminal.
2. Use a screwdriver to connect the left
speaker’s negative (–) wire to the ampli-
fier’s
CH2 (+)
terminal.
3. Repeat Steps 1–2 to connect the right
speaker’s positive (+) and negative (–)
wires to the amplifier’s
CH3 (+)
and
CH4
(+)
terminals.
4. Set both
BRG/ST
switches (on the left
and right sides of the amplifier) to
BRG
.
Connecting Two Speakers and One Subwoofer (Unbridged Connection)
1. Use a screwdriver to connect the front
left speaker’s positive (+) wire to the
amplifier’s
CH1 (+)
terminal.
2. Use a screwdriver to connect the front
left speaker’s negative (–) wire to the
amplifier’s
CH1 (–)
terminal.
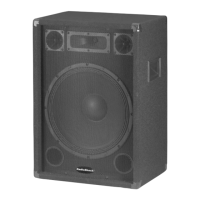
Left Speaker
Right Speaker
CH4 Rear
Subwoofer
Or
CH3 Rear
Subwoofer
CH2 Front
Right Speaker
CH1 Front
Left Speaker
12-2017.fm Page 14 Tuesday, May 9, 2000 10:02 AM
 Loading...