24
25
www.raider.bg
IMPORTANT: This unit is shipped WITHOUT GASOLINE or OIL in the engine. Be certain to
service engine with gasoline and oil instructed in the separated engine manual before operating
your mower.
NOTE: Reference to right or left hand side of the mower is observed from the
operating position.
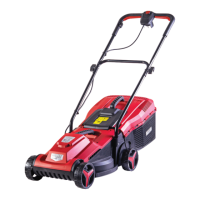
SET UP YOUR LAWN MOWER
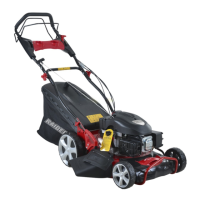
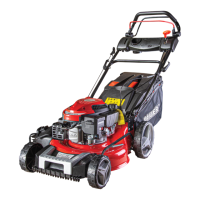
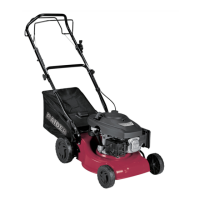
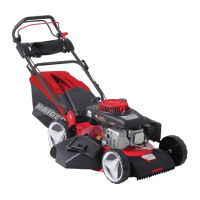
Follow steps 1 through 3 to set up your lawn mower. LAWN MOWER WITH GRASS BAG CATHER
Setp 1 :Remove the grass bag from the mower.
Step2: Unfold the upper handle. Press the spanner to x the upper handle and lower handle
together.
Step3: Lift the rear ap,x the grass bag to the ap’s axleto make the bag and the unit
together.
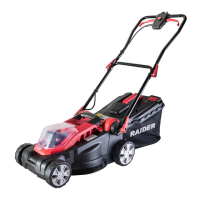
SECTION 5: CONTROLS
RECOIL STARTER
The recoil starter handle is attached to the upper handle.See gure 5, stand behind the unit in
the operating position to start the unit. Throttle cable assy
The throttle cable assy is attached to the upper handle.See gure 5.The throttle cable assy is
used to adjust the speed of the unit. If the handle of the throttle cable is put forward, the speed of
the unit is accelerated.
Cutting height adjustment lever
The cutting height adjustment lever is used to adjust the distance of blade from grass-ground.
Note: your mower is shipped with the cutting height in the lowest position.Adjust the cutting
height as follows.
The cutting height adjustment levers are located above the four wheels.
To adjust the cutting height.Pull the lever out and away from the mower and then move it
forward or backward to select a new cutting height.See Figure 6.
NOTE: For rough or uneven lawns, move the height adjustment lever to a higher position. This
will help stop scalping.
SECTION 6: OPERATION
WARNING: Keep hands and feet away from the chute area on the cutting deck. See the eyes,
which can result in severe eye damage.Always wear safety glasses or eye shields.
NOTE: For best results raise the cutting position until it is determined which height is best for
your lawn. See CUTTING HEIGHT ADJUSTMENT LEVER in the CONTROLS section.
GAS AND OIL FILL-UP
Service the engine with gasoline and oil as instructed in the separate engine manual. Read all
instruction carefully.
WARNING: Never ll fuel tank indoors with engine running or until the engine has been allowed
to cool for at least two minutes after running.
EACH TIME YOU START YOUR MOWER ALL UNITS:
Attach spark plug wire to spark plug. Make certain the metal cap on the end of the spark plug
wire is fastened securely over the metal tip on the spark plug.
TO START ENGINE AND ENGAGE BLADE
Move the throttle control on the engine to the fast (rabbit) position.
Prime engine as instructed in the separate engine manual.
Stand behind the unit, squeeze the blade control handle and hold it against the
upper handle
NOTE: If any problems are encountered, refer to the TROUBLE SHOOTING section of this
manual.
TO STOP ENGINE AND BLADE
Release the blade control handle to stop the engine and the blade
OPERATION ILLUSTRATION FOR THE SELF-PROPELLED MOWER
If the mower is the self-propelled, please pay more attention to the points as follows. Before
starting.please check whether there is any intertwist around the transmission belt or not.
Please tidy up the mower, especial on the belt and it’s wheels.
Should leave the mower untouched for a long time, please check the lubricate in the gear-box
or not.
OPERATION
 Loading...