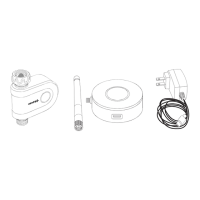
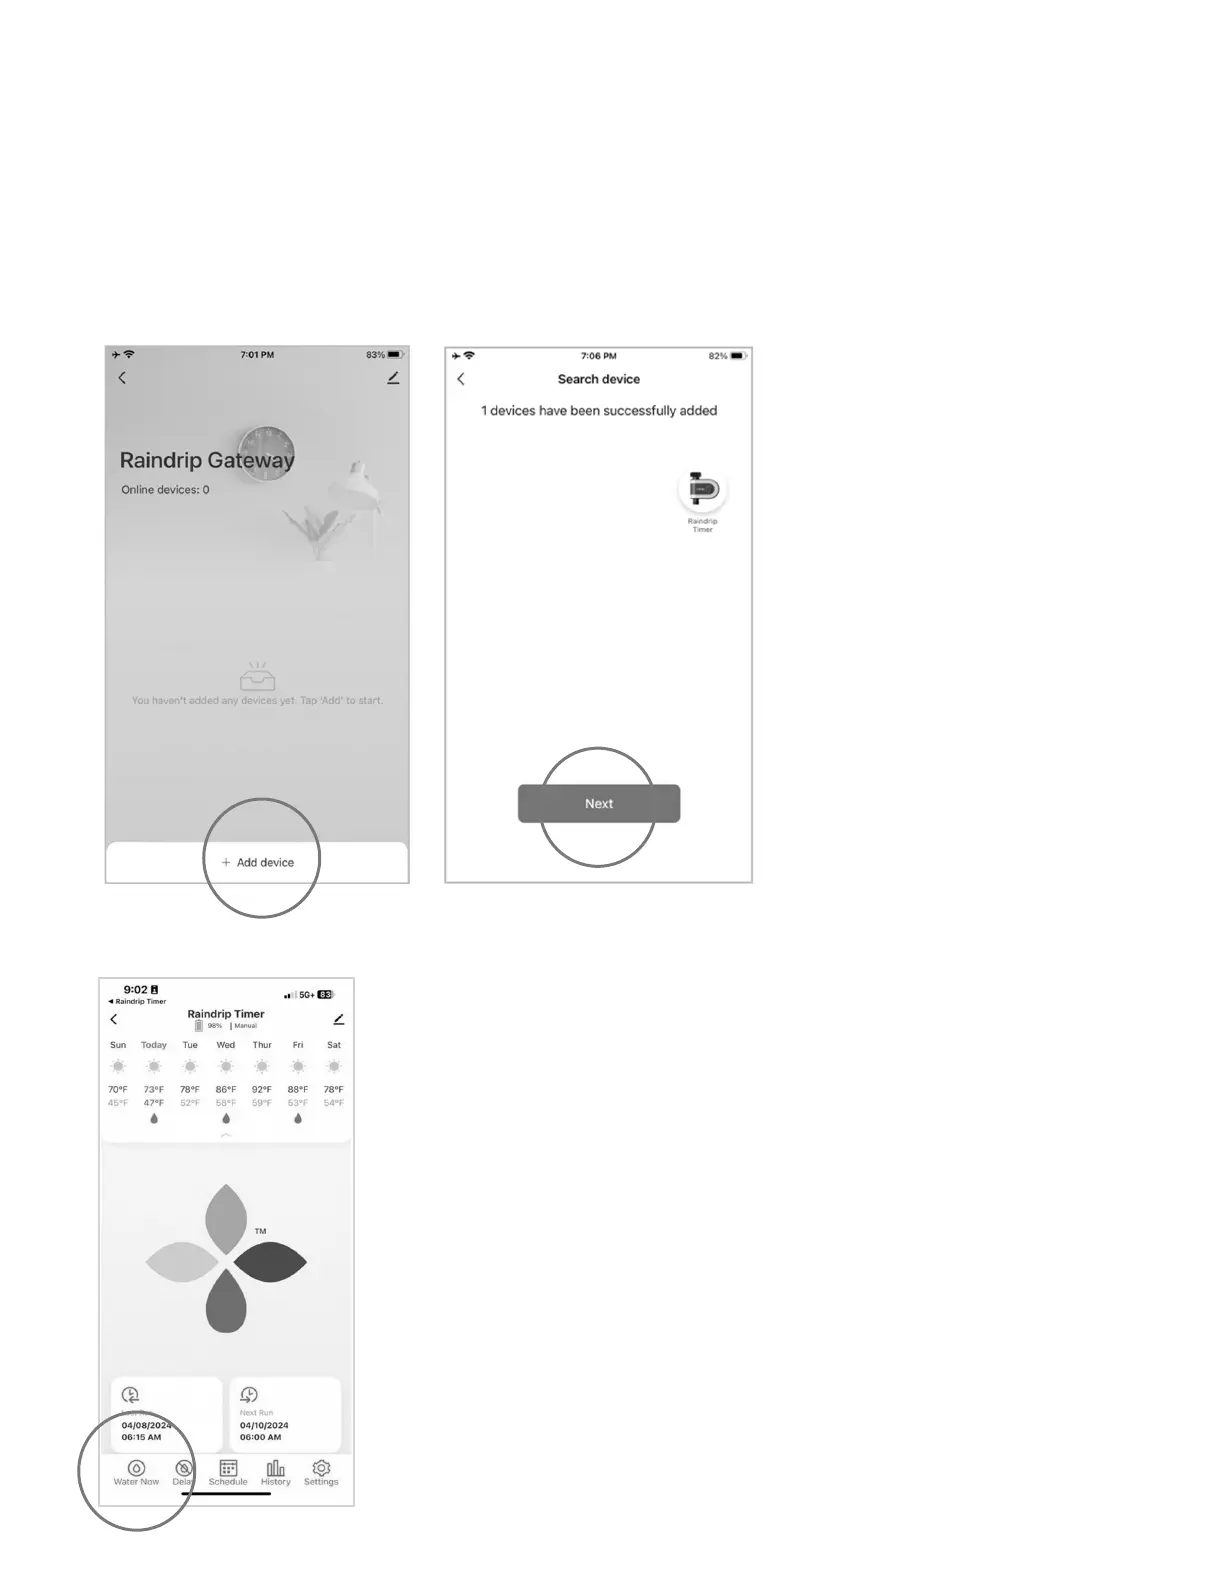
PAIR THE TIMER
• Install the 2 AA batteries into the battery tray; make sure to line up the + - directions on the batteries
with the same markings in the tray
• Tap “Add Device” on the Raindrip gateway screen
• Tap “Search for Devices”
• Ensure light is ashing on
timer and tap “Light is Flashing”
• Check that batteries are inserted
properly if light is not ashing
• Once the timer shows up as
“Discovered,” tap “Next”
• Click “Done”
• You will be directed to the Raindrip timer control panel
• Tap “Water Now” and select “10 minutes” to start a TEST manual
watering cycle. Press “conrm” and listen for a click from the timer.
Look for the ashing green light to conrm connection is successful
• Tap the “Pause” button to stop manual watering; listen for the soft
click to indicate the timer has stopped watering
• The timer is ready for use and can be installed on an outdoor faucet
8