12. Install the Brine Overflow Line (Indoors)
• Run a 1/2 inch I.D. brine overflow line from the overflow elbow
on the side of the brink tank to an approved drain (see figure 8).
13. Attach the Electrical Connection
• Insert the barrel plug from the DC power supply into the mating
jack in the back of the control box .
• Plug the DC power supply into a 110 VAC 60 Hz or 230 VAC 50
Hz outlet.
System Start Up
1. Turn on the Water and Check for Leaks
• Close all faucets and turn the water back on at the water meter
or pressure tank.
• Check for leaks. If a leak is present, drain the plumbing again
before soldering.
2. Flush the Remaining Debris from
the System
• Open the cold water faucet on your bathtub.
• Allow the system to flush the remaining dirt and debris into the
bathtub, until the water runs clear.
• Open all remaining faucets and allow the plumbing to release any
trapped air in the system.
• Close all of the faucets.
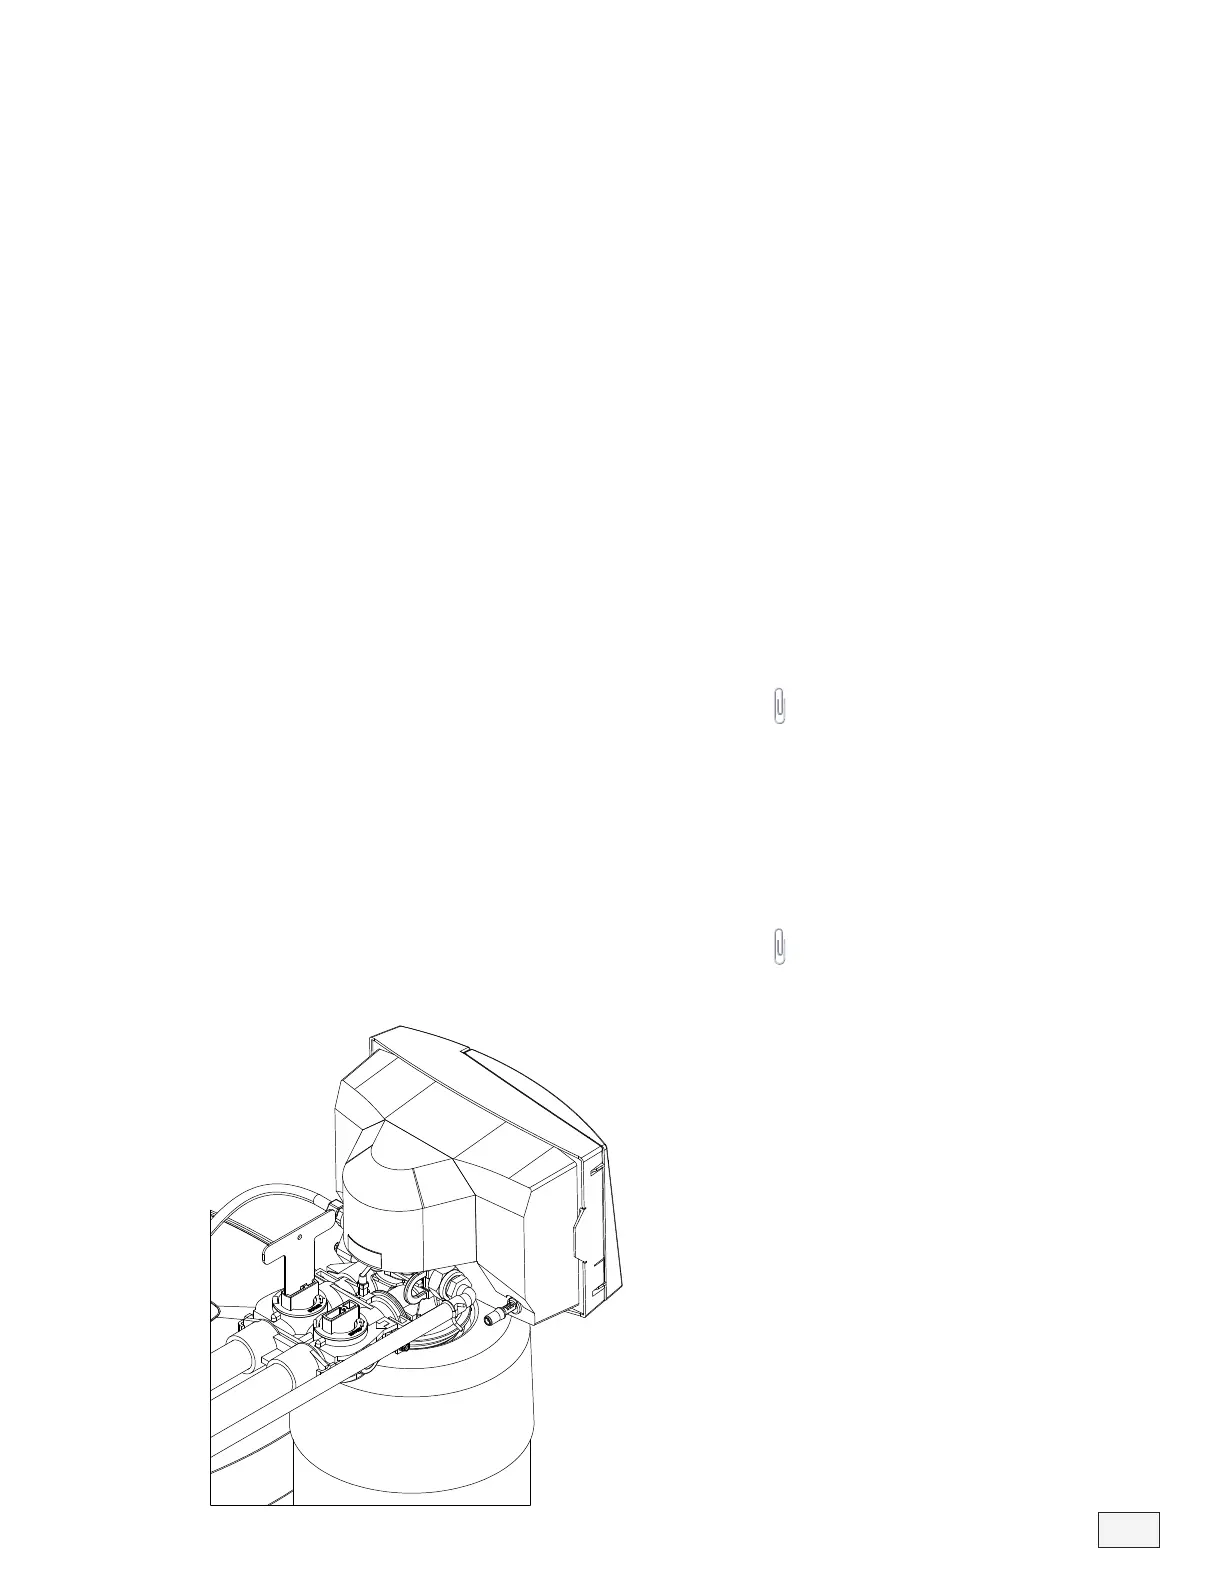
3. Open the Bypass Valve
• Move the bypass valve handles to the service position. The valve
handles should be parallel to the pipes (see figure 9).
• Open a cold water tap and allow the appliance to flush for 20
minutes or until approximately 100 gallons has passed through the
appliance.
13
Figure 9
Helpful Tip: This procedure will
prevent dirt and debris from
entering the valve.
Helpful Tip: It is common for new
systems to have some color in the
water. The color should disappear
after you completely flush the
system.