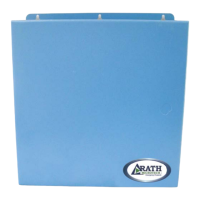
24 Volt Power Supply
pg. 2
Installation:
• Locate a suitable mounting location for the supply
• Mount the Power Supply using 6 mounting screws (not provided) and punch out conduit knockouts for wire runs
• For each Call Box you must run an 18 gauge, 2 wire set down to the Power Supply
• Feed the AC power cable through the knockout located on the bottom of the Power Supply.
Attach the power cable to the proper screw terminals – See Power Supply diagram below
• Attach the power cables from the appropriate Call Boxes to the Power Supply
• For up to 5 Call Boxes, wire 1 set of power cables to individual ports numbered 1 through 5 on the
Power Supply. One wire will go to the top screw of the port; the other will go to the bottom port
• For 5 to 10 Call Boxes, wire one set of power cables to individual ports 1 - 8. Wire 2 sets of power cables
to port 9
• For 11 to 20 Call Boxes, wire two sets of power cables to ports 1 - 7. Wire 3 sets of power cables to
ports 8 & 9
• For 20+ Call Boxes, up to 5 Call Boxes can be wired per port, for a total of 45 Call Boxes.
Do not wire more than 5 Call Boxes per port.
• Plug Power Supply into 120 vac outlet or connect the supply to the electrical through a conduit connection
• Turn power switch in Power Supply to ON
• Verify output voltage to be 24 vdc, if not 24v adjust using the Voltage Adjustment Potentiometer (see below)
• Close the Call Box Power Supply
www.area-of-refuge.com
Voltage
Adjustment
Potentiometer

 Loading...