47
NO
SE
FI
GB
DE
DK
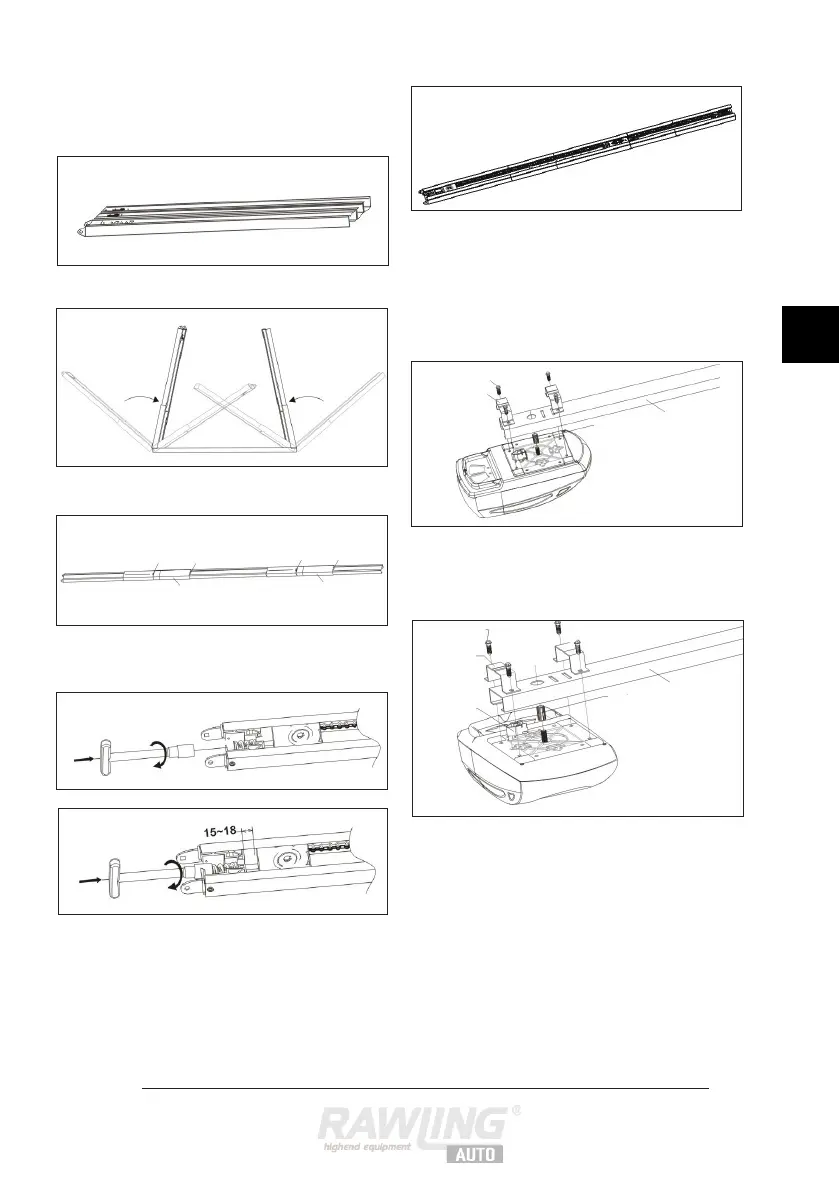
Unpack the rail.
Unfold the rail.
Set the couplings around the joints.
Tighten the nut on the end stop using a
socket wrench, allowing a gap of 15-18 mm.
The rail is now ready for installation.
Set the collar on the motor shaft. Fit the
motor casing (8) to the rail (4) using two U
brackets and four 6×15 mm screws, so the
light (9) points away from the rail.
If there is a shortage of space at the
installation site, the motor can be turned a
quarter revolution.
Please note that you must move the switch
accordingly.
Normal motor direction
6×15 mm screws
U bracket
Collar
Rail
6×15 mm screws
U bracket
Switch
Collar
Rail
Alternative motor