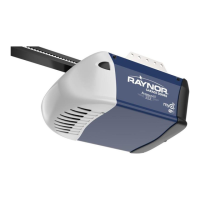
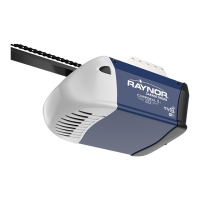
Do you have a question about the Raynor 1280RGD and is the answer not in the manual?
Explains warning symbols and signal words for safety.
Connects the T-rail to the motor unit assembly using specific screws.
Adjusts the drive belt tension for optimal operation.
Secures the belt cap retainer to the motor unit sprocket with provided screws.
Critical safety warnings and general instructions before starting the installation process.
Identifies the correct placement for the header bracket based on door type.
Steps for securely mounting the header bracket to the wall or ceiling structure.
Connecting the rail assembly to the installed header bracket using a clevis pin.
Guidance on placing the motor unit and rail correctly relative to the garage door.
Securing the opener motor unit to the ceiling or wall supports with hanging brackets.
Mounting the wall-mounted control panel and connecting its wiring.
Connecting the release rope and handle to the trolley for manual operation.
Instructions for proper electrical connection and grounding of the opener.
Mounting and aligning the safety reversing sensors for obstacle detection.
Attaching the door bracket to the garage door panel, with reinforcement guidance.
Joining the door arm sections and connecting them to the trolley assembly.
Sets the points where the garage door opens and closes fully.
Regulates the force for door movement up and down.
Verifies door reversal upon obstruction detection.
Checks the functionality of the safety reversing sensors.
Crucial safety guidelines for operating the opener.
How to operate the opener via remote, wall control, or manual release.
Details on using the wall control's push bar, light, and lock features.
Procedure for manually opening/closing the door using emergency release.
Reminder on adjusting limits and force, referencing relevant pages.
Recommended monthly and yearly maintenance tasks for the opener.
Information on replacing the battery in the remote control.
Troubleshooting steps when the opener is unresponsive.
Diagnosing issues when the remote works but the wall control does not.
Troubleshooting when the wall control works but the remote does not.
Troubleshooting random door reversals without visible obstruction.
Instructions for pairing new remote controls with the opener.
Procedure to remove all previously programmed remote controls.
Setting up or modifying a PIN for the keyless entry system.
List and diagrams of parts for the opener rail assembly.
List of components included in the installation hardware bag.
Diagrams and part numbers for motor unit components.
Overview of optional accessories like keyless entry and remotes.
Instructions and required information for ordering replacement parts.
Details of the product's five-year limited warranty and motor warranty.
| Brand | Raynor |
|---|---|
| Model | 1280RGD |
| Category | Garage Door Opener |
| Language | English |


 Loading...