Need Help? Visit our website at www.razor.com or call toll-free at 866-467-2967 Monday - Friday 8:00am - 5:00pm Pacific Time.
2
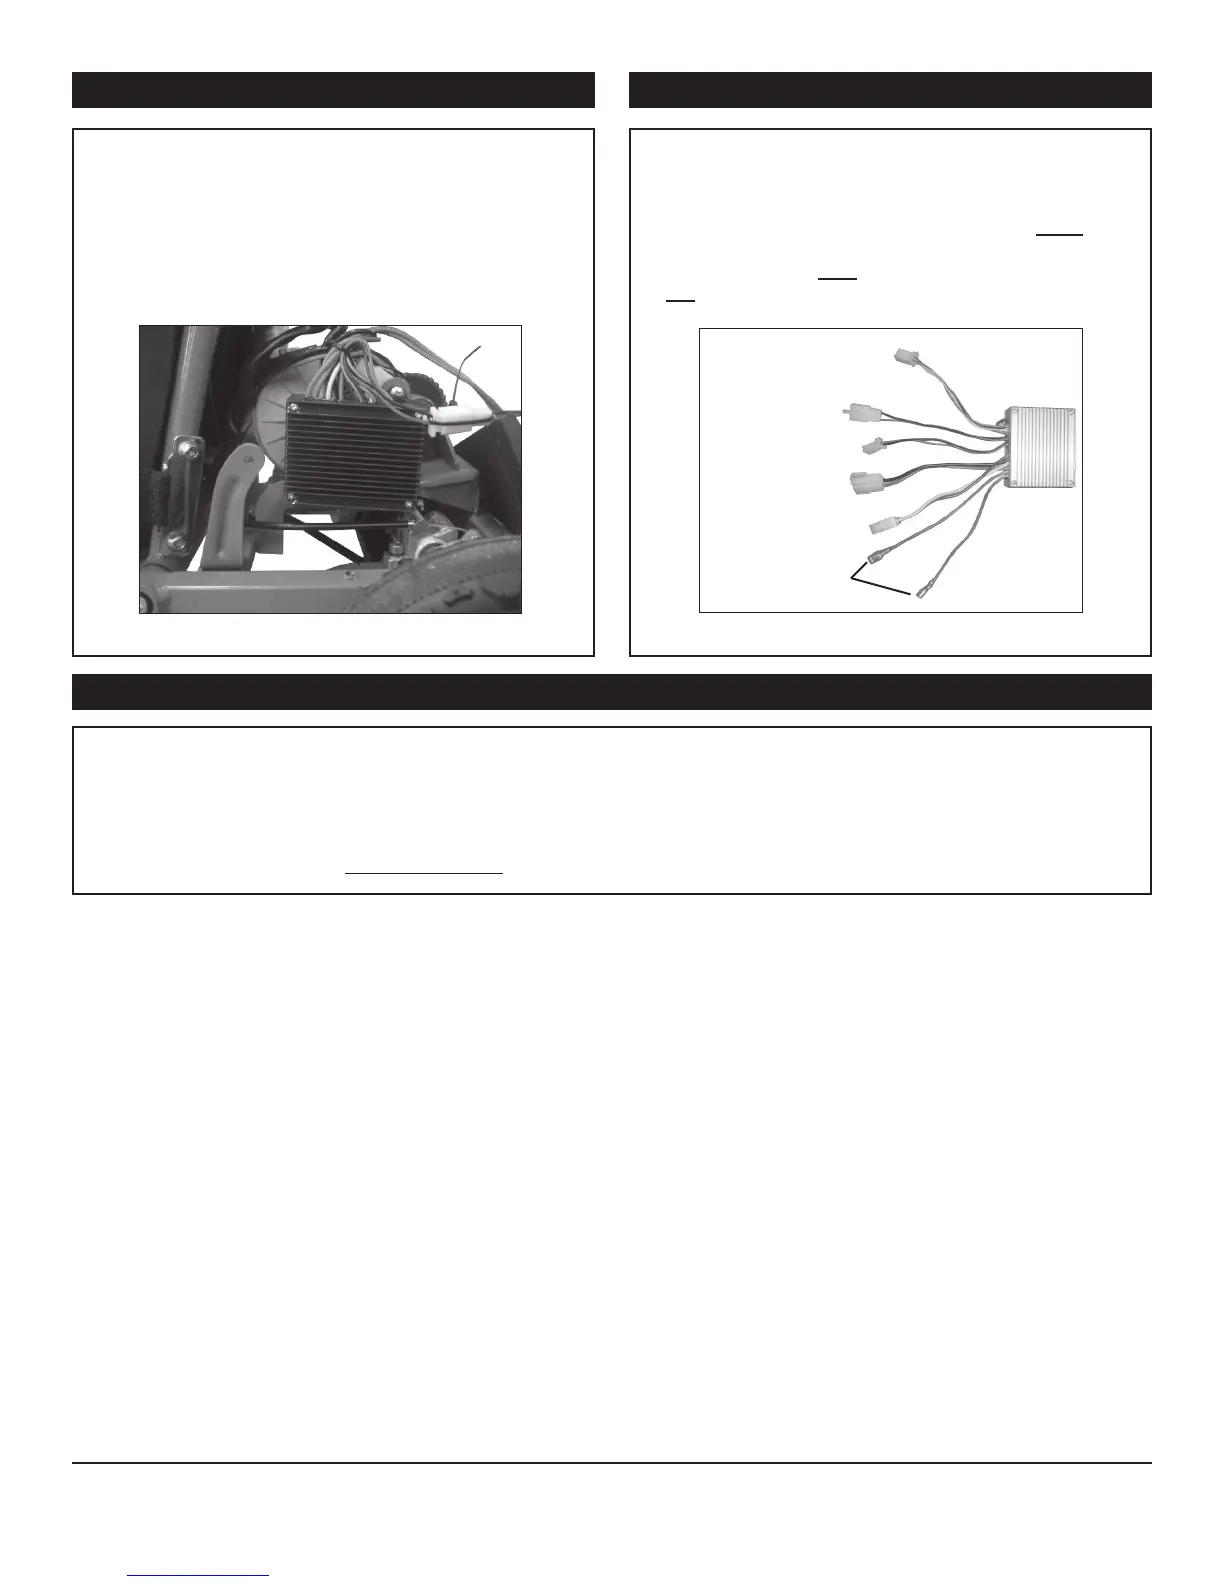
Step 7
Reverse steps:
1. Replace the battery cover.
2. Re-fasten the screws that hold the battery cover.
ATTENTION: Charge unit at least 18 hours before riding.
Figure 5 Figure 6
Using a Phillips head scewdriver, remove the two
scews holding the control module in place and
remove.
Install the new control module using the same
two screws previously removed. Reconnect the
five white plastic connectors. Plug the two red
wires on the control module into the two silver
prongs of the power switch (in no particular
order). Note: Do NOT plug the red wires into the
top gold prong of the power switch.
Step 5 Step 6
v1 - 2/10
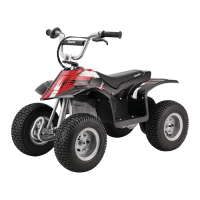
A- Throttle
B- Brake
D-Battery
E-Motor
C- Charger
Port
E- On/Off Switch