Need Help? Visit our website at www.razor.com or call toll-free at 866-467-2967 Monday - Friday 8:00am - 5:00pm Pacific Time.
2
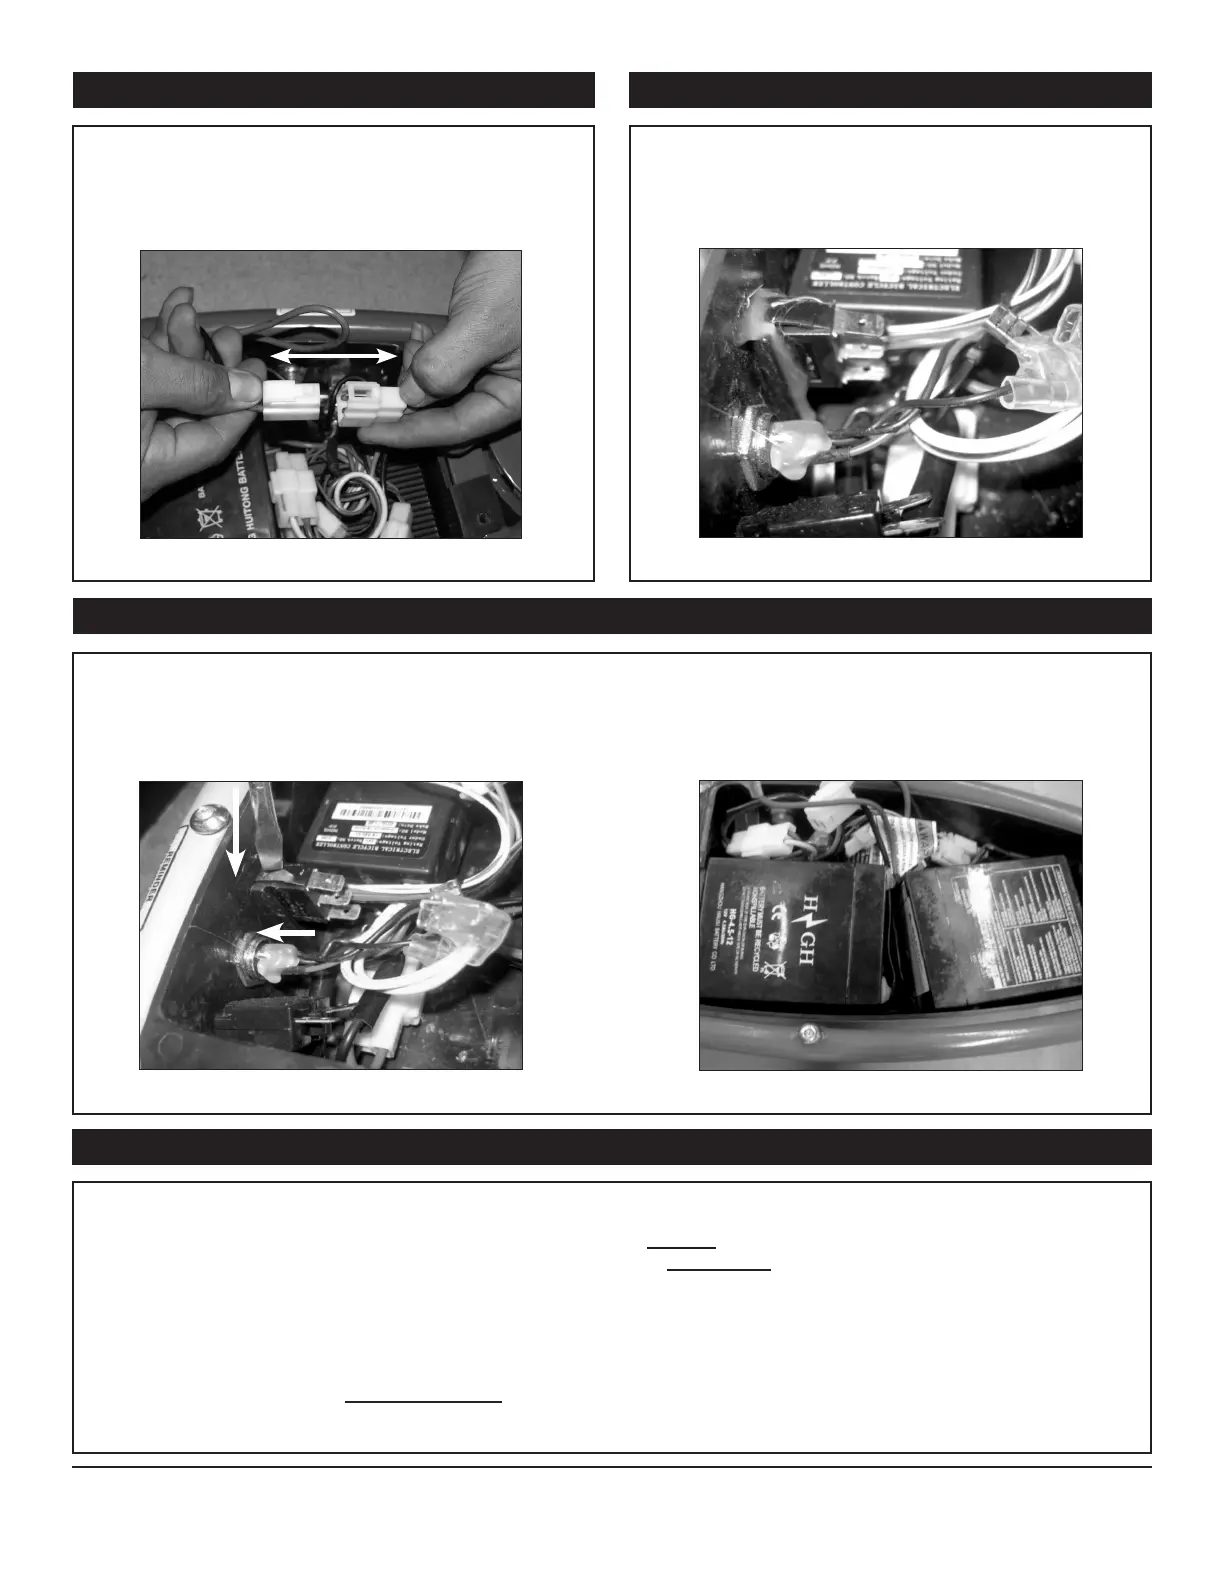
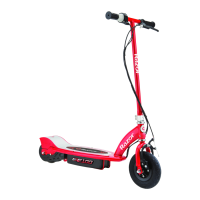
Figure 3
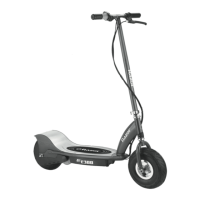
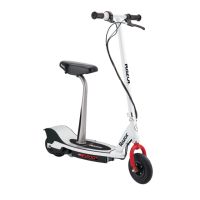
Figure 5
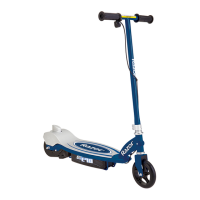
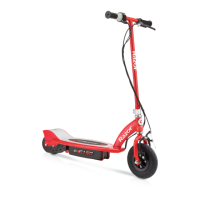
Figure 4
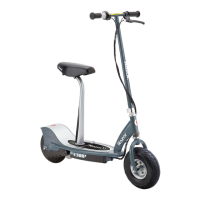
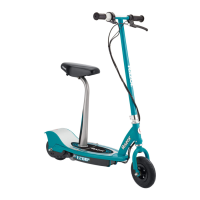
Figure 6
Before closing your unit
1. Insert the new on/off switch in battery tray
2. Re-connect the 2 wires from the control module to the 2 bottom prongs on the on/off switch
3. Re-connect the black wire from the charger port to the top (gold color) prong on the on/off switch
4. Place batteries back into battery tray and re-connect batteries to the control module (refer to Figure 6 for
proper positioning of batteries)
5. Re-place battery bracket and secure using same screws removed in step 2
6. Re-attach the deck plate and secure using bolts removed in step 1
ATTENTION: Charge unit at least 12 hours before riding.
Locate the white plastic connector on the battery.
Cut the zip tie and discard it. Disconnect the white
plastic connectors attached to the battery and
control module by depressing the tab.
Using a flat head screw driver, carefully remove
the glue around the on/off switch. Gently press
down on the top of the on/off switch and push
switch out of the battery tray.
Carefully remove the batteries from the battery
tray. Locate the on/off switch and disconnect the
black wire going to the charger port and the 2
wires going to the control module.
Note: When re-installing the batteries in the
battery tray, make sure to place them in position
shown below.
Step 3
Step 5
Step 4
v1 - 6/11