4
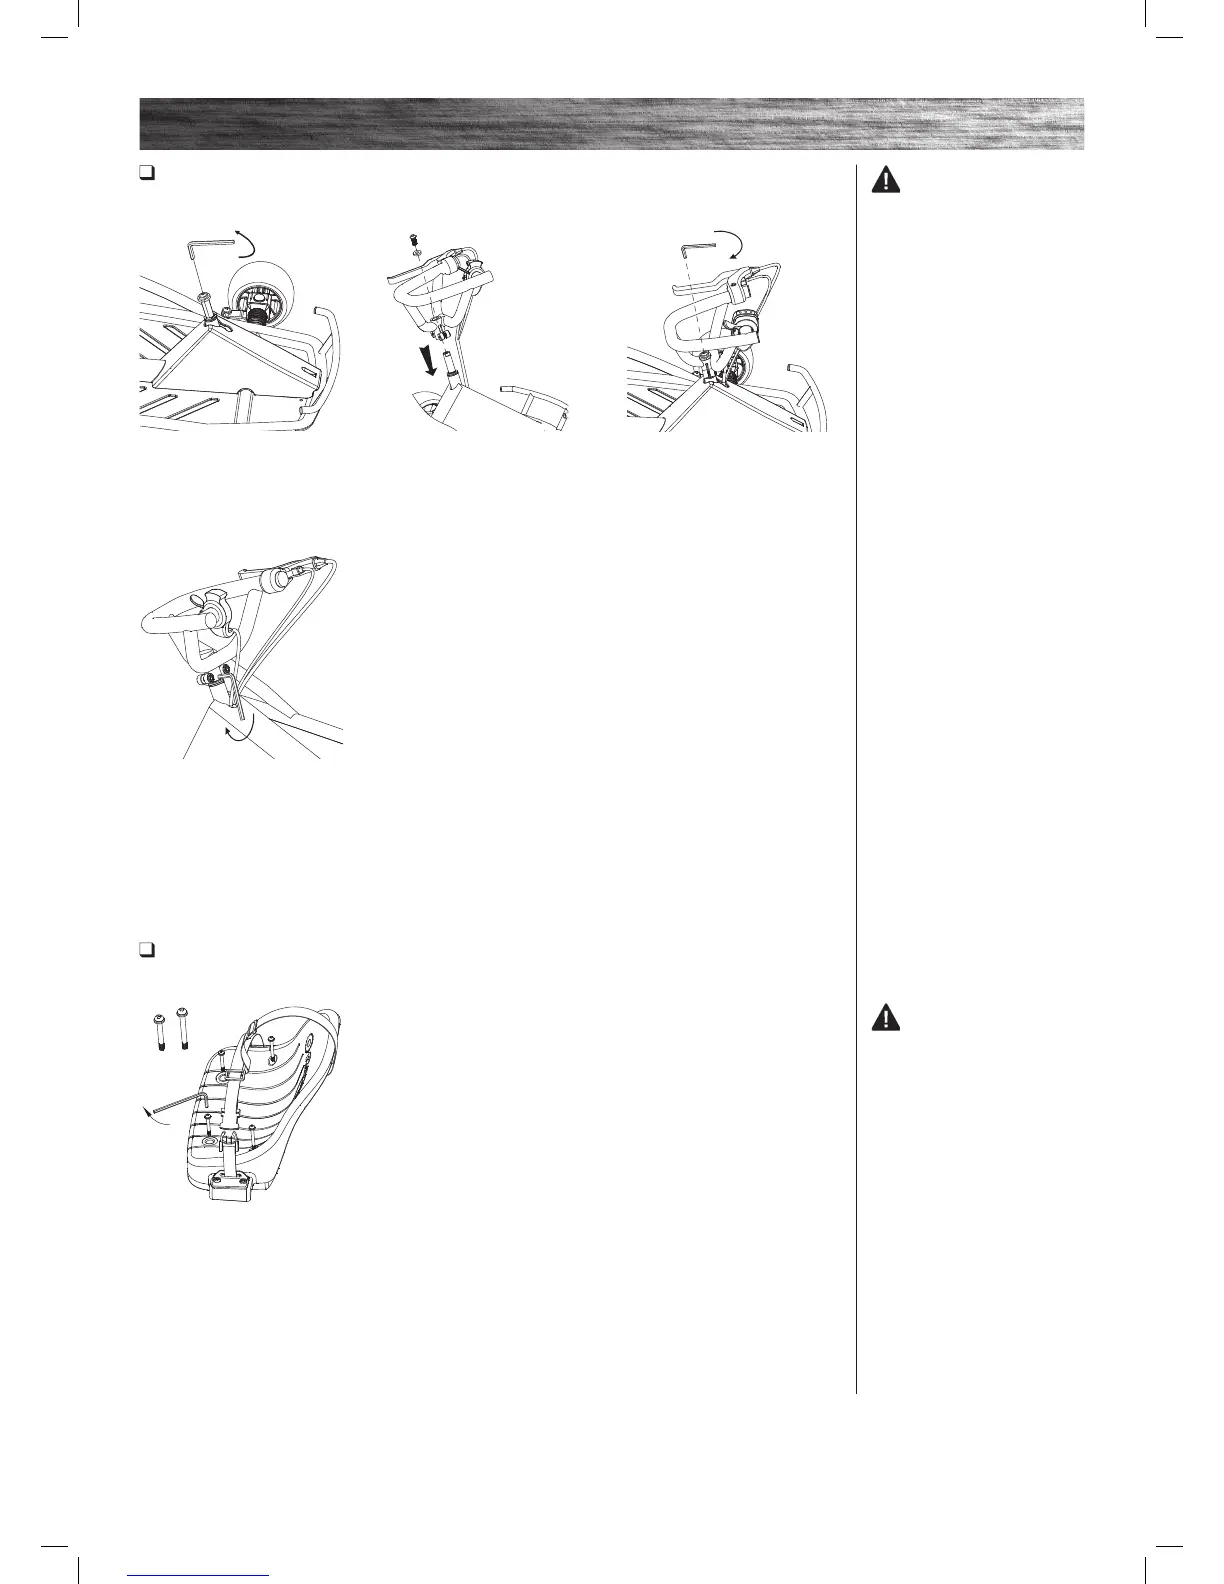
1 Position the seat over the
frame and align it with the holes
in the frame. Align the safety
belt anchor holes to the holes
in the seat and frame with the
lap/shoulder assembly on the
left and the receiver latch on
the right. Insert the four (4) seat
bolts and tighten securely.
1 Using a 5 mm Allen wrench,
loosen the screw located in the
steering column.
4 Using a 5 mm Allen wrench,
alternately tighten each of the
bolts on the steering wheel clamp.
When the bolts are properly
tightened, the gap between the
clamp halves should be even.
2 Make sure the wires are
not tangled. Insert the steering
wheel, washer and screw into the
steering column as shown.
3 Tighten screw securely using a
5 mm Allen wrench.
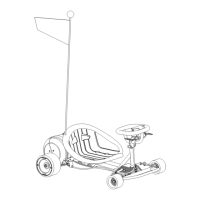
ASSEMBLY AND SET-UP
Attaching the Seat
Tools required: 5 mm Allen wrench
WARNING:
Failure to properly install and
tighten the screws, nuts and bolts
that affix the steering wheel and
seat can cause you to lose control
and crash.
WARNING:
The lap/shoulder belt arrangement
supplied with the Ground Force
Drifter Fury is for “play” use only.
It is not an ASTM-approved safety
belt system and is not intended
to function as an approved lap/
shoulder/seat restraining device.
Attaching the Steering Wheel
Tools required: 5 mm Allen wrench
B
B
A
A
A
B
 Loading...