ADF will be adjusted to Grind mode ,Grind LED (position 29) will flash.
At Grind mode , pressing and holding the external GRIND button 2 sec (Position 7).
ADF will be adjusted to welding mode ,Grind LED (position 29) will stop flash.
4.S
ensitivity adjustment
Press SENS button (position 26) ,Sensitivity will be adjusted from level 1(low) to level
5(high) circularly. LED display will show the current sensitivity (Position 24) .
5.D
elay adjustment
Press Delay button (position 27) ,Delay time will be adjusted from level 1(short) to level
5(long) circularly. LED display will show the current sensitivity (Position 24).
6.
Lock shad
e
P
ress Delay button (position 27) and hold for 2s ,ADF will move to Lock shade mode .At
Lock shade mode ,ADF will keep darken . Shade number can be adjusted from 5 to 13 by
turning the external shade number .
Clockwise turning the shade knob (Position 8), shade can be adjust up ;anticlockwise
tuning the shade knob ,shade can be adjusted down
At lock shade mode ,lock shade indicate LED (position 28) will flash .
Press Delay button (position 27) and hold for 2s ,ADF will quit Lock shade mode . lock
shade indicate LED (position 28) will stop flash
7.L
ow battery indicator
When the power of the battery is low ,the indicate LED (position 29) will become
RED .The battery need to be changed .
8.
Change batter
y
R
emove the battery cover (position 31) ,take old battery out and replace 2 new battery .
Assemble the battery cover .
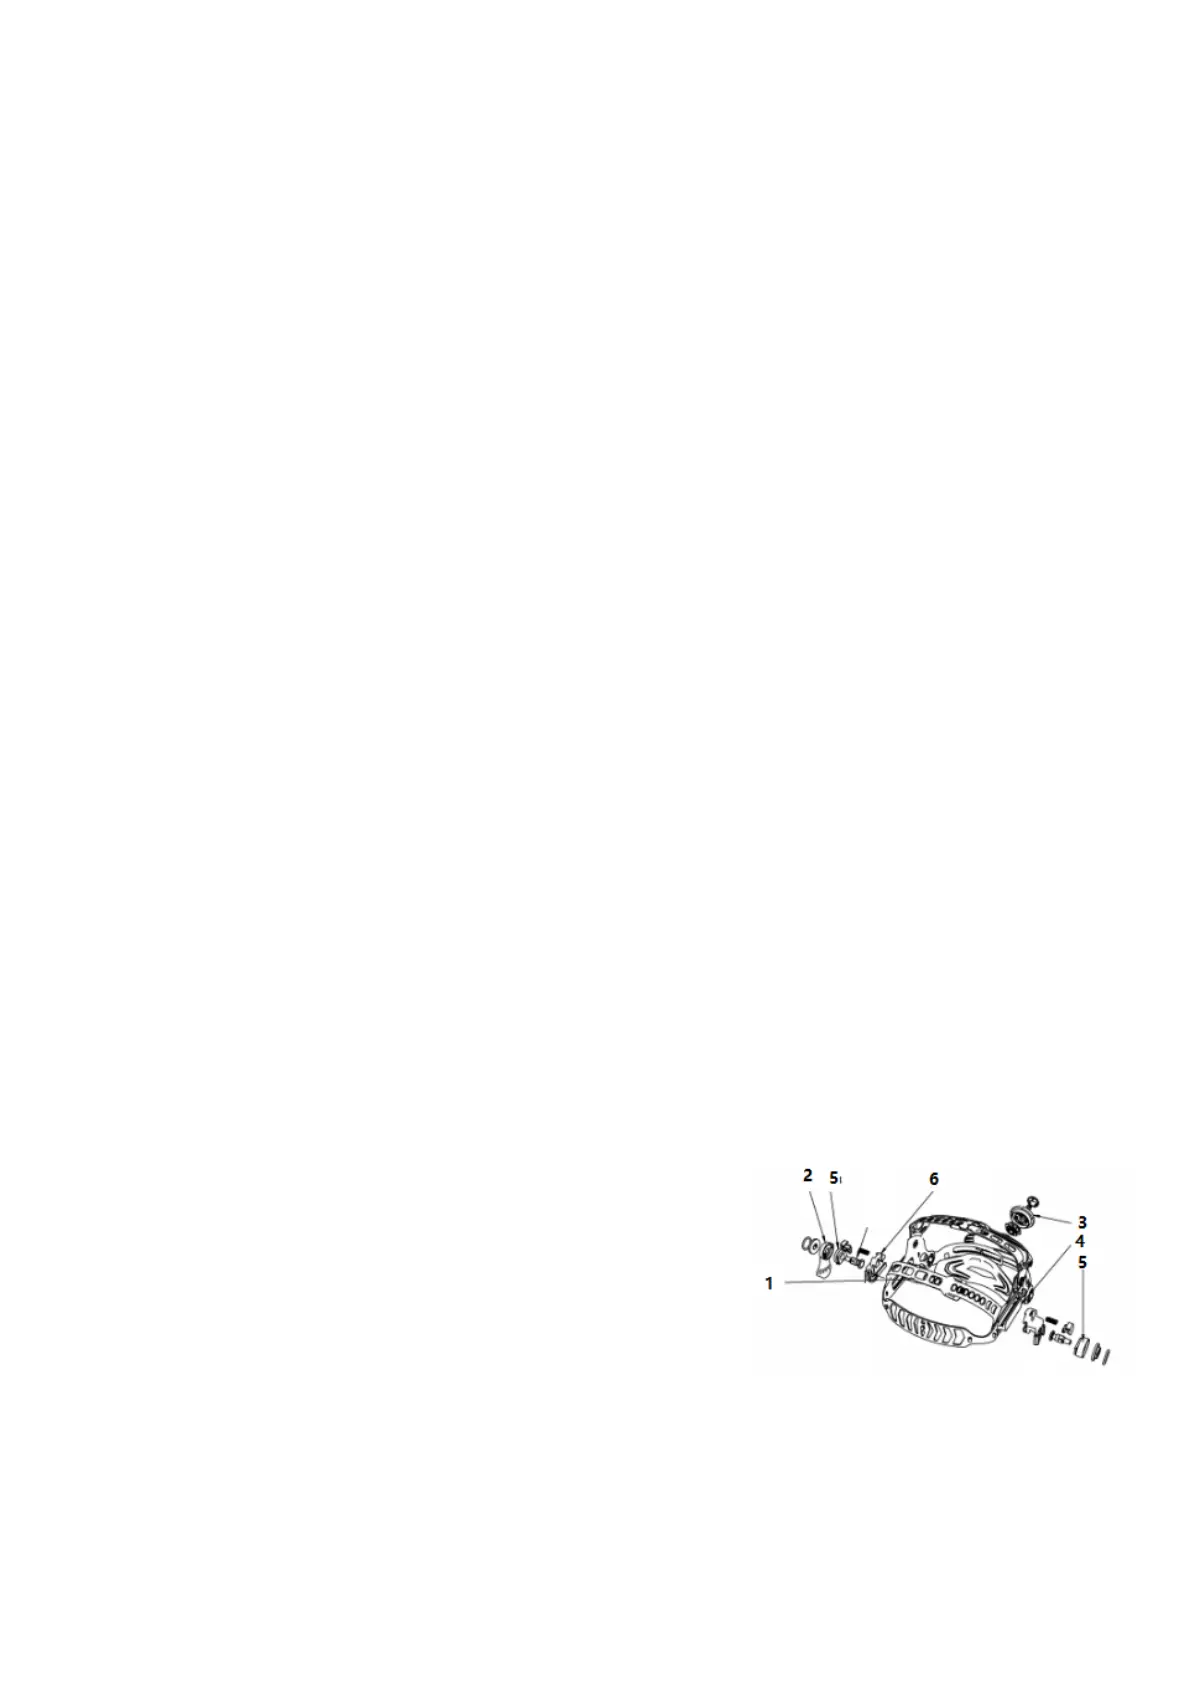
9.HEADGEAR ADJUSTMENTS
Because head shapes vary from person to person, the work pos
itions and the observing
angles are different. Operator may adjust the headband in 5 parameters:
1- S
elect eye level by Headband adjusting buttons (1).
2- Select view angle by Segmental positioning plate (2).
3- Adjust head size perimeter by pushing and turning the
Headband tightness adjusting knob (3).
4- Select eyes distance from ADF by adjusting Headgear
screws to 1 of the 5 slots on the Headgear slider (4).
Make sure both sides are equally positioned for
proper vision.
5- Select the height of the headgear by adjusting the Block washers(5) up or down on the
Block washer adjustment(6).
 Loading...