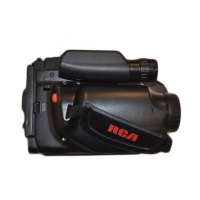
--Using the AC Adapter/Charger
to Power Your Camcorder
ear
(Battery) CHARGE
Lever Button
AC Adapter/
Charger
120 volts, 6OHz
@
®
®
®
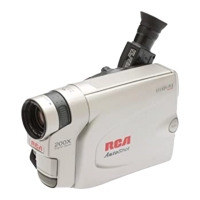
Be sure the Camcorder's
Connector Cover is in the Up
position. (See page 7 for
location.)
Align the tabs on the adapter/
charger with the notches on the
back of the Camcorder.
While holding the adapter/
charger against the back of the
Camcorder, slide the adapter/
charger down in the direction of
the arrow, as shown,
Plug the adapter/charger into
the nearest ACoutlet (120volts,
60Hzonly).
Slide the Camcorder's POWER
switch to ON. If the AC
adapter/charger is properly
connected, the Power Indicator
should light.
Do not push the CHARGE
button on the AC adapter/
charger or the power to your
Camcorder will be turned off.
To remove the AC adapter/
charger, hold the Battery Eject
Lever (BAT) Down while sliding
the adapter/charger Up.
Note: The AC adapter/charger
may be attached to the Cat'corder
during battery charging, but you
cannot charge the battery and
operate theaCamcorder from the
P_C adapter/charger at the same
time
When all three components are
connected, the AC _tdapter/
charger s CHARGE BuitOn
d_terinmCs where power wilt be
directed.
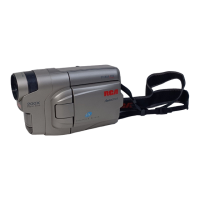
-Using the Optional DC Car Cord
to Power Your Camcorder
Cigarette
Lighter Socket
Optional DC
Car Cord
OC IN 12V Power Cord Jack
To power your Camcorder from a
car's 12-volt electrical system, you
will need RCA's optional DCC012
DC car cord. The proper steps for
using the Camcorder with the DC car
cord are outlined below.
®
Connect the small plug on the
DC car cord to the DC IN 12V
Power Cord jack on the back of
the Camcorder.
Insert the other end of the DC
car cord into the vehicle's
cigarette lighter socket.
Slide the Camcorder's POWER
Switch to ON. If the car cord is
properly connected, the Power
Indicator should light. Your
car's ignition does not have to
be turned on for Camcorder
operation.
I0