4
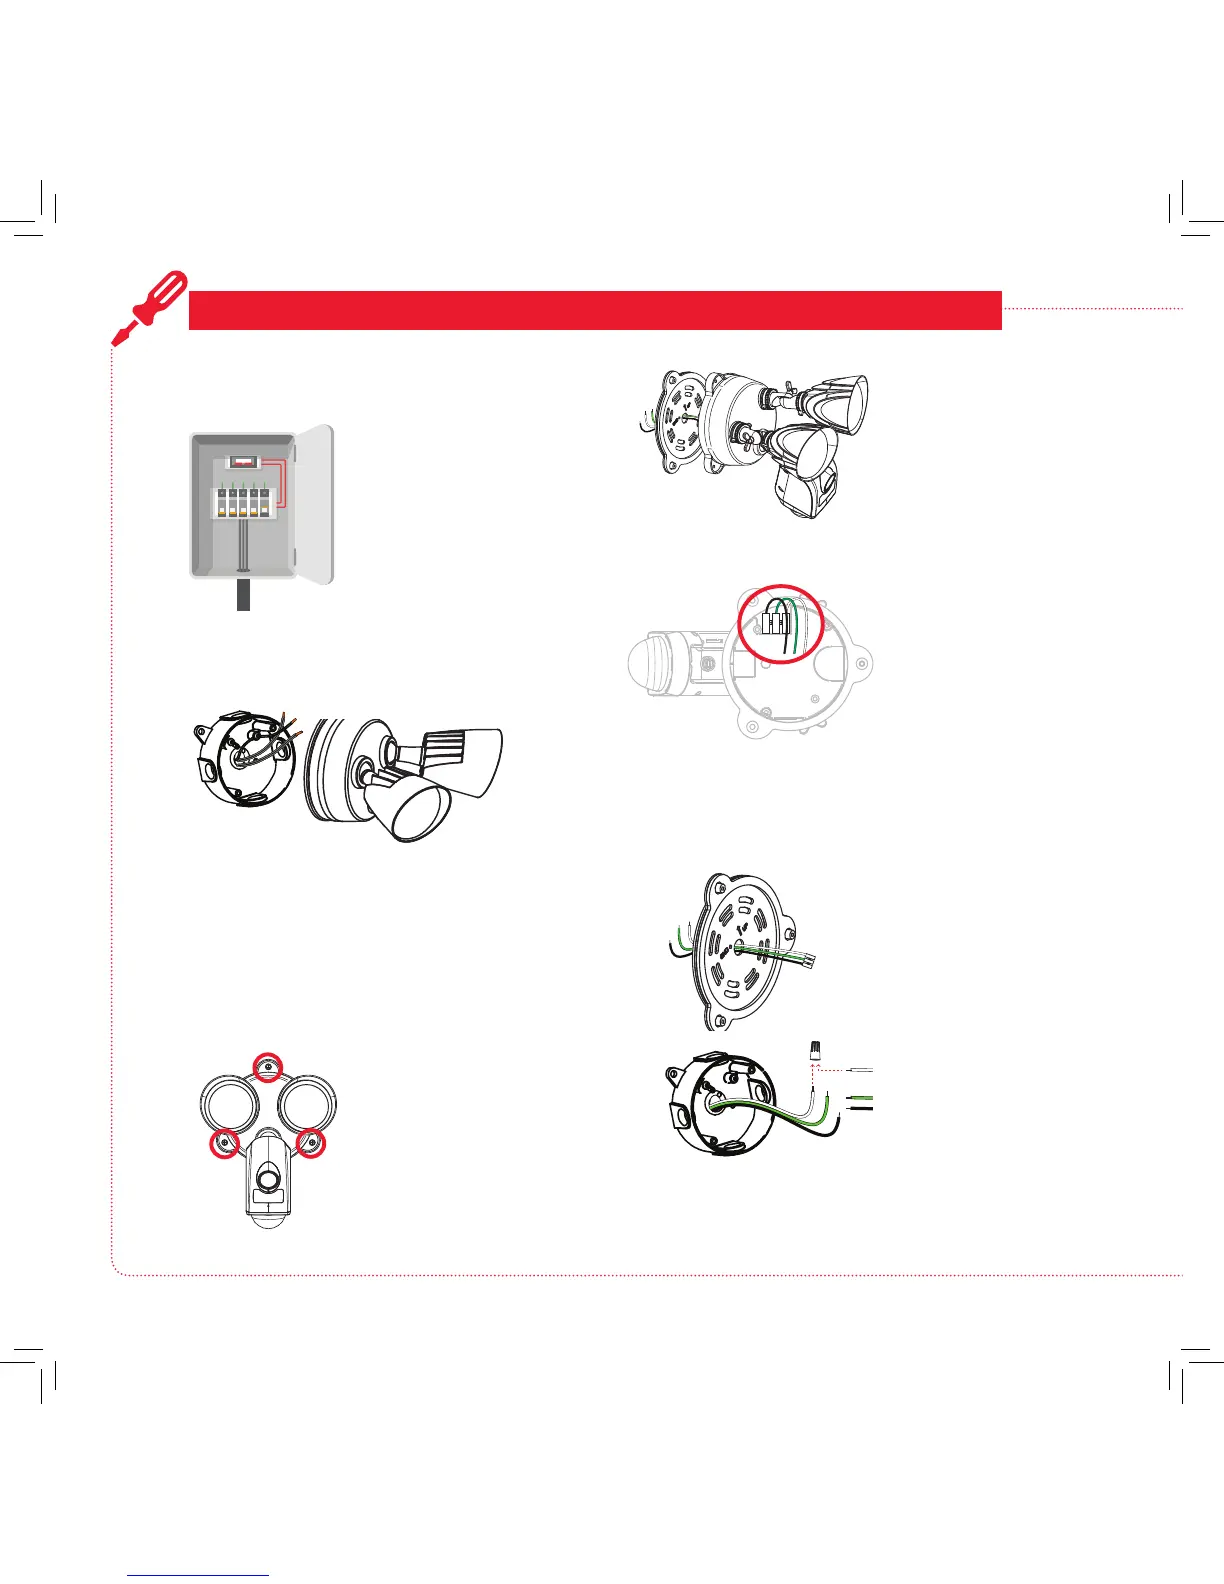
MOUNT AND CONNECT THE FLOODLIGHT CAMERA
Turn off power to your oodlight’s
circuit.
1
Remove your existing oodlight.
2
Connect the junction box and
oodlight camera 3-wire connector.
4
Find the breaker that
controls the circuit for your
oodlight. Turn it off before
you continue installation.
Carefully remove your existing oodlight
from its junction box.
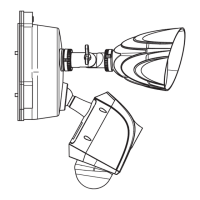
Separate the back/base from the
oodlight camera.
3
Unscrew the 3 base
screws holding the
oodlight camera to the
base (keep these in a
safe place for later).
Pull the oodlight
camera completely off
the base.
Run the wires from
the 3-wire connector
through the oodlight
camera’s base.
Match each color wire
from the oodlight
camera to the same
color from the junction
box (green to green,
white to white, black to
black).
Put the ends of each pair into the three wire
nuts, then twist each nut a full turn to nish.
Existing Floodlight
Floodlight camera, front
Base screws
Turn the oodlight
camera over. Gently
unplug the 3-wire
connector from the
base of the oodlight
camera.
Floodlight camera, bottom
3-wire connector