TYPICAL
RECORDING
LEVEL
Average Peak
between 5 and 0
of the black numbers.
EXCESS LEVEL
SIDE A
'-04
4,4
1kti
TABS
•
NOTES AND APPLICATIONS
CHOOSING THE RIGHT TAPE
Choice of tape is vital to good recordings. For most voice record-
ings (dictation, notes, lectures, etc.) either the CONCERTAPE or
REALISTIC Cassettes are appropriate. For average-to-good music
and other recordings, we recommend REALISTIC cassettes. For
low noise, wide-range recordings, we recommend SUPERTAPE
GOLD. For the very finest fidelity and lowest noise recordings,
use REALISTIC Cr02 Cassettes (in conjunction with Cr02 switch
positions).
Recording Level is a very important consideration if you are inter-
ested in obtaining top-quality recordings. Since we have incor-
porated individual channel controls, you have added control and
flexibility.
Meter readings should not be too high or too low. Proper recording
levels will be achieved when peak meter readings only very oc-
casionally touch into the red area. Normal peak levels will produce
peak meter swings up to between 6 and 0 of the black numbers.
Recording levels which consistently peak into the red area will
result in distortion and/or poor high frequency response. Re-
cording levels which peak only occasionally to 3 (or lower) of the
black numbers will have excessive noise — especially noticeable in
the soft passages. Therefore, you must learn to adjust recording
levels for a happy medium — to assure lowest noise and widest pos-
sible dynamic range.
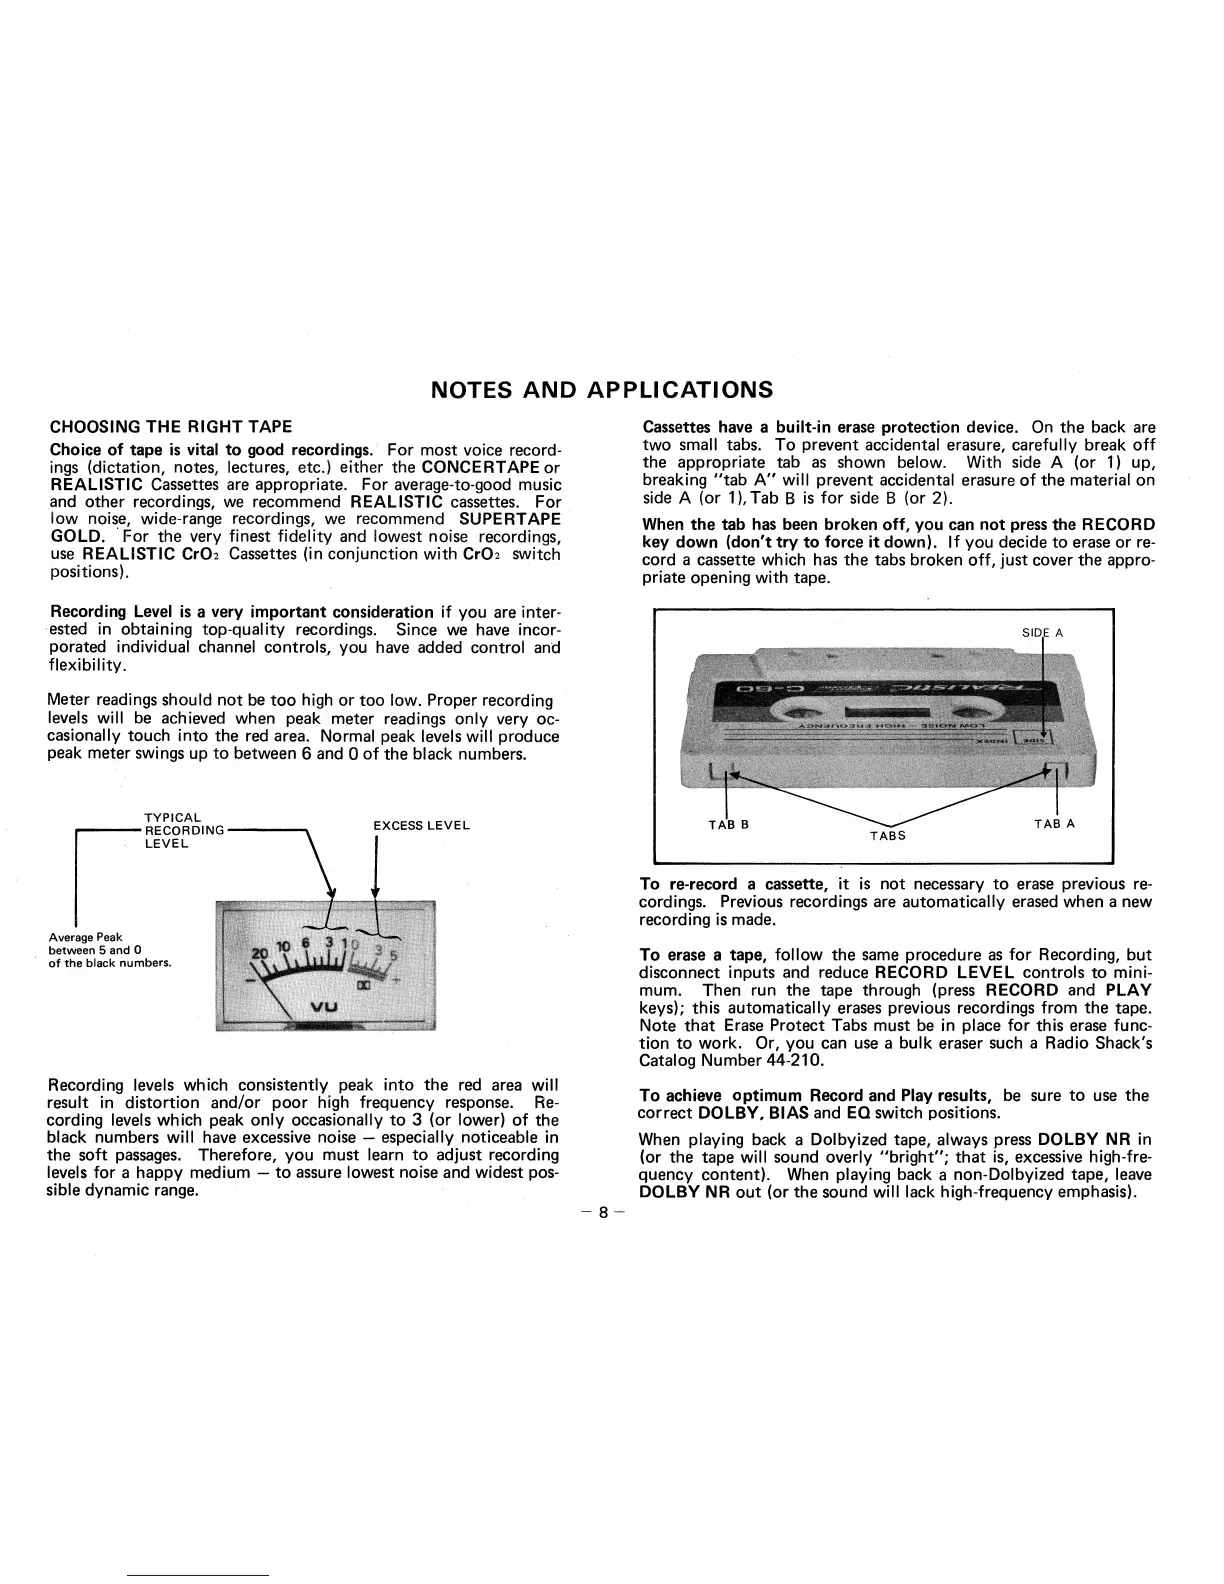
Cassettes have a built-in erase protection device. On the back are
two small tabs. To prevent accidental erasure, carefully break off
the appropriate tab as shown below. With side A (or 1) up,
breaking "tab A" will prevent accidental erasure of the material on
side A (or 1), Tab B is for side B (or 2).
When the tab has been broken off, you can not press the RECORD
key down (don't try to force it down). If you decide to erase or re-
cord a cassette which has the tabs broken off, just cover the appro-
priate opening with tape.
To re-record a cassette, it is not necessary to erase previous re-
cordings. Previous recordings are automatically erased when a new
recording is made.
To erase a tape, follow the same procedure as for Recording, but
disconnect inputs and reduce RECORD LEVEL controls to mini-
mum. Then run the tape through (press RECORD and PLAY
keys); this automatically erases previous recordings from the tape.
Note that Erase Protect Tabs must be in place for this erase func-
tion to work. Or, you can use a bulk eraser such a Radio Shack's
Catalog Number 44-210.
To achieve optimum Record and Play results, be sure to use the
correct DOLBY, BIAS and EQ switch positions.
When playing back a Dolbyized tape, always press DOLBY NR
in
(or the tape will sound overly "bright"; that is, excessive high-fre-
quency content). When playing back a non-Dolbyized tape, leave
DOLBY NR out (or the sound will lack high-frequency emphasis).
— 8 —
 Loading...