Install the feet (3) to the lifting columns with the screw M6 (A*8) and tighten it with hex wrench (C).
Caution: Pay attention to the directions. /
Installez les pieds (3) sur les colonnes de levage avec la vis M6 (A*8) et serrez-la avec une clé hexagonale (C)
Attention : Faites attention aux directions./
Instale los pies (3) en las columnas de elevación con los tornillos M6 (A*8) y apriételos con la llave hexagonal (C)
Precaución: preste atención a las direcciones.
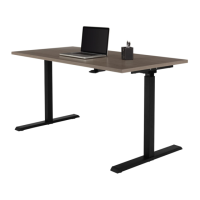
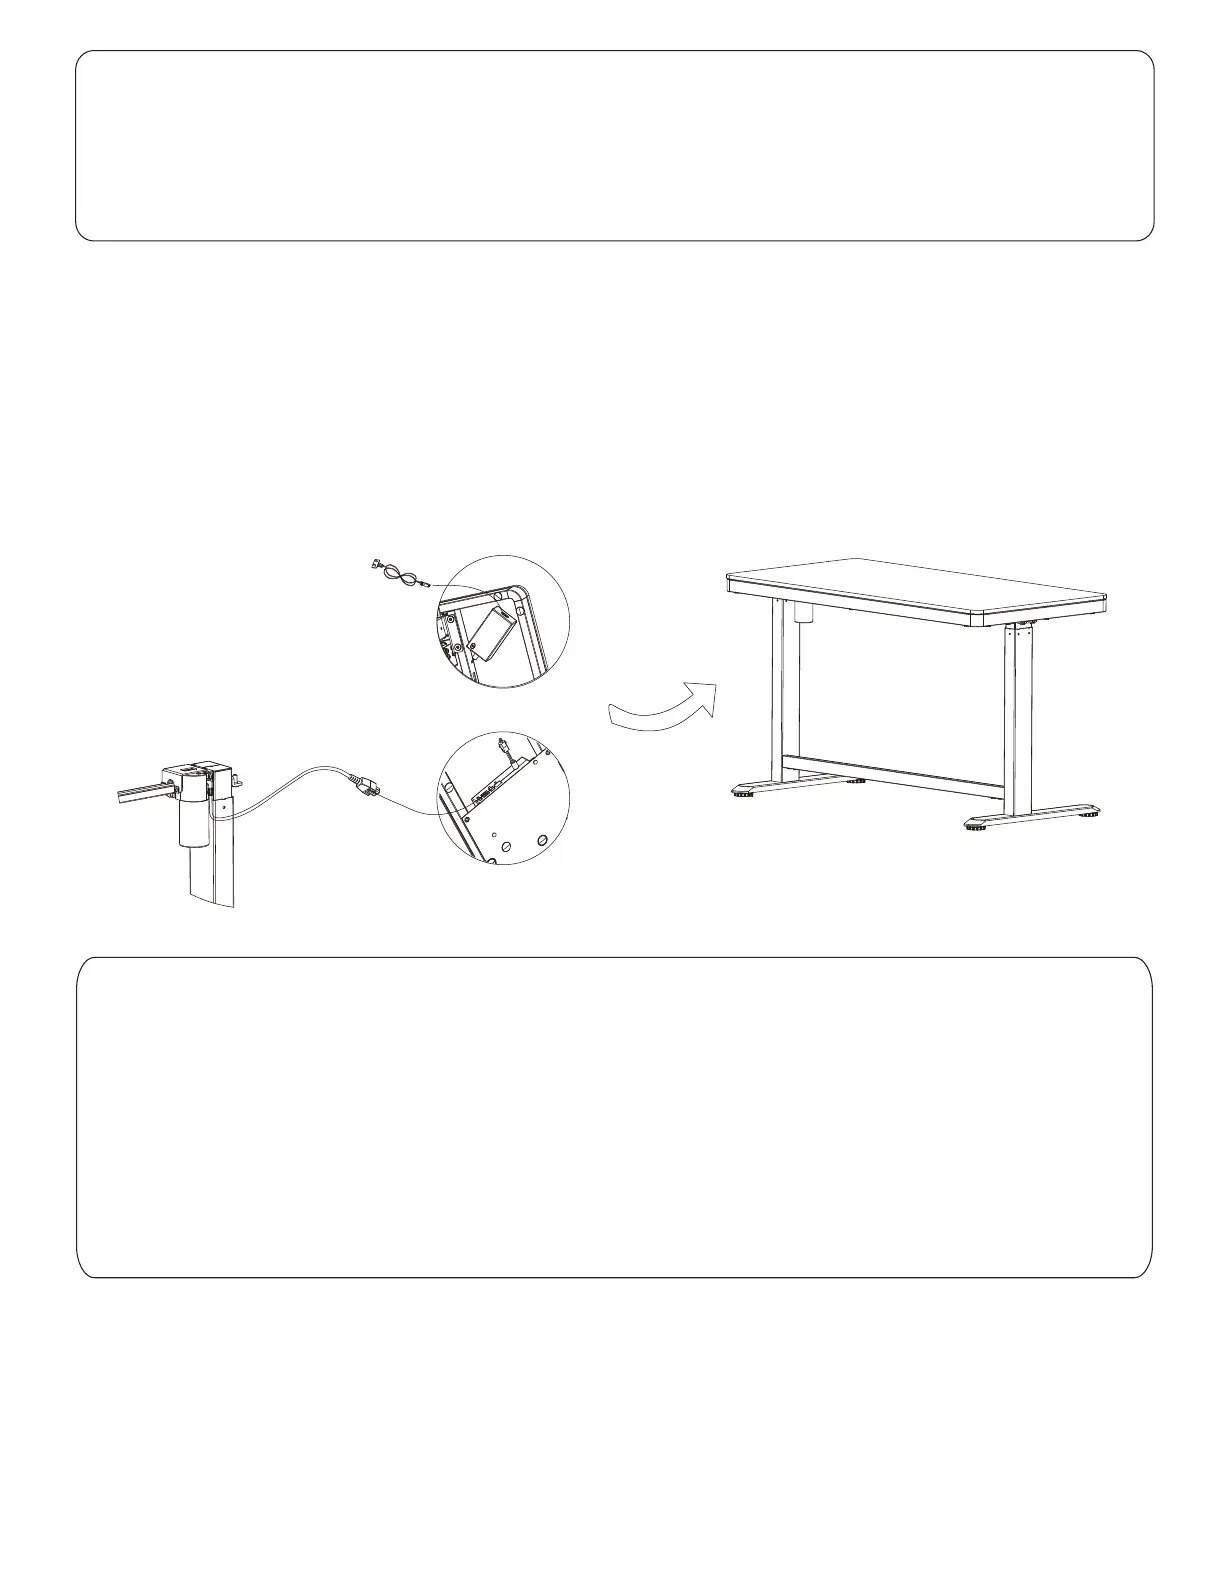
Connect the motor plug to the control box, then connect one side of the adapter plug to the adapter, another side to
the power line.
Caution: the motor and power lines can be fixed by cable clamp according to actual use. /
Branchez la fiche du moteur au boîtier de commande, puis branchez une extrémité du câble de l’adaptateur à
l’adaptateur et l’autre extrémité à la ligne d’alimentation électrique.
Attention : les lignes du moteur et d’alimentation électrique peuvent être fixées au moyen du serre-câble en fonction
de l’utilisation réelle./
Conecte el enchufe del motor a la caja de control y, a continuación, conecte un lado del enchufe adaptador al
adaptador y el otro lado al cable de corriente.
Precaución: el motor y los cables eléctricos se pueden fijar con la pinza para cables cable en caso necesario.
Step 3
Install the motor and power lines
Paso 3
Instale el motor y los cables eléctricos
Étape 3
Installez les lignes du moteur et d’alimentation électrique