Do you have a question about the realspace Axley and is the answer not in the manual?
Crucial safety warnings and guidelines for using the furniture properly and preventing hazards.
Contact details and support services for assembly or product information.
Visual reference for identifying and differentiating various bolts and hardware sizes.
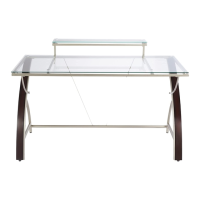
Attaching the glass top frame and associated parts to the main structure.
Securing the front metal supports to the desk frame.
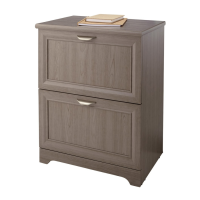
Attaching the left and right wooden legs to the desk.
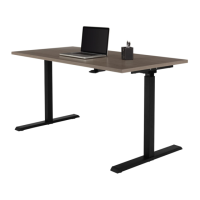
Connecting the metal legs to the desk's main structure.
Installing the desk bottom stretcher for added stability.
Connecting the metal bar to the desk frame.
Attaching corner brackets to the riser supports.
Installing the front stretcher for the riser.
Installing the back stretcher for the riser.
Attaching the riser glass top to the assembled structure.
Finalizing assembly by adjusting floor levelers for stability.
| Category | Indoor Furnishing |
|---|---|
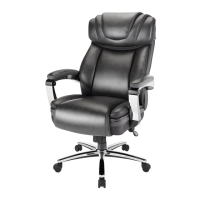
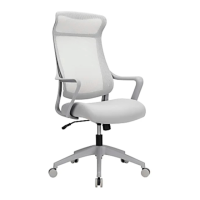
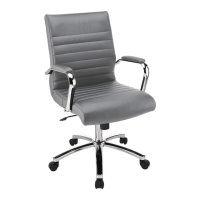
| Product Type | Office Chair |
| Weight Capacity | 275 lbs |
| Adjustable Height | Yes |
| Tilt Mechanism | Yes |
| Armrests | Yes |
| Warranty | 5 years |
| Material | Mesh |