3
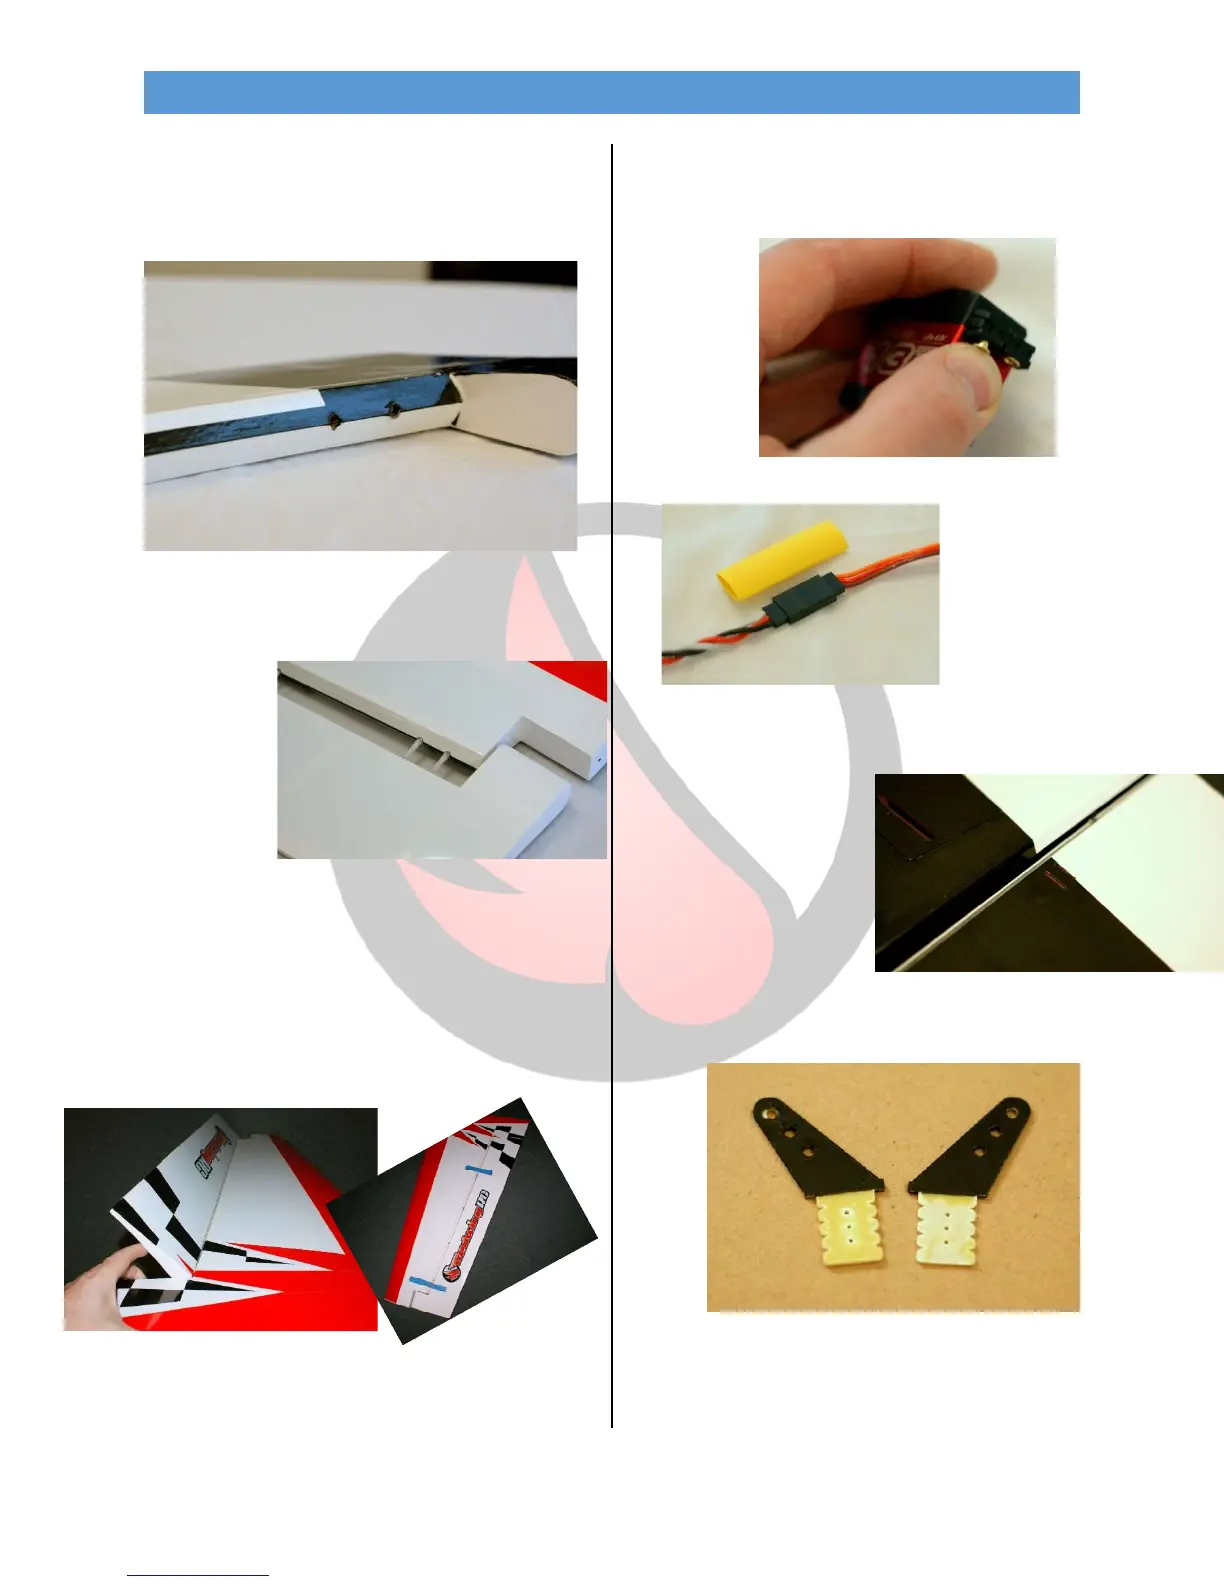
•Mix another batch of epoxy and coat the
inside of each hinge point bore as before. Then
stand out the hinge points, and coat the end of
each.
•Carefully align the hinge pins to the bores as
you install
onto the
point
hinges.
Remove any excess epoxy with denatured
alcohol.
•Ensure the aileron moves freely bevel to bevel
to allow maximum deflection and set aside to
cure.
From the Pro: Use 3 pieces of painters tape to secure
across the hinge line – One on each end of the top
side, and one in the middle on the bottom side.
•Prepare the aileron servos while the epoxy is
curing. Install the grommets and inserts and
secure the extension to the lead at this time.
From the Pro:
Use heat
shrink tube to
secure the
servo lead to
the extension.
•Once the epoxy is cured, install the dual
control horns into the
pre-cut slots of the
ailerons.
•Lightly scuff the glue surface of the horns using
coarse grit sand paper or a rotary sanding tool.