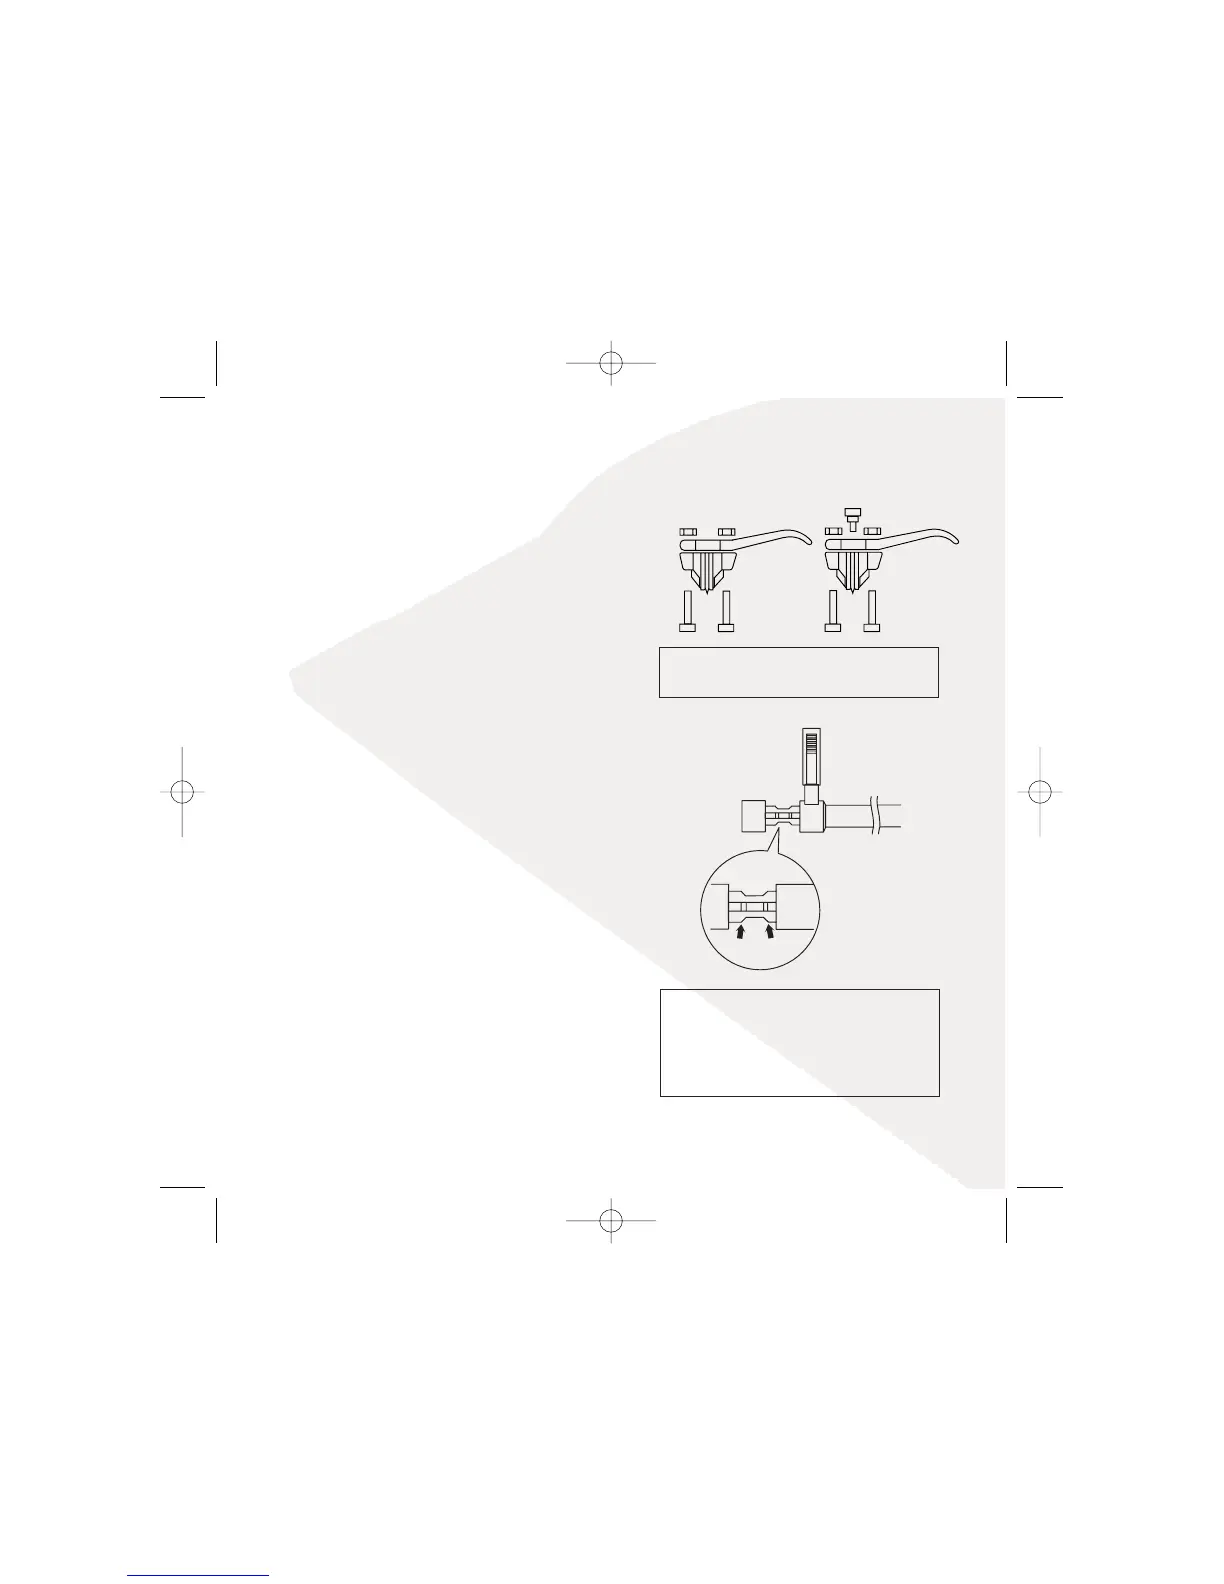
Bias adjustment
Grooves on the bias shaft indicate bias weight in
Grams. When fully extended, bias adjustment is at
0g. Push in to the first mark for 1g and to the
second for 2g.
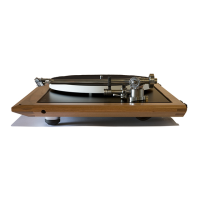
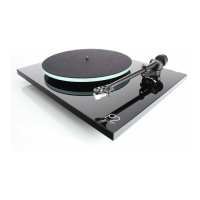
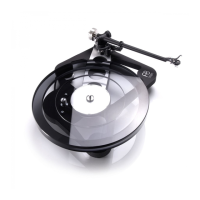
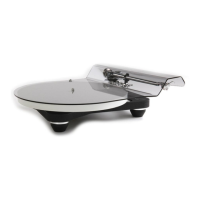
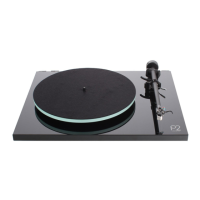
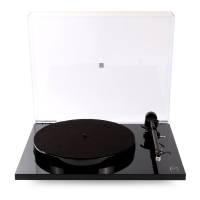
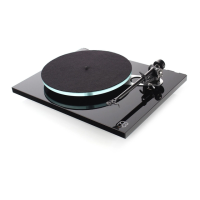
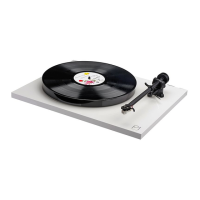
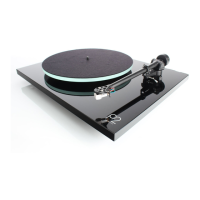
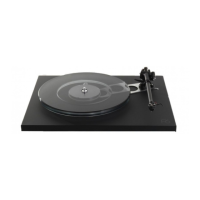
Turntable
Blue:LH Earth
Green:RH Earth
Red:RH Signal
White:LH Signal
Set tracking force.
Fit the cartridge to the tonearm (this should have been done
by your hifi dealer!).
Note: If you are going to use another manufacturer's
cartridge, please be aware that they may use deeper
bodied cartridges than our own. It may be necessary to add
our "Rega Arm Spacers" to obtain correct VTA (Vertical
Tracking Alignment). 2mm, 4mm and 10mm sizes are
available and a sleeved arm nut is supplied for use with
4mm and above. The spacers simply sit underneath the
arm raising it to the required height.
See page 7 for Turntable diagrams.
With the cartridge fitted using the alignment protractor
supplied, ensure that the tracking force control and bias
adjustment slider is set to zero. Slide the balance weight
along its shaft until the stylus is "floating" just 1mm clear of
the record. It is worth noting, that the tonearm will drift back
to the bias housing; this is perfectly normal due to its virtually
frictionless bearings.