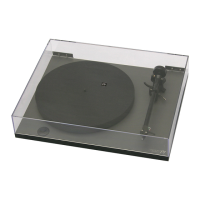
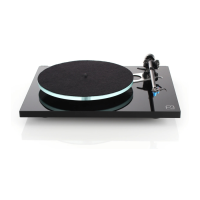
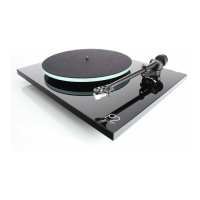
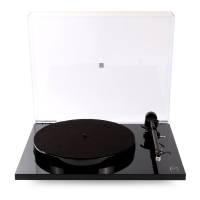
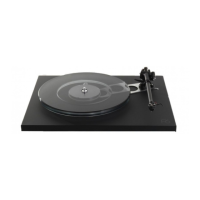
Your Rega P1 turntable has been designed
to effectively reproduce music whilst being
easy to use. We have omitted all the usual
gimmicks; concentrating the manufacturing
costs on the high quality and design nec-
essary to reproduce records accurately.
Using a manual speed change (for the odd
occasion you may want to play a 45 RPM
record) rather than an automatic mecha-
nism, eliminates speed inconsistencies
and possible damage to the drive belt. The
money we save with this method is spent
on an expensive low vibration motor which
would normally be used on a turntable
costing two or three times the amount. The
simplistic design of the Rega P1 and the
use of extremely high quality components
ensure that your turntable should last for
many years. The tips we give may help
increase the longevity of your TT-1 and
give you maximum musical enjoyment
combined with ease of use.
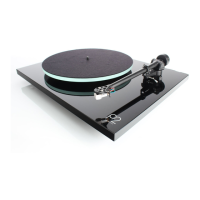
Quick set up (factory fitted cartridge only)
Your turntable has been designed to be
very simple to set-up and use.
We have designed this turntable so that
correct tracking weight can be achieved by
simply moving the balance weight as close
to the pivot point as possible. Fig 1.
This will automatically set the arm to within
the recommended tracking range for the
factory fitted stylus. (1.5g - 2.0g)
The Bias slider should be set to the same
figure as the tracking weight.
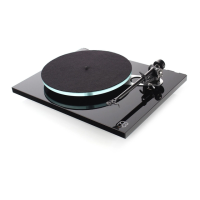
Advanced Set-up (for use when fitting dif-
ferent cartridges)
Align the cartridge as shown in fig 2.
Ensure the cartridge is sitting square in the
headshell before fully tightening. Make
sure the bias adjustment slider is set to
zero. Screw the balance weight along its
shaft until the stylus is "floating" just 1mm
clear of the record.
The recommended tracking force can now
be applied by rotating the balance weight
so that it moves towards the front of the
arm. A half turn gives 1g tracking force.
Always use a force which corresponds to
the upper limit of the cartridge maker's rec-
ommended range. Set the bias adjustment
slider to the same number as the tracking
force control - i.e. 1.5g tracking force = 1.5
on the bias slider.
Quick set up guide (fig 1.)
Balance weight
Push balance
weight on as far
as the shaft will
allow.
Advanced set up guide (fig 2.)
Stylus must line up
with the front edge
of the hole
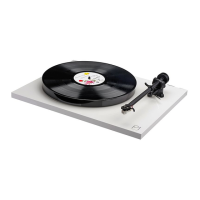
Power
Red (Right channel)
White (Left channel)
Bias
Adjustment
Slider
Top view of turntable
P1
P1