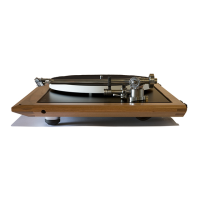
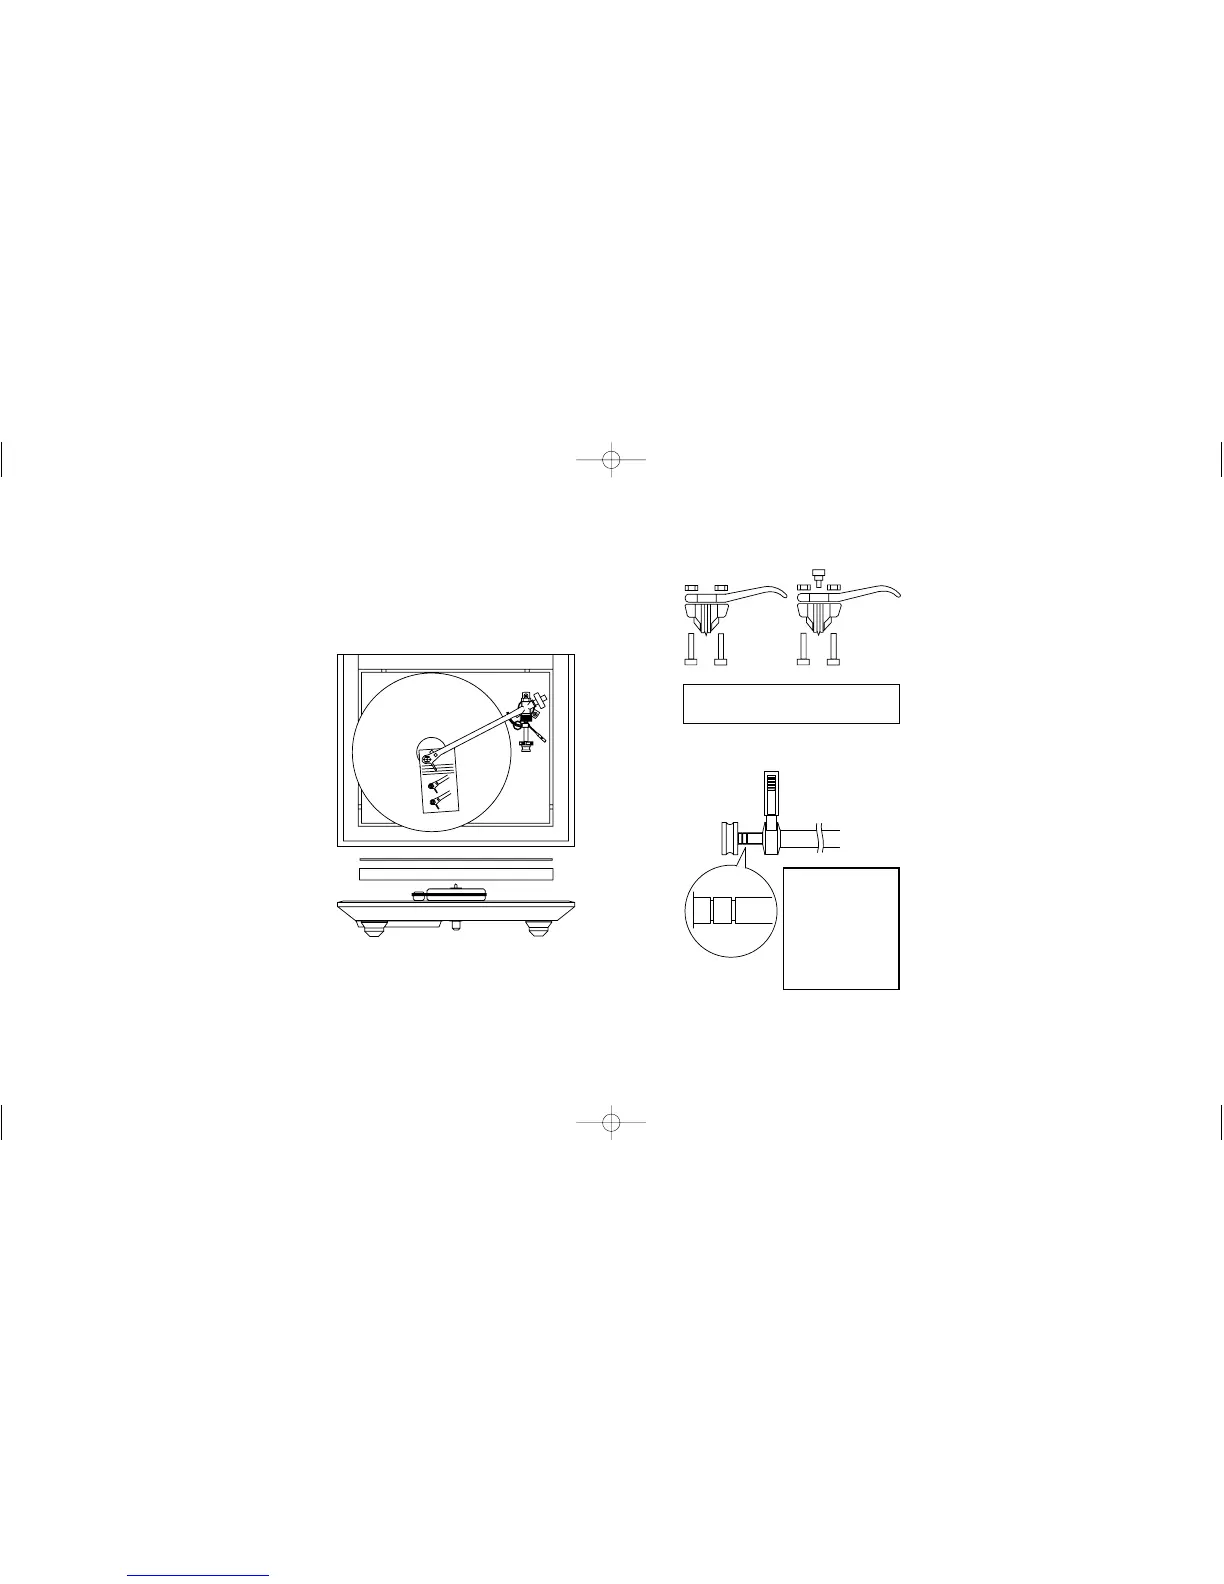
Setting tracking force
With the cartridge fitted and aligned
using the protractor supplied, set the
tracking force dial and bias
adjustment shaft to zero. Adjust the
balance weight along its shaft until the
stylus is "floating" just clear of the
record. (N.B. it's quite normal for the
tonearm to swing away from the
centre of the record by itself. This is in
the main caused by very low friction
bearings.)
Return the tonearm to it's rest, and
the tracking force can now be applied
by setting the tracking force dial to the
upper limit of the cartridge
manufacturers recommended range,
taking note of the mark on the
tonearm. Set the bias adjustment
shaft to the same number as the
tracking force dial i.e. 1.75g tracking
force for Rega cartridges = 1.75g on
the bias shaft (see left).
8
down to feed generously rated, high
current power fet amps.
The output from these is very pure
(<0.03 THD, this is a lower value than
many power amplifiers output). The
beauty of this power supply is that a
dual phase is supplied to the motor,
the phases of which may be varied in
relation to each other. This means
that the power supply phases can be
(and are) trimmed to eliminate all
vibration from the motor. In turn, this
means that there is no need for plinth
suspension, which would ordinarily be
required to eliminate motor
resonance.
To minimise the risk of hum pick up by
the cartridge, the power supply should
be situated as far from the P9 as the
interconnect cable will allow.
7
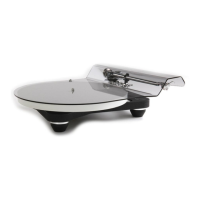
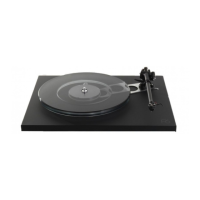
Power Supply
Setup
 Loading...