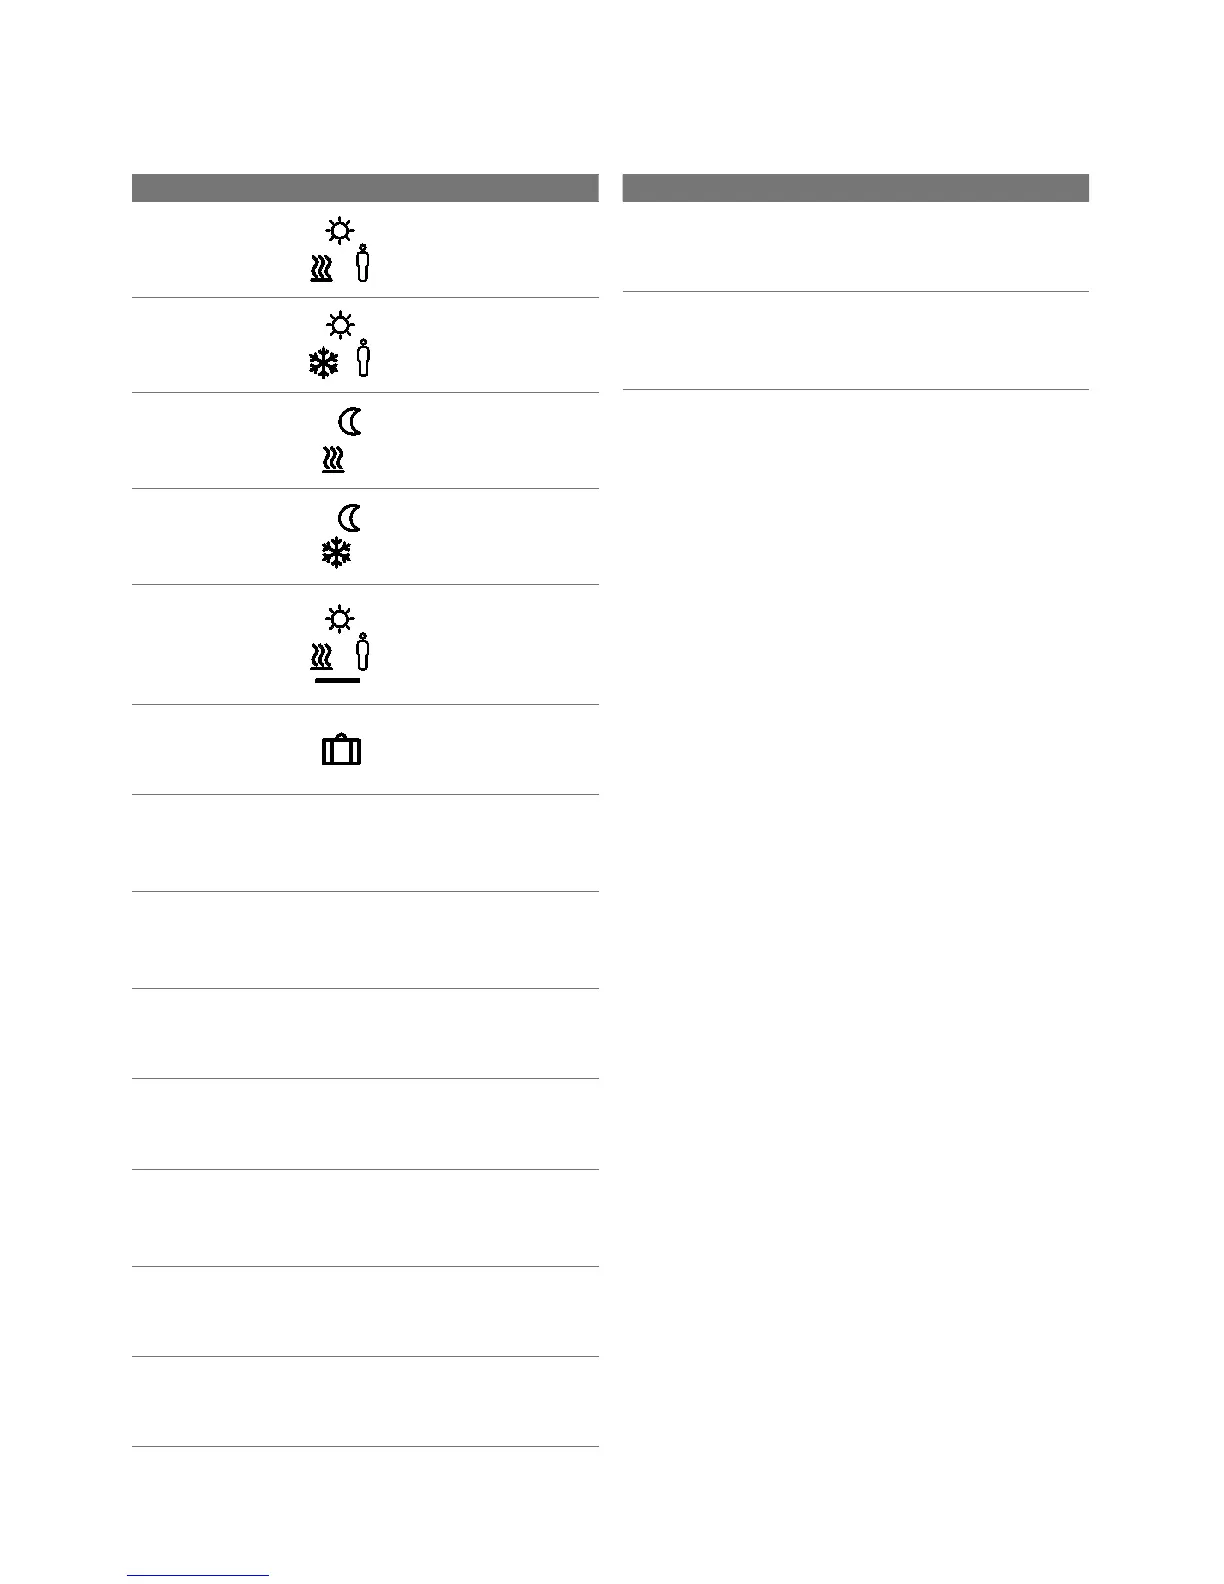
4.9 Parameters
Parameters Symbol Steps
Temperature for
presence in
heating mode
- Activate and set the desired
temperature.
- Confirm by pressing.
Temperature
for presence in
cooling mode
- Activate and set the desired
temperature.
- Confirm by pressing.
Setback temperature
for heating mode
- Activate and set the desired
temperature.
- Confirm by pressing.
Setback temperature
for cooling mode
- Activate and set the desired
temperature.
- Confirm by pressing.
Floor heating
minimum temperature
(only in connection
with Nea remote
sensor)
- Activate and select the
desired comfort tempera-
ture
(1.0...6.0 ≈ 18 °C...28 °C)
- Confirm by pressing.
Setback temperature
for holidays
- Activate and set the desired
temperature.
- Confirm by pressing.
Setting the tempera-
ture limit
min
max
- Activate
- Select the min./max.
adjustable temperature,
confirm each by pressing
Time control via
external timer (instead
of integrated
programs P0 to P3)
E-CL
SET
- Activate and select the
status On or O.
- Confirm by pressing.
Select Comfort
program for working
days
P0
1-5
- Activate and confirm entry.
- Select and activate lifestyle
program (P0-P3).
Select Comfort
program for the
weekend
P0
6-7
- Activate and confirm entry.
- Select and activate lifestyle
program (P0-P3).
Set time/date
SET
TIME
- Activate, set year (yyyy),
month (mm) and day (dd)
as well as time (hh:mm),
confirm each by pressing.
Info software version
of room control unit
So1
XX-XX
- Display of the room control
unit software version
Info base station
software version
So2
XX-XX
- Display of the base station
software version
Parameters Symbol Steps
Info software version
Ethernet Controller
So3
XX-XX
- Display of the software
version of the Ethernet
Controller
User level reset
Reset of all user
settings to factory
settings!
RES
USER
- Activate and select Yes
- Press to reset all functions.
Tab. 4-4 Parameters
10
 Loading...