4
II. Programming
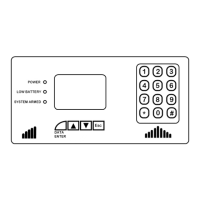
Programming is done in the “HOME” mode and is very intuitive. Here are the basic controls:
The * (star) key is used for accessing the programming menus. Press and hold this key 3 seconds to begin
programming.
The “Data Enter” key is used to select a particular programming menu or to save an entry.
The UP arrow and DOWN arrow keys are used to scroll through the menu selections.
The “Esc” key is used to escape from a particular programming step or erase an entry/number.
Numbers are entered directly on the numeric keypad.
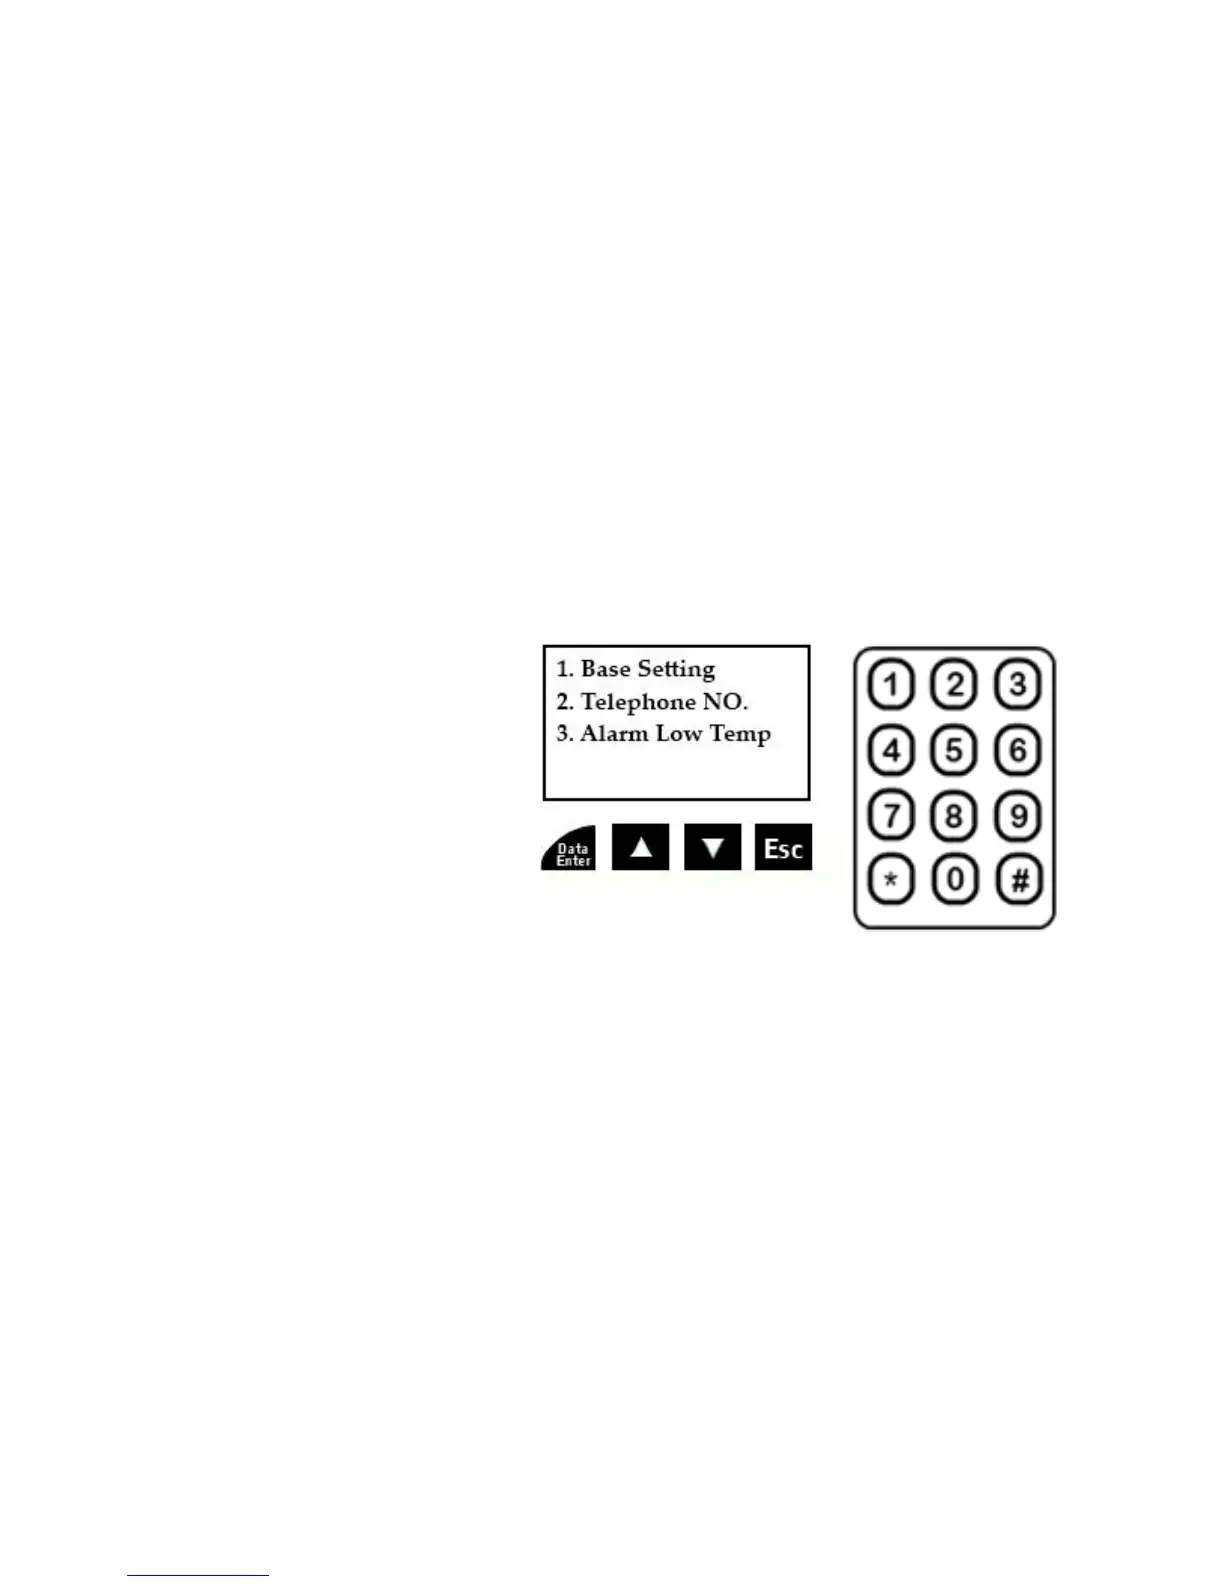
Programming Menus: There are 3 main programming menus, and 6 sub menus of the “Base Setting” menu. The
Telephone NO. menu (actual outgoing telephone numbers you are to program) along with the Alarm Low Temp. menu
(the adjustable low temperature setting) do not have any sub menus.
Programming is very basic with the backlit display and keypad, utilizing the keys under the screen and the numbered keys
on the right. Please take your time going through the menus and sub menus and familiarizing yourself with all of the
options and general navigation.
Programming Menus
1. Base Setting
I. Set Time
II. Daylight Savings ON/OFF
III. LCD Display Contrast
IV. Disarm Password Setting
V. Arming Delay
VI. Sensor Delay
2. Telephone NO. (numbers)
3. Alarm Low Temperature
From Home Mode, Enter Programming by Holding * (Star) Key 3 Seconds
1. Base Setting: Press the Data Enter key when (1.) Base Setting is highlighted
I) Set Time: Press the Data Enter key when (1.) Set Time is highlighted
The format is as follows: YYYY-MM-DD hh:mm - (2012-01-01 00:00)
Note that the time is in 24-hour format (13 for 1 p.m. etc.). The highlighted digit indicates which number you are
to change. Simply press the number on the keypad to change each number for the year, month, day and time, and
it will cycle to the next digit as you enter each number. The UP and Down arrows will also cycle through each digit
to the left or right, but you must input a number to change an entry. Anytime you enter a number it overrides
whatever was there. When finished, press the Data Enter key to save. A symbol will appear briefly along with the
word “Save” confirming the information has been saved, and it will return to the Base Setting menu.
This “Save” symbol will appear every time you save any setting in programming.
II) Set Daylight Savings Time:
Scroll through the menu using the UP or Down arrow keys
Press the Data Enter key when (2.) Daylight Saving Time is highlighted
Press the UP or DOWN arrow to turn this ON or OFF, and press the Data Enter key to save.
 Loading...