Do you have a question about the Remington 107624-01 and is the answer not in the manual?
Loosen both nuts on the guide bar to prepare for chain tension adjustment.
Turn the adjusting screw or thumbscrew clockwise to tension the saw chain.
Pull the chain to check tension, ensuring guide links stay in the groove.
Ensure chain moves freely and tighten both nuts securely.
Essential safety precautions to take before operating the chain saw.
Safety guidelines to follow during chain saw operation.
Explains how kickback occurs and its dangers.
Steps and techniques to reduce the risk of kickback.
Unplugging the saw before performing maintenance or repairs.
Inspecting and maintaining the saw for optimal performance and longevity.
Instructions for storing the chain saw when not in use.
Steps to unpack the saw and check for shipping damage.
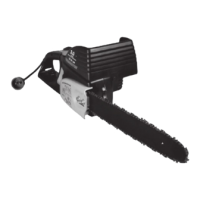
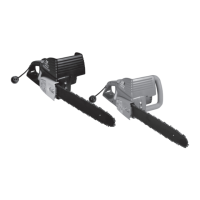
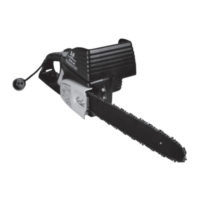
Labeled illustration of components for Model 107624.
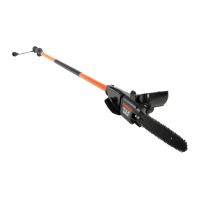
Labeled illustration of components for Model 107625.
Critical safety notes regarding chain sharpness and assembly methods.
Step-by-step process for attaching the guide bar and chain.
Loosen the guide bar nuts to allow for tension adjustment.
Turn the tensioning screw or thumbscrew to adjust chain tightness.
Check tension, ensure free movement, and tighten guide bar nuts.
Emphasizes reading the manual and understanding safety information.
Instructions for correctly filling the oil reservoir with appropriate oil.
Procedures for manual and automatic chain oiling.
Information on choosing and using appropriate extension cords for the saw.
Connecting the saw, ensuring firm footing, and proper grip.
How to start the saw, make cuts, and avoid ground contact.
Safely finishing cuts and stopping the saw.
Warnings regarding kickback, skill, and work area safety.
Inspecting the tree and creating the felling notch.
Performing the main cut and creating the hinge for controlled fall.
Warnings, log securing, and general techniques for bucking.
Methods to avoid pinching and ensure control while cutting.
Warnings about kickback and cutting tensioned limbs.
Steps for removing branches from a fallen tree.
Specific cutting method for logs supported at one end.
Specific cutting method for logs supported at both ends.
Precautions against kickback and unsafe operating positions.
Step-by-step instructions for cutting limbs from a living tree.
Instructions for cleaning the exterior of the chain saw.
Tips for maintaining the guide bar to prevent wear and damage.
Initial steps for sharpening the saw chain for optimal cutting.
Detailed process for filing the chain cutters to maintain sharpness.
Adjusting depth gauges for proper chip formation and cutting.
Guidance on when and how to replace the saw chain.
Instructions for storing the saw for periods exceeding 30 days.
Warning about using only specified parts to prevent damage or injury.
Information on obtaining original replacement parts and accessories.
How to get help from technical service via web or phone.
Steps for obtaining service covered by the product warranty.
Steps for obtaining repairs that are not covered by warranty.
Solutions for saws that do not cut or cut poorly.
Addressing problems related to the motor not running or stalling.
Troubleshooting chain not moving, coming off, or lack of oil.
Diagnosing and resolving saw smoking or oil leak problems.
Details of the manufacturer's limited warranty terms.
Outlines what the warranty covers and any limitations or exclusions.
Information about consumer rights concerning the product warranty.
Contact details for various companies that supply parts and service.
Labeled illustration of chainsaw parts for specific models.
Detailed list of parts with numbers and descriptions for Model 107624.
Labeled illustration of chainsaw parts for specific models.
Detailed list of parts with numbers and descriptions for Models 107625.
List of available parts not depicted in the illustrated breakdowns.
| Power Source | Electric |
|---|---|
| Voltage | 120 V |
| Automatic Oiler | Yes |
| Tool-Free Chain Tensioning | Yes |
| Amperage | 12 Amp |
| Chain Speed | 27.9 ft/s |






 Loading...