4 Assembly and
installation
The Wi-Fi stick is inserted into the existing inter-
face. The interface is located on the SKW
, RVT
and ATY series units on the display board, which is
attached on the right behind the unit's panel. The
installation can be carried out as follows:
SKW
1. Disconnect the system from the power
supply
.
2. Open the unit cover
.
3. Loosen the screw on the socket of the dis-
play board and remove the display board
from the unit trim.
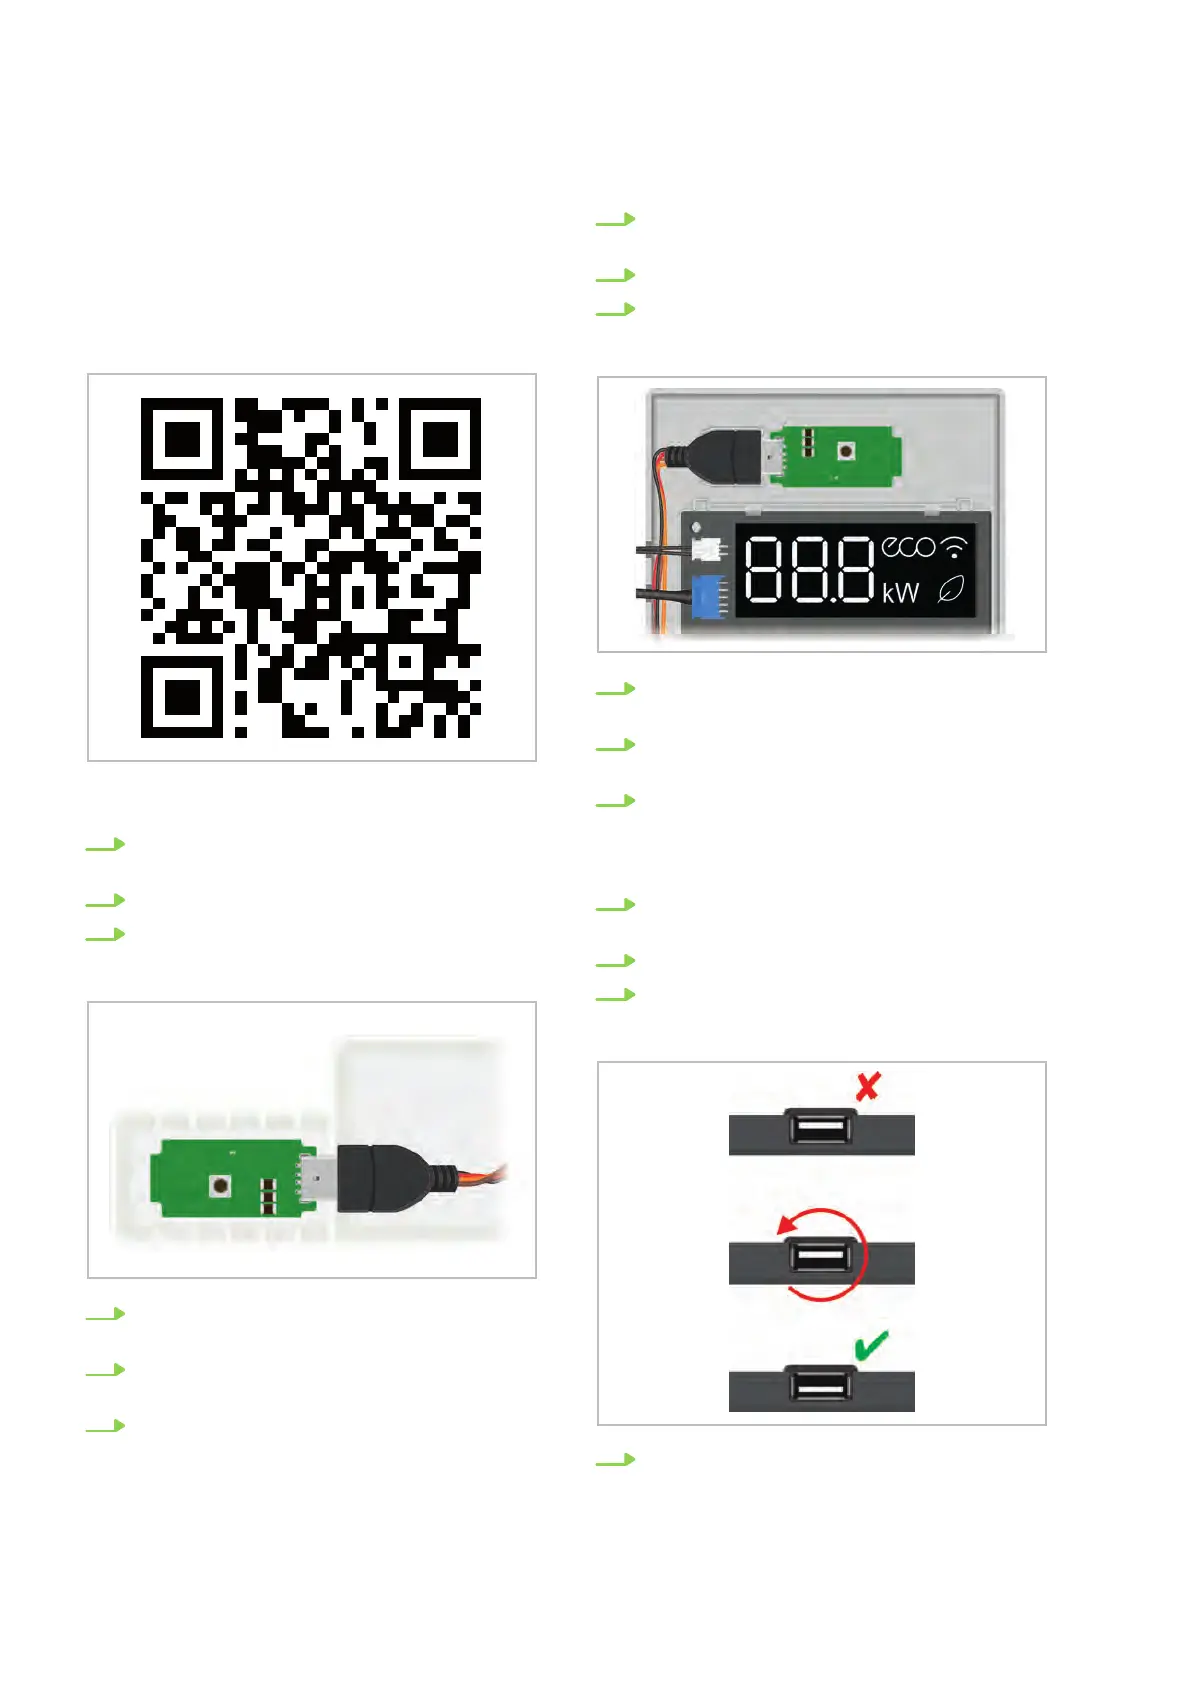
4. Insert the Wi-Fi stick into the designated
interface.
5. Place the display board including the socket
in its original position and fix it with the screw
.
6. Close the unit cover
.
RVT
1. Disconnect the system from the power
supply
.
2. Open the unit cover
.
3. Loosen the screw on the socket of the dis-
play board and remove the display board
from the unit trim.
4. Insert the Wi-Fi stick into the designated
interface.
5. Place the display board including the socket
in its original position and fix it with the screw
.
6. Close the unit cover
.
ATY
1. Disconnect the system from the power
supply
.
2. Open the unit cover
.
3. Loosen the screw on the socket of the dis-
play board and remove the display board
from the unit trim.
4. Remove the interface for the Wi-Fi stick from
the socket, turn it 180° and reinsert it in the
socket.
REMKO Wi-Fi stick Smart-Control
10
 Loading...