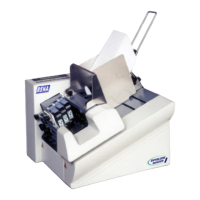
SECTION 2
INSTALLING THE PRINTER
9
Removing the cardboard Shipping Insert and Shipping Tape
WARNING! To avoid possible damage to the printer; do NOT plug-in, or power-up, the printer
until all shipping materials have been removed; as described below.
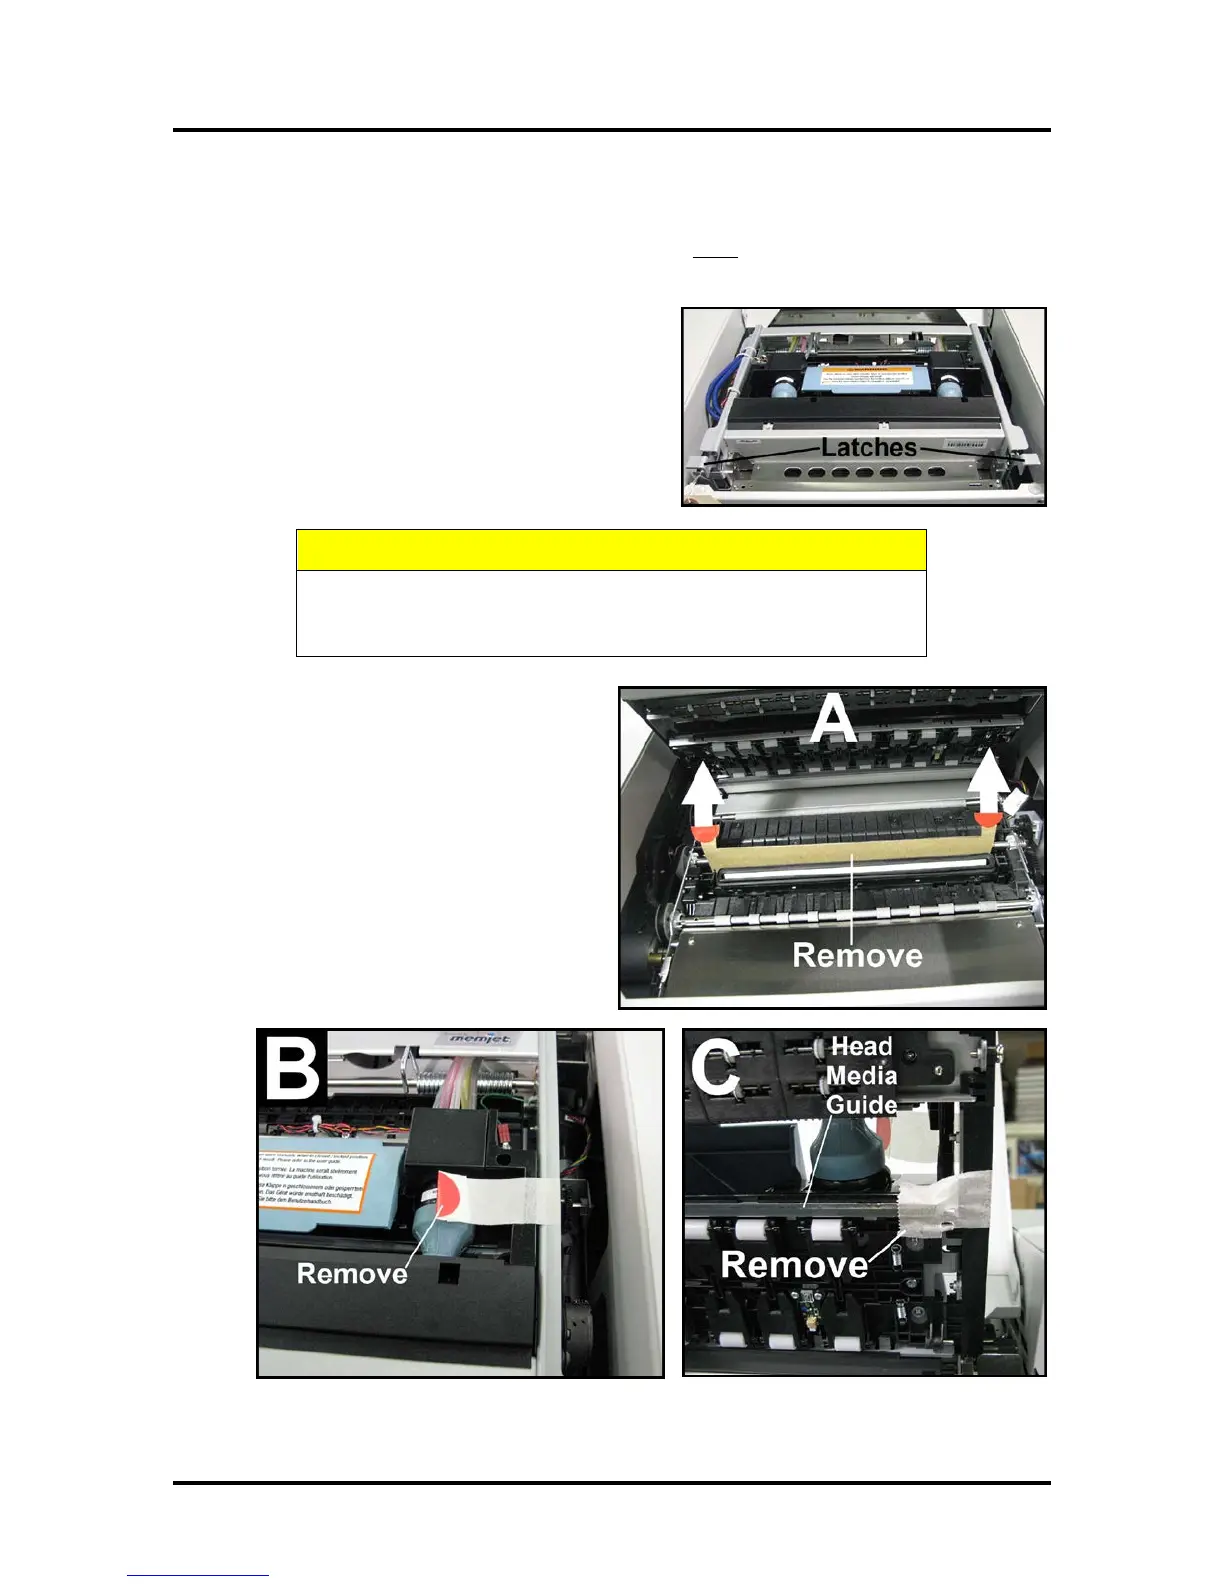
1. Open the Top Cover.
2. Carefully release both latches (one on either side of
the Print Engine), and lift up with both hands, to
gently swing open the Print Engine Clamshell.
HOLD ONTO BOTH LATCHES WHEN OPENING AND CLOSING
THE PRINT ENGINE CLAMSHELL TO PREVENT DAMAGE.
DO NOT ALLOW THE ASSEMBLY TO DROP OR SLAM CLOSED.
3. Remove the cardboard “Shipping Insert”
[A], by pulling up on both red tabs at the
same time. The “Shipping Insert” secures the
Service Station during printer transport.
4. Remove the Tape [B]. The tape wraps
around the underside of the Clamshell to
secure the Head Media Guide. (If necessary,
wipe off any tape residue from the Head
Media Guide surface [C].)
5. Gently close and latch the Clamshell.
6. Close the Top Cover.