12
Maintenance
Fusing
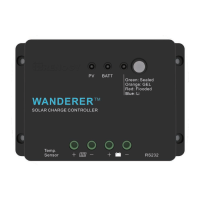
1. Check that controller is mounted in a clean, dry, and ventilated area.
2. Check wiring going into the charge controller and make sure there is no wire damage
or wear.
3. Tighten all terminals and inspect any loose, broken, or burnt up connections.
For best controller performance, it is recommended that these tasks be performed from time to time.
AWG 16 14 12 10 8 6 4 2 0
Max.
Current
55A40A30A25A18A
75A
95A
130A 170A
NEC Maximum Current for different Copper Wire Sizes
Parallel
Fuse from Controller to Battery
Fuse from Solar Panel(s) to Controller
Ex. 200W; 2 X 100 W panels
Ex. 30A Wanderer = 30A fuse from Controller to Battery
Controller to Battery Fuse = Current Rating of Charge Controller
Fuse = minimum of 11.5 * 1.56 = 17.94= 18A fuse
Total Amperage = Isc1 + Isc2 = (5.75A + 5.75A) * 1.56
Please Note: The NEC Code requires overcurrent protection shall not exceed 15A for 14
AWG, 20A for 12 AWG, and 30A for 10 AWG copper wire.
 Loading...