EasyManuals Logo

Reolink Argus Pro User Manual

Reolink Argus Pro
115 pages
To Next Page IconTo Next Page
To Previous Page IconTo Previous Page
Page #18 background image
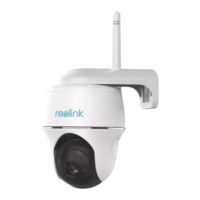
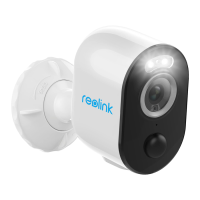
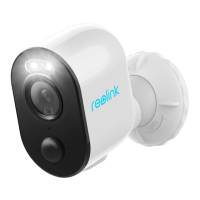
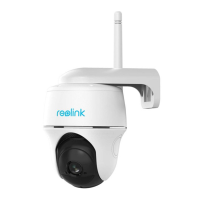
Reolink Wireless Battery-powered Camera
17
Once the initially setup is completed, you may choose a good position to
mount your camera.
Install the Camera
Here take model Argus 2/Argus Pro as example to demonstrate the steps. The
mounting instructions of other models can be found on it’s Quick Start Guide here:
https://reolink.com/download-center/
Mount the Camera to the Wall
Press the button to
release the plate from
the security mount.
Screw the security mo
unt plate into the wall.
Lock the security mou
nt on its plate. (Make
sure the top edge of
the plate is inserted int
o the mount.)
Press the security mount
button until its plate
clicks into the mount.
Screw the camera, adjust
Its mangle and tighten
the knob to lock it.

Other manuals for Reolink Argus Pro

Questions and Answers:

Question and Answer IconNeed help?

Do you have a question about the Reolink Argus Pro and is the answer not in the manual?

Reolink Argus Pro Specifications

General IconGeneral
Field of View130° diagonal
AudioTwo-way audio
Operating Temperature-10°C to 55°C (14°F to 131°F)
Motion DetectionPIR motion sensor
Resolution1920 x 1080 (1080p)
Power SourceRechargeable battery (solar panel compatible)
ConnectivityWi-Fi (2.4GHz)
Night VisionUp to 33 feet
WeatherproofIP65
StorageMicroSD card (up to 128GB)
Image SensorCMOS sensor
Video Resolution1080p
Infrared Night VisionYes
PIR Detection DistanceUp to 33ft
Wireless SecurityWPA2
Battery5200mAh rechargeable battery
Power5V/2A

Related product manuals