English English13 14
Install a Wedge (Optional)
Ifyouneedtoadjusttheangleofthedoorbell,youcanusethewedge
provided. (The Reolink Video Doorbell PoE is taken as an example)
Step 1
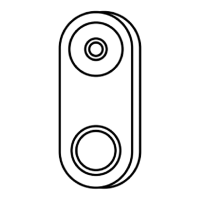
Put the mounting hole template on the wall and drill holes as shown.
Step 2
Install the wedge using the screws provided through the two holes. Ensure
thatthenotchedsideofthewedgeisfacingoutside.
Step 3
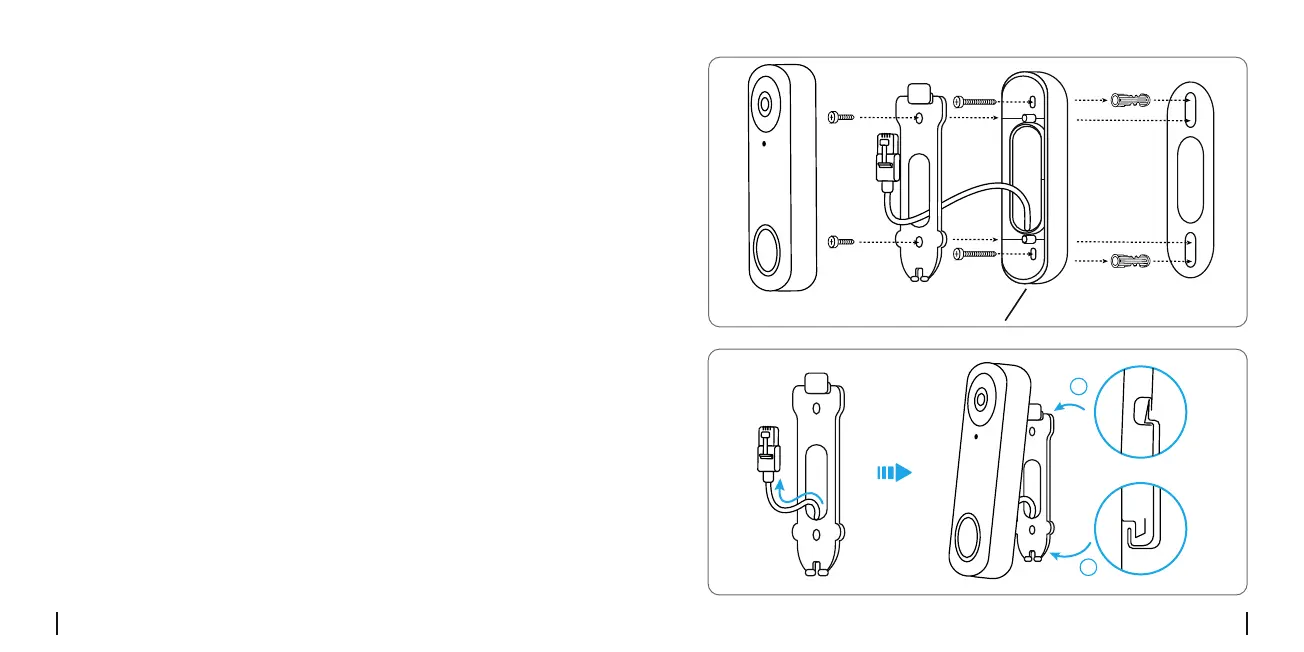
Screw the mounting plate to the wedge.
Step 4
RuntheEthernetcablethroughthewedgeandmountingplate,and
attach the doorbell to the plate.
POE Micro SD
RST
LAN Micro SD
RST
You haven't added any device. Please click
the"+"button in the top right corner to add
Notched Side Facing Doorbell
1
2
 Loading...