English English11 12
For the WiFi Version:
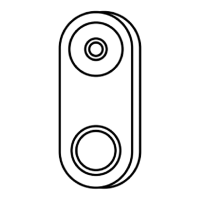
Step 3
Run the power adapter through the mounting plate and the hole on the
walltoconnectittothedoorbell,thenattachthedoorbelltotheplate.
Step 4
Plugthepoweradapterintoasocketnearthedoor.Usethelongpower
extensioncableifthesocketistoofarawayfromyourdoorbell.
POE Micro SD
RST
LAN Micro SD
RST
You haven't added any device. Please click
the"+"button in the top right corner to add
POE Micro SD
RST
LAN Micro SD
RST
You haven't added any device. Please click
the"+"button in the top right corner to add
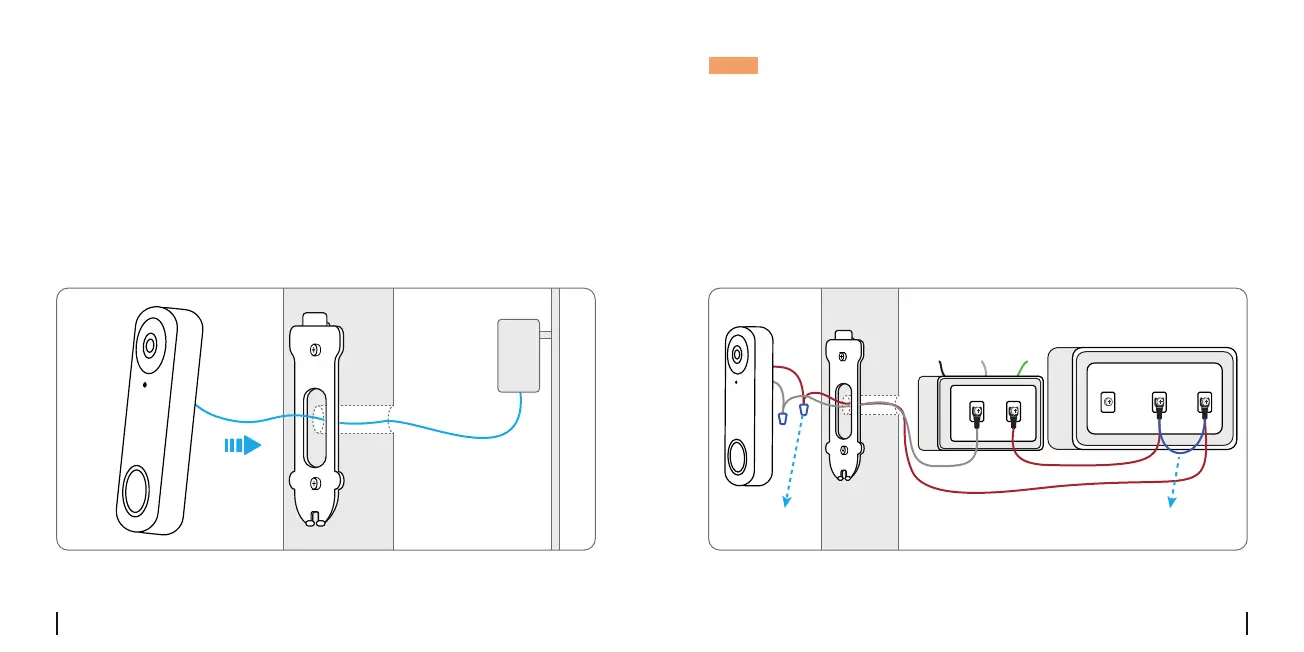
NOTE:ReolinkVideoDoorbellPoE&WiFicanalsobepoweredbythe
existingdoorbellwiringsystem.Insuchcase,youarerequiredtofirst
bypasstheexistingmechanicalchimewiththejumpercabletoget
sufficientpower.Withoutsufficientpower,thedoorbellmayrestartand
hasanunstableconnection,andthemechanicalchimemayvibrate
and generate noise.
Ifthewireisnotlongenough,usetheextensioncable,asshownbelow.
Aftertheinstallation,theexistingmechanicalchimewillnotringanymore.
Usetheextensioncabletoextendthelengthoftheexistingpowercable
forthedoorbell,asshownbelow.
Mechanical ChimeDoorbell Transformer
Ground
Jumper cable Extension cable
NeutralAC
Rear FrontTrans
 Loading...