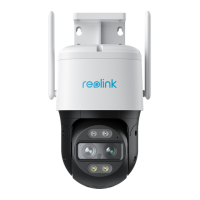
9 10
Mount the Camera
•Donotfacethecameratowardsanylightsources.
•Donotpointthecameratowardsaglasswindow.Or,itmayresultinpoorimagequality
becauseofthewindowglarebyinfraredLEDs,ambientlightsorstatuslights.
•Donotplacethecamerainashadedareaandpointittowardsawell-litarea.Or,itmay
resultinpoorimagequality.Toensurebestimagequality,thelightingconditionforboththe
camera and the capture object shall be the same.
•Toensurebetterimagequality,it’srecommendedtocleanthelenswithasoftclothfrom
time to time.
•Makesurethepowerportsarenotdirectlyexposedtowaterormoistureandnotblocked
bydirtorotherelements.
•WithIPwaterproofratings,thecameracanworkproperlyunderconditionslikerainand
snow.However,itdoesn'tmeanthecameracanworkunderwater.
•Donotinstallthecameraatplaceswhererainandsnowcanhitthelensdirectly.
•Thecameramayworkinextremecoldconditionsaslowas-25°C.Becausewhenitis
poweredon,thecamerawillproduceheat.Youmaypoweronthecameraindoorsforafew
minutesbeforeinstallingitoutdoors.
•Trytokeeptheleftlenslevelwiththerightlens.
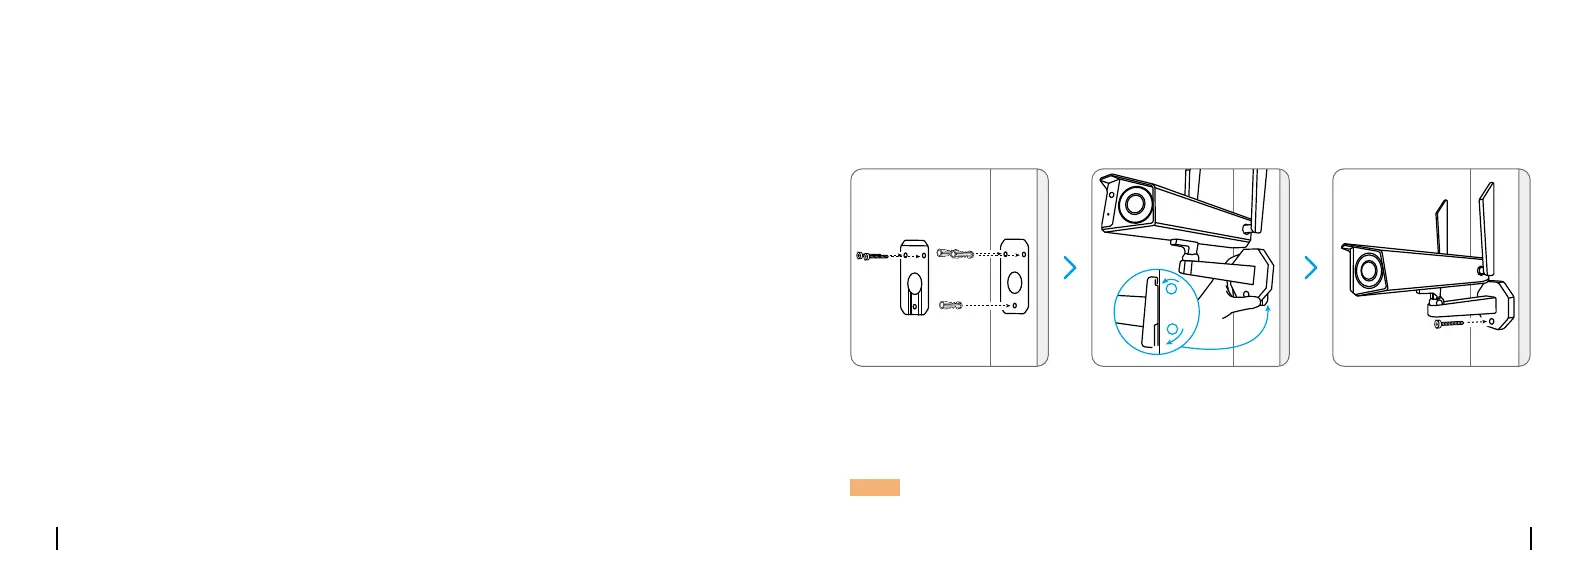
Drillholesinaccordancewiththemountingtemplate,Securethemountingplatetothewall
withtheuppertwoscrewsandhangthecameraonit.Thenlockthecamerainposition
withthelowerscrew.
ThefollowinginstallationmethodstaketheWiFicameraasanexampleandalsoapplyto
thePoEcamera.
Installation Tips
Mount the Camera to the Wall
NOTE: Usethedrywallanchorsincluedinthepackageifneeded.
 Loading...