English English7 8
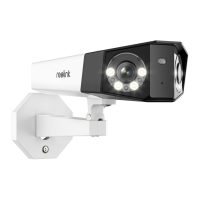
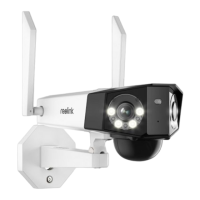
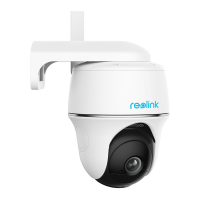
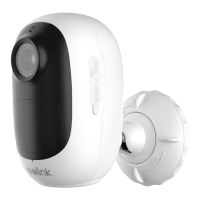
Install the Camera
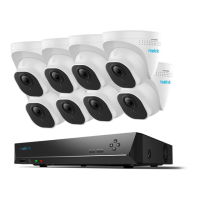
VGAHDMIUSB
AUDIO
OUT
DC 48V
ON
2 4 6 8
1 3 5 7
OFF
LAN
eSATA
1
2
3
PTZ
VGAHDMIUSB
AUDIO
OUT
DC 48V
ON
2 4 6 8
1 3 5 7
OFF
LAN
eSATA
1
2
3
PTZ
VGAHDMIUSB
AUDIO
OUT
DC 48V
ON
2 4 6 8
1 3 5 7
OFF
LAN
eSATA
1
2
3
PTZ
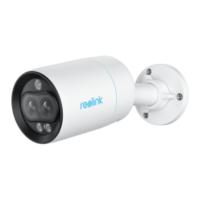
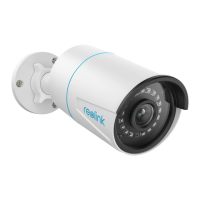
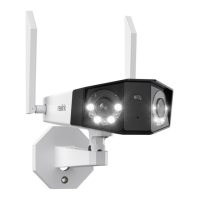
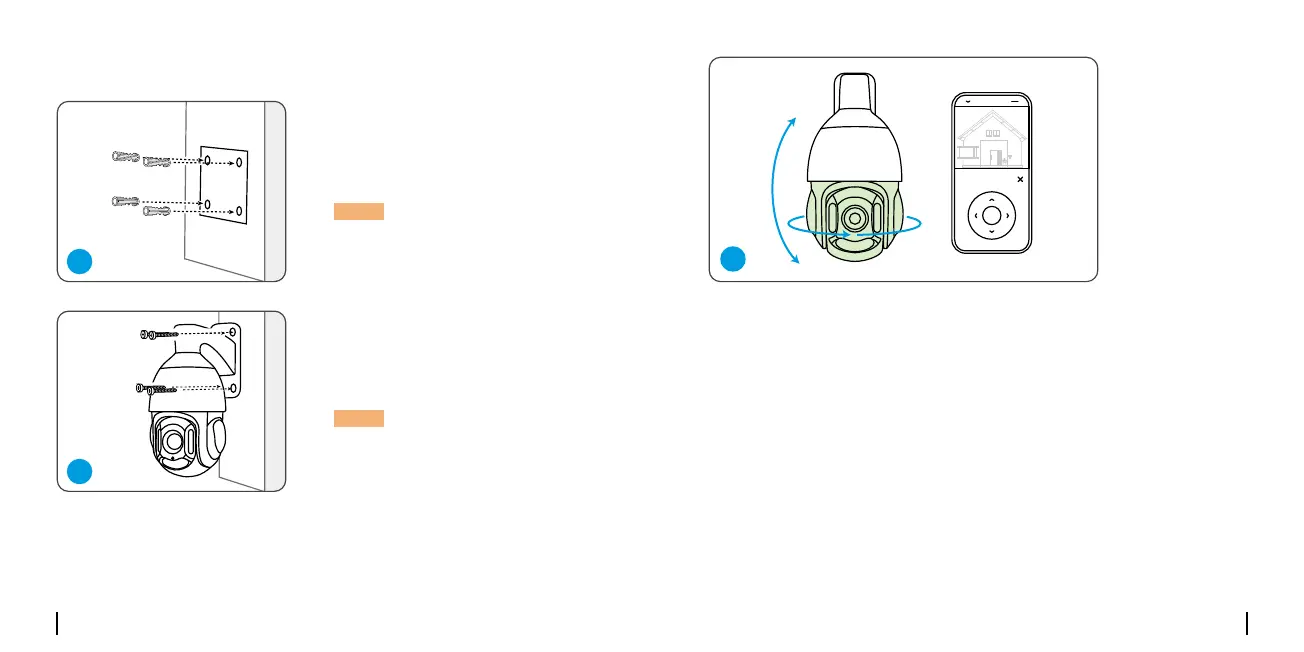
Drill holes in accordance with the
mountingholetemplate.
Toadjustthecameradirection,youmaycontrolthecameratopanand
tiltviaReolinkApporClient.
Install the mount base with
screwsincludedinthepackage.
NOTE: Usethedrywallanchors
includedinthepackageifneeded.
NOTE: Runthecablethroughthe
cablenotchonthemountbase.
 Loading...