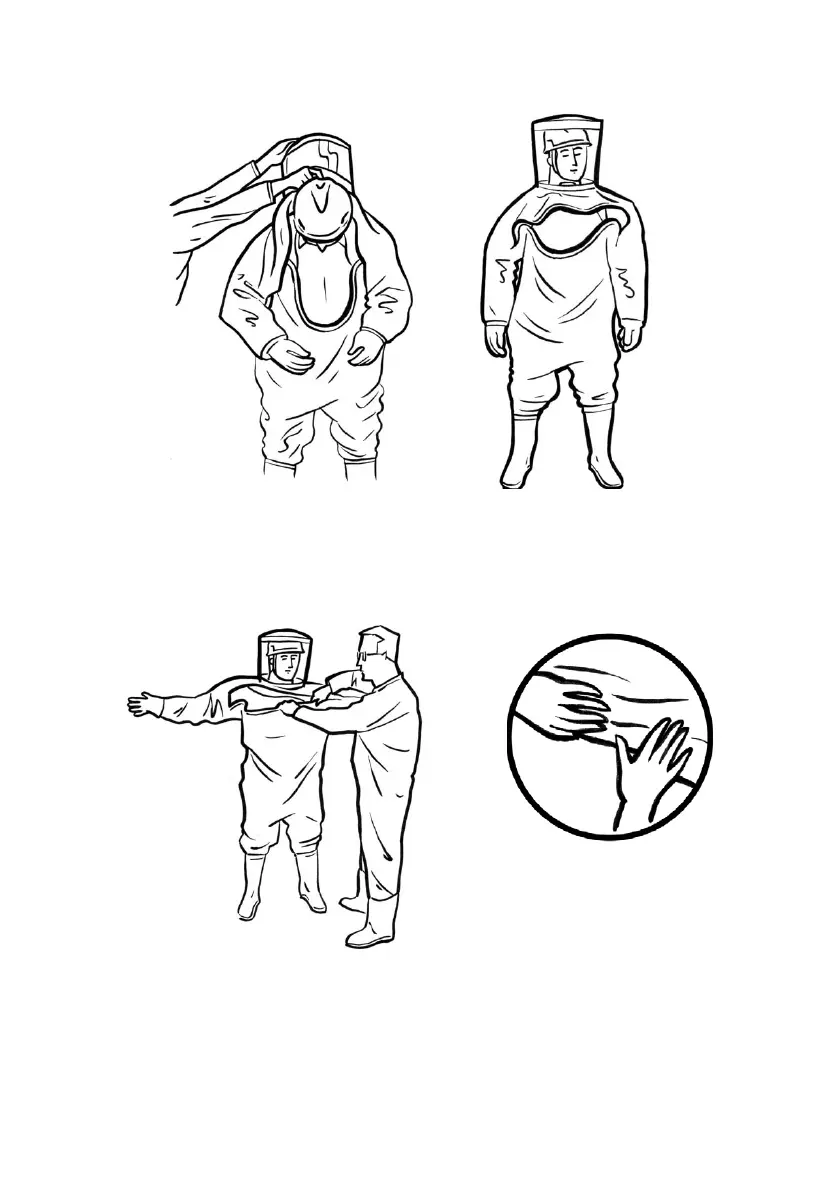
8. The wearer should duck forwards and the assistant should pull the hood of the
suit over the head (figs.25 & 26). NB It may be necessary to re-adjust the
helmet after this stage. Ensure that the knitted neck seal sits evenly around the
wearer's neck.
9. With the wearer’s arms in an outstretched position the assistant should fully
fasten the zipper across the chest, (fig. 27).
10. Seal down the zip flaps evenly to the suit, trying to leave a minimum of gaps
and ridges for the possible ingression of spray or splash (fig. 28). Note: when
sealing down the upper flap you may find it easier to achieve a smooth seal by
working from the centre outwards.
14
Fig.25
Fig.26
Fig.27
Fig.28