9
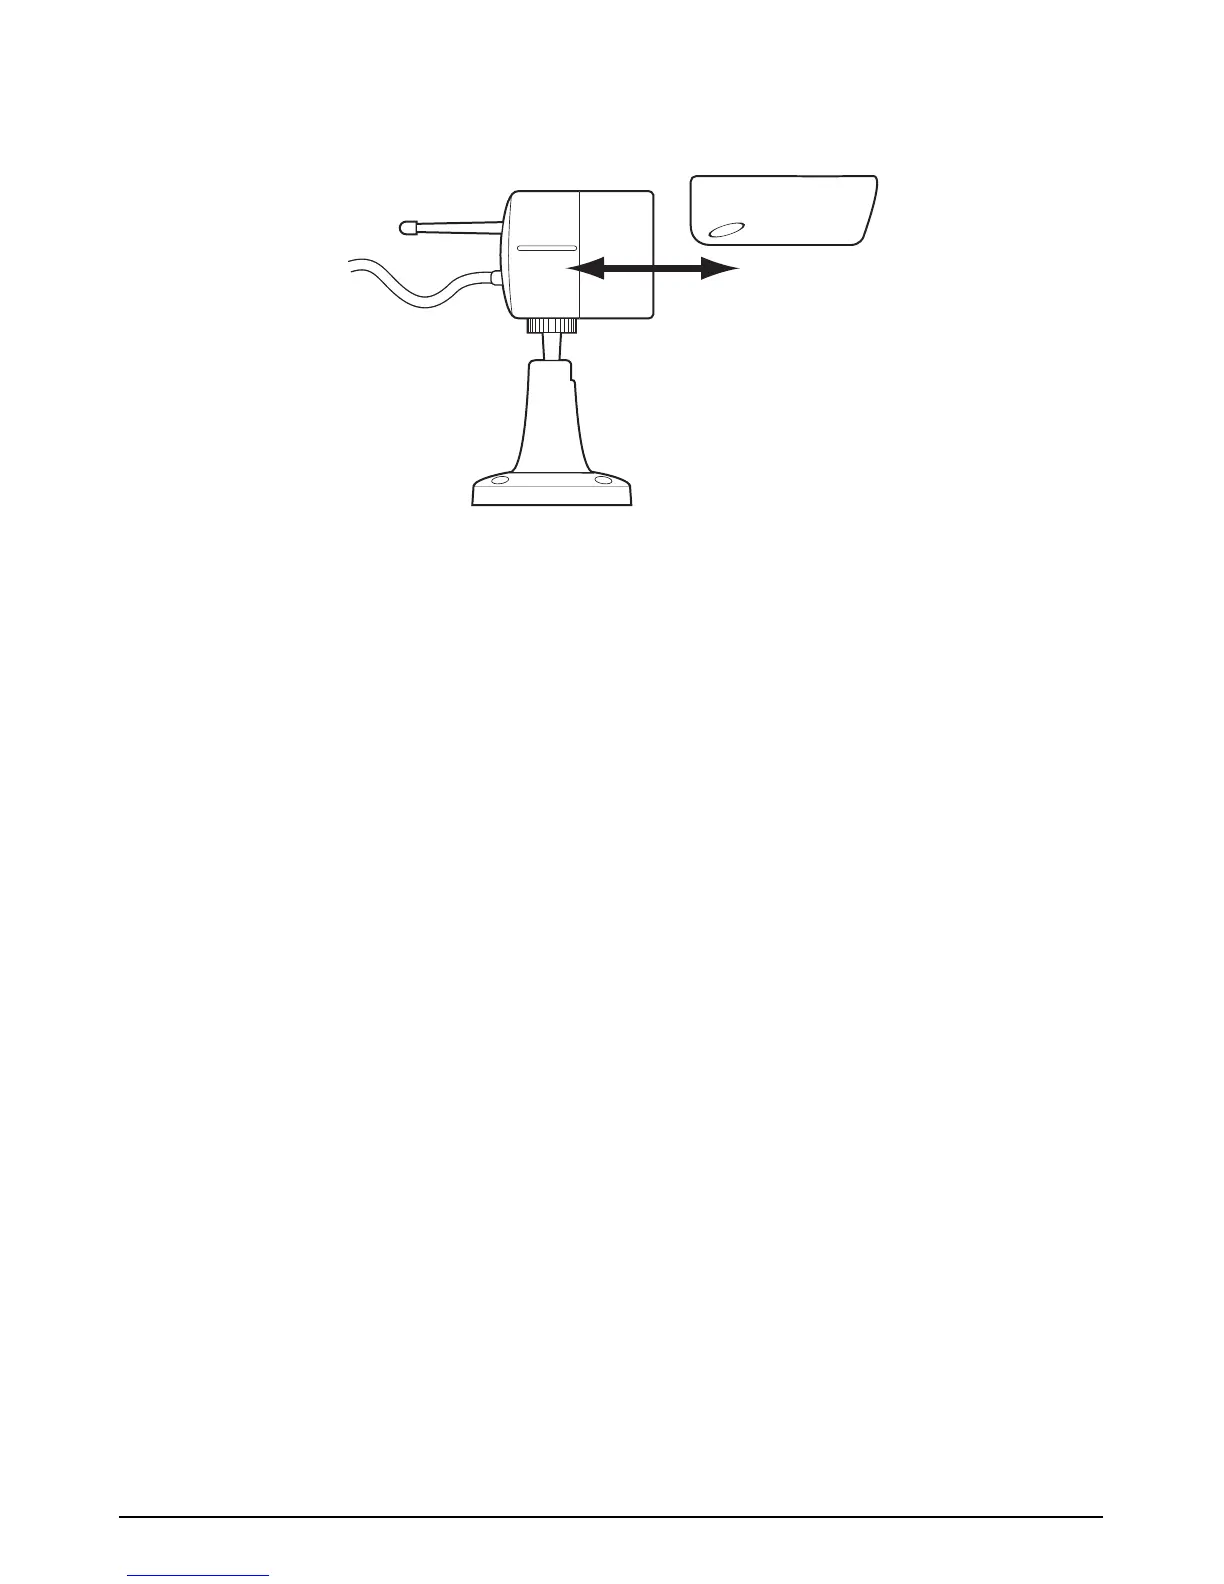
The sun shade hood can be removed from the camera body and re-attached for installation
flexibility. This is done by sliding along the body of the camera as shown.
4.3 Powering up the system
1. Insert the SD card into the DVR if not already fitted
2. Power up the camera
3. Power up and turn ON the receiver
4. Turn ON the DVR using the power switch
5. Tune your TV to auxiliary (AUX), A/V or video mode to view the camera.
(Note: Refer to your TV/VCR/DVR’s owner’s manual for setting this up).
6. Adjust the camera viewing position again if necessary.
Note: By default the camera and receiver will be set to channel 1. If poor reception is
received by the wireless camera and adjusting the orientation of the receiver’s antenna
doesn’t help, then set the camera to another unused channel. See 4.4 below.