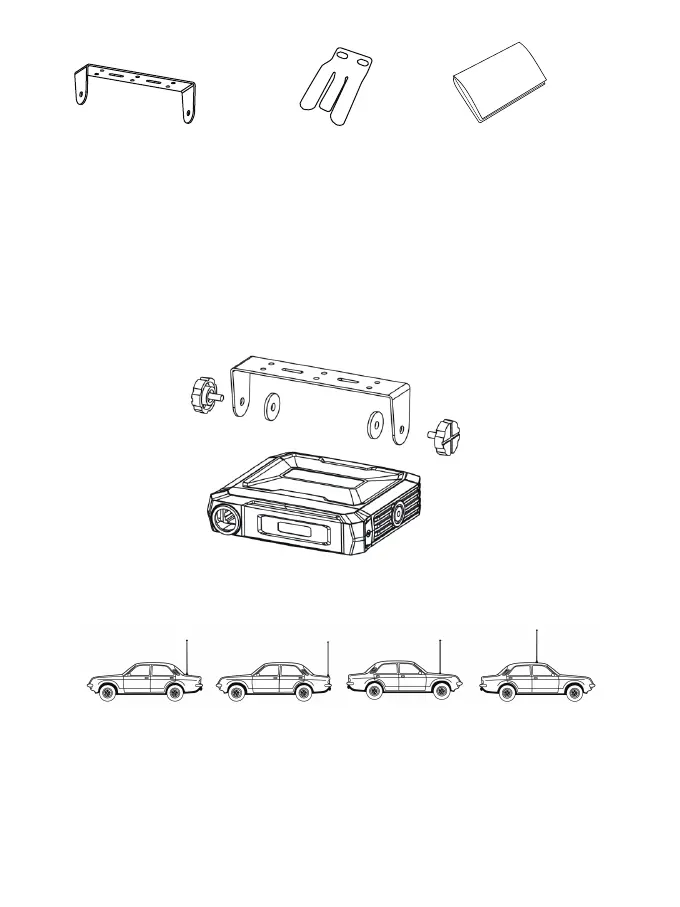
Installing Your Radio
To install the transceiver select a safe and convenient location inside your vehicle that minimizes danger to your
passengers and yourself while the vehicle is in motion. Also take into consideration the routing and length of the
lead wires and cables to the power source, antenna, and/or optional external speaker.
Installing the Mounting Bracket
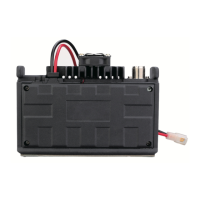
1.Using the mounting bracket as a template, mark the location of each screw hole. Use a nail or other sharp
pointed object to mark the hole locations.
2.Attach the bracket with the Phillips head sheet metal screws provided. Tighten the screws securely. DO NOT
OVER-TIGHTEN.
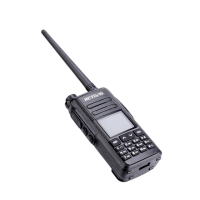
3.Slide the radio into the mounting bracket. BE SURE the mounting bracket retainers engage the slots in the
sides of the radio to prevent movement while driving.
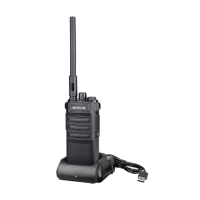
Installing the Antenna
The RA86 includes a ”magnetic mount” antenna, intended to be attached to the vehicle’s roof, trunk or similar
location. Specific installation requirements vary between vehicles. The Antenna height is 0.54 feet (16.5cm) and
the antenna cable is 16.4 feet (5 meters) long
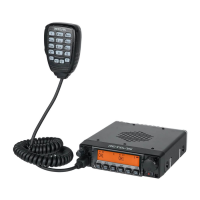
Electrical and Rear Panel Connections
The power cord supplied with the RA86 is equipped with a cigarette lighter adapter for easy installation. Simply
plug the connector into the vehicle’s cigarette lighter.
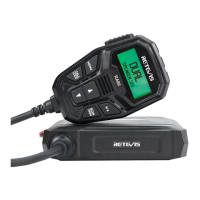
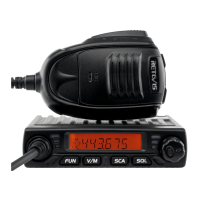
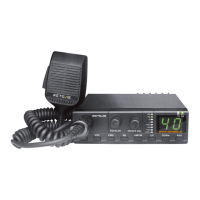
Connecting the Microphone
Insert the RJ45 connector into the front of the RA86. The microphone mounting bracket can be attached to the
vehicle dash or other convenient location in a manner similar to the radio’s mounting bracket.
Using an External Speaker
▪The RA86 provides a rear-panel jack for connection of an optional external speaker (purchased separately).
▪ When selecting an external speaker, ensure the speaker has 8-ohm impedance and is rated for 4.0 watts.
NOTE: When an external speaker is connected, the radio’s internal speaker is automatically disabled.
02
Mobile Mounting Bracket
User ManualMicrophone Bracket