EN:
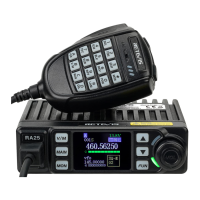
FUNCTIONS & FEATURES
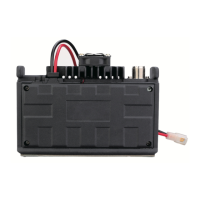
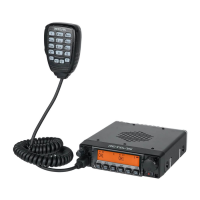
RT98 Mobile Radio has nice housing, stoutness & stability, advanced and reliable functions, perfect
& valuable. This amateur mobile radio especially designs for drivers and it pursues company
philosophy of innovation and practicality.
More functions as follows:
• There are Amateur operation mode and Professional operation mode for option.
• Adopt superior quality material, better technology and high quality radiator to ensure stable and
durable operation.
• 199 programmable memorized channels, identified by editing name.
• Various scan functions including CTCSS/DCS Scan function.
• Automatic calling Identification function by CTCSS or DCS signaling.
• Different band width per channel, 25K for wide band, 12.5K for narrow band.
• Frequency Step 2.5K, 5K, 6.25K, 10K, 12.5K, 20K, 25K, 30K, 50K
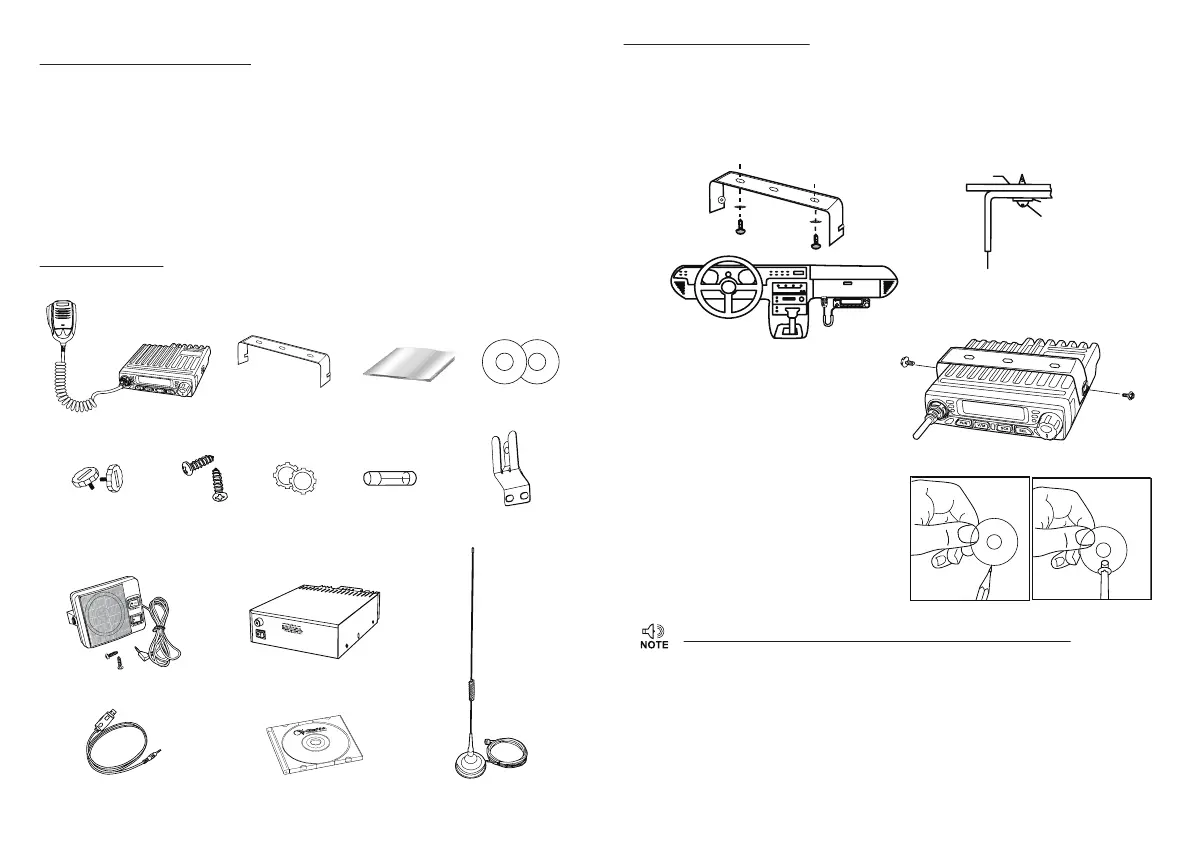
ACCESSORIES
1. Standard Accessories
2. Optional Accessories
Radio
Screws PadsAdjusting screws Microphone Hanger
User ManualInstall bracket non-slip mat
Fuse(5A 250V)
V
O
L
8 ohm Speaker Programming Software Car Antenna
PC Cable
Regulated Power
INITIAL INSTALLATION
1. Mobile Installation
To install the transceiver, select a safe, convenient location inside your vehicle that minimizes
danger to your passengers and yourself while the vehicle is in motion. Consider installing the
unit at an appropriate position so that knees or legs will not strike it during sudden braking of
your vehicle. Try to pick a well ventilated location that is shielded from direct sunlight.
1) Install the mounting bracket in the vehicle using the supplied self- tapping screws (2pcs) and
flat washers (2pcs).
2) Position the transceiver, then insert and
tighten the supplied hexagon SEMS
screws.
Double check that all screws are tightened
to prevent vehicle vibration from loosening
the bracket or transceiver.
2. Intall Microphone Hanger
1) Choose idea location and mark for screw point.
1) Fix the hanger by the srews in accessory list.
3. Power Connection
» Locate the power input connector as close to the transceiver as possible.
Mobile Operation
The vehicle battery must have a nominal rating of 12V. Never connect the transceiver to a 24V
battery. Be sure to use a 12V vehicle battery that has sufficient current capacity. If the current to
the transceiver is insufficient, the display may darken during transmission, or transmitting output
power may drop excessively.
1) Route the DC power cable supplied with the transceiver directly to the vehicle's battery termin-
als using the shortest path from the transceiver.
• We recommend you do not use the cigarette lighter socket as some cigarette lighter sockets
introduce an unacceptable voltage drop.
• The entire length of the cable must be dressed so it is isolated from heat, moisture, and the
Car body
Washer (M5)
Tapping screw
(M5x20mm)
Mounting bracket
V
O
L
1 2