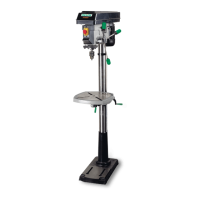
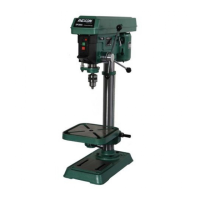
11
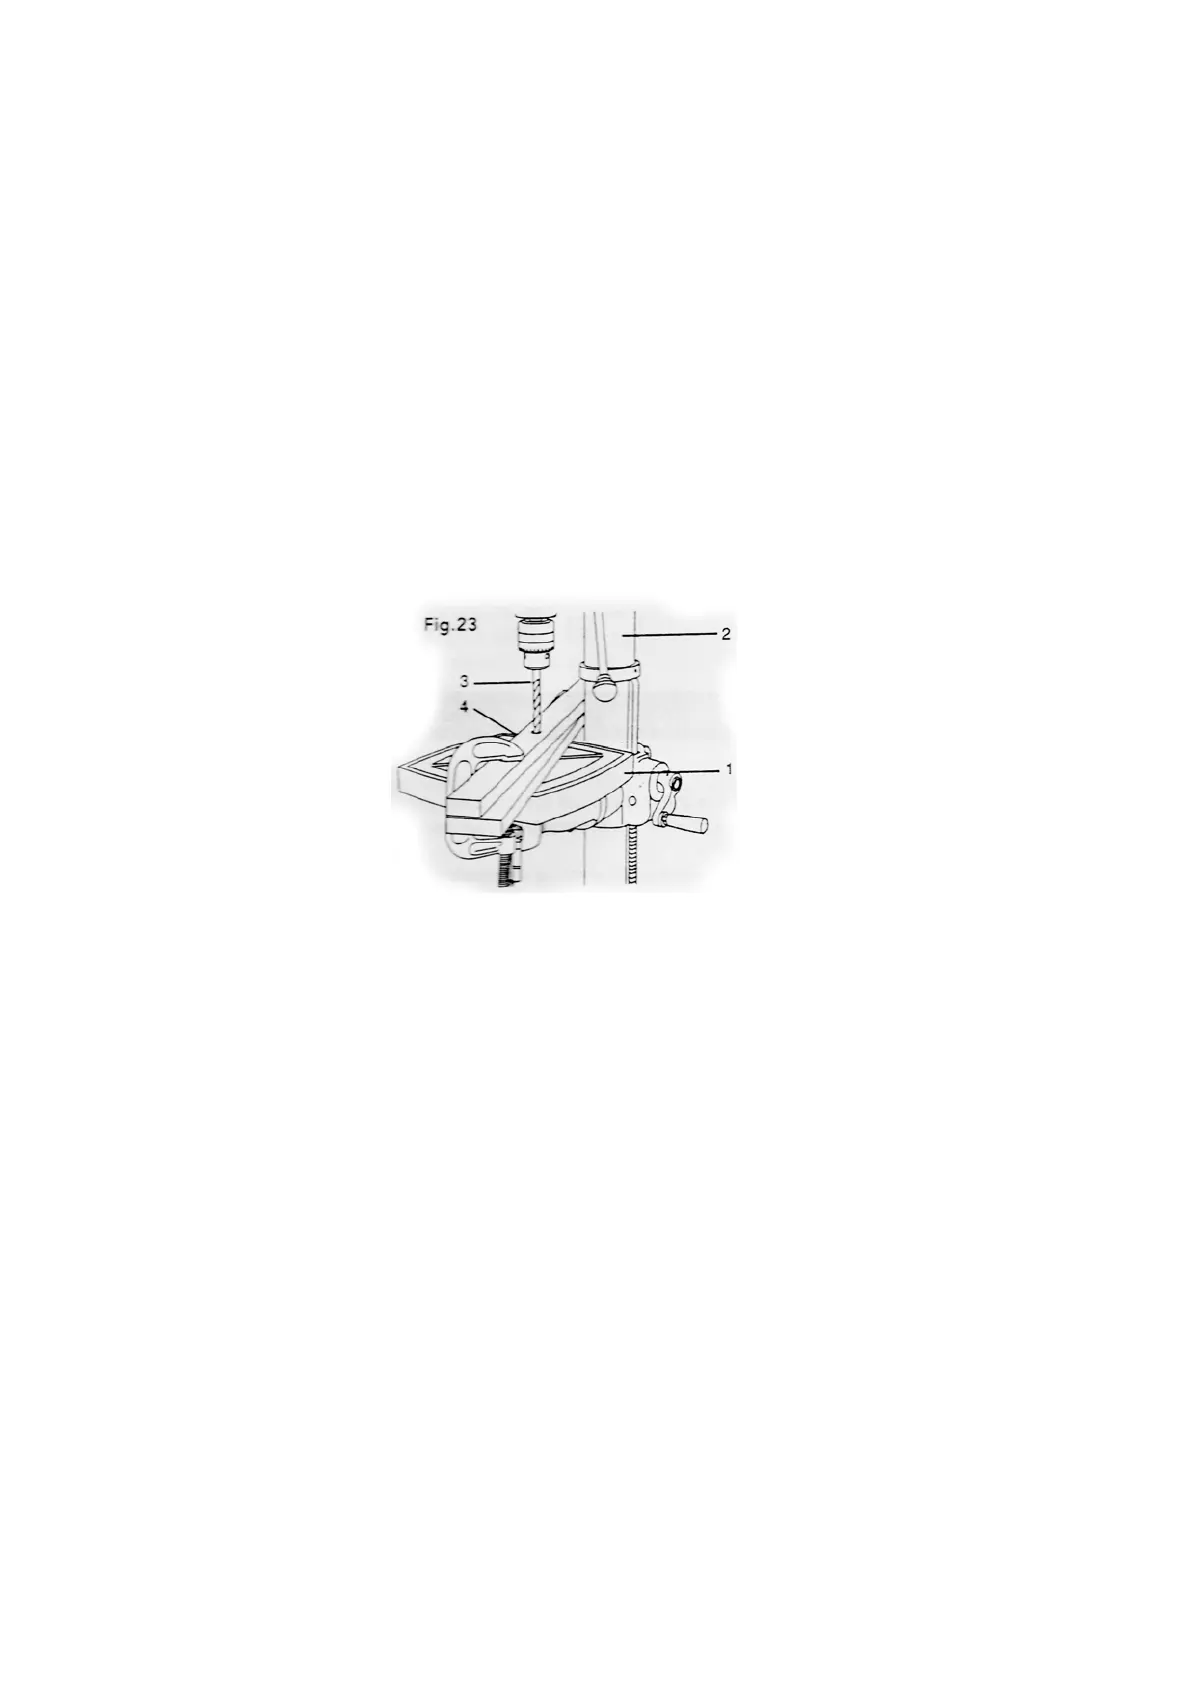
Drilling a hole(Fig. 10)
1. Use centre punch or a sharp nail to make a dent in the
workpiece where you want the hole.
2. Lock the table(1) to the column (2) at a position so the
tip of the drill bit is just above the top of the workpiece.
3. Bring the drill(3) down to the workpiece(4) to line up with
the hole location, then fix your workpiece.
4. Turn on the switch by pressing “I” (ON) button and pull
down on the feed handles with adequate effort.
Note:
1. When drilling woods, place a piece of blackup material(5)
(scrap wood) on the table underneath the workpiece. This
will prevent splintering or making a heavy burr on the
underside of the workpiece as the drill bit breaks through.
2. When drilling metal, it may be nessary to lubricate the
tip of the drill with motor oil to prevent burning the drill bit.
WARNING! Clamp workpiece against the left side of the
column to prevent rotation. IF it is too short or the table is
titled, clamp solidly to the table. For small pieces that can
not be clamped to the table, use a drill press vise(optional
aceessory).
Drilling to a specific depth
Workpiece Method(Fig. 24, 25) recommended for drilling a
specific depth which can be marked on the side of the
workpiece
1. Mark the depth of the hole on the side of the workpiece(1).
2. Turn off the drill press, bring down the drill bit(2) until the
tip is even with the mark.
3. Hold the feed handle and spin the lower nut(3) down to
contact the depth stop lug(6) on the Head.
4. Spin the upper nut(5) down and tighten against the lower
nut(3).
5. Release the feed handle and now the drill bit will be
stopped after traveling downward the distance marked.
Depth Scale Method (Fig. 25) recommended for drilling a
known depth hole
구멍 뚫기 (그림. 10)
1. 작업재의 구멍 뚫기를 원하는 위치에 펀치나 날카로운 못으로
흠집을 내 주세요.
2. 기둥(2)에 테이블을 고정시키고 드릴비트는 작업재의 윗 부분에
올려놔 주세요.
3. 드릴(3)을 작업재(4)의 구멍에 맞춰 보고 작업재를 고정시켜
주세요.
4. “I” 버튼을 눌러 스위치를 켜고 적당한 힘으로 핸들을
내려 주세요.
알림:
1. 나무를 뚫을 때, 작업재 밑 테이블 위에 보조 물체(스크랩 우드)를
놓아 주세요. 이것은 작업재의 밑부분에 쪼개짐이나 흠집을
방지하게 해 줍니다.
2. 철재를 뚫을 때, 드릴비트에 흠집이 나는 것을 방지하기 위해
모터오일로 드릴의 팁에 윤활을 해 주는 것이 좋습니다.
주의! 회전을 예방하기 위해 기둥의 왼쪽 측면 맞은편의 작업재를
고정을 하세요. 만약 너무 작거나 테이블이 기울어져 있을 경우,
테이블을 단단히 고정해 주세요. 작은 작업재는 테이블에서 클램핑
할 수 없으니, 드릴프레스 바이스(별도 악세사리)를 사용하세요.
세심한 깊이를 위한 드릴링
작업재의 측면에 뚫을 위치를 표시하여 작업(그림. 24, 25)하시길
권장합니다.
1. 작업재(1)의 측면에 뚫을 깊이를 표시해 주세요.
2. 드릴프레스를 끄고, 드릴 비트(2)를 표시 부분까지 내려 주세요.
3. 피드 핸들을 잡고 로어 너트(3)를 아래 너트(3)가 머리의 깊이
멈춤 러그(6)에 닿을 때까지 돌려 주세요.
4. 윗 너트(5)를 아래로 돌리고 아래 너트(3) 반대편으로 잠궈
주세요.
5. 피드 핸들을 풀어 주면 드릴비트는 표시된 거리에서 멈출 것입니다.
깊이 스케일(그림. 25)은 깊이 구멍으로 드릴링 하는 것을 추천합니다.
 Loading...