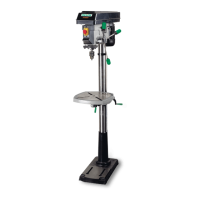
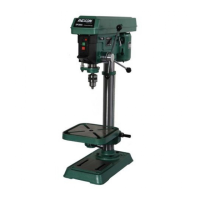
8
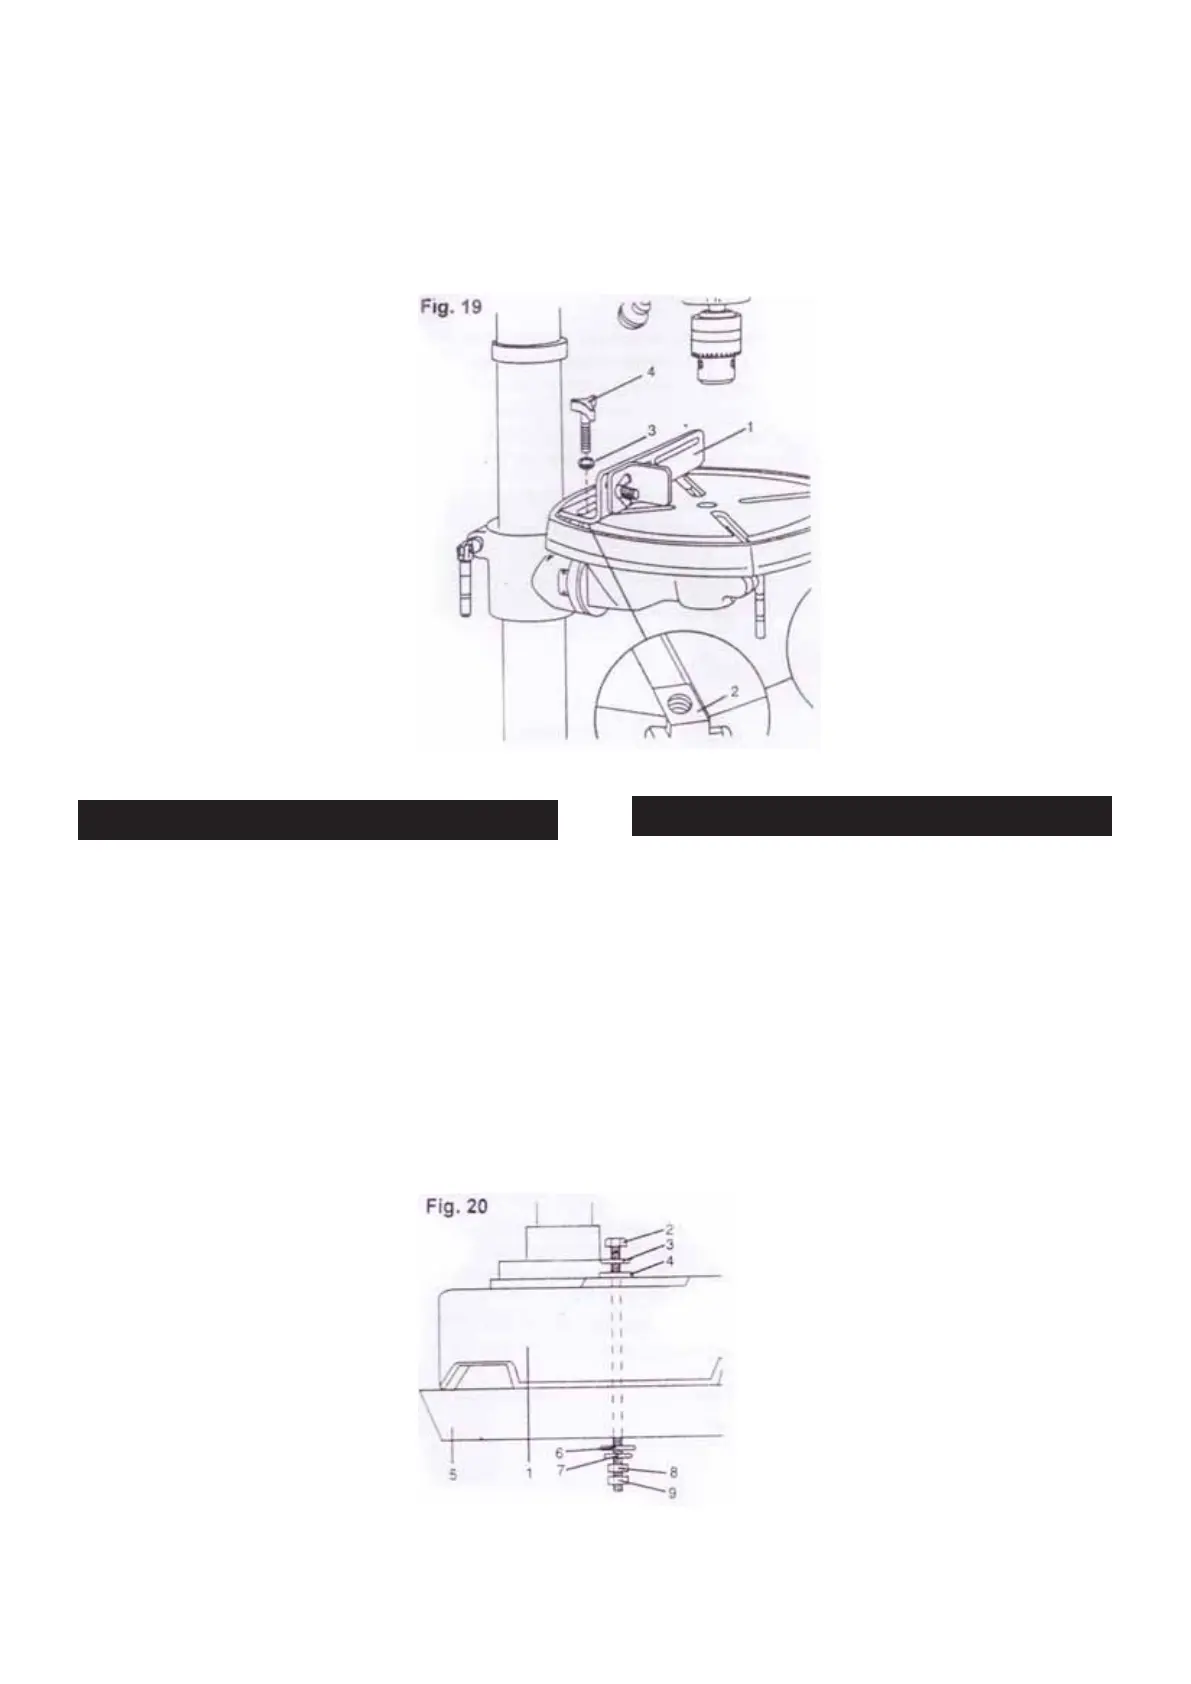
FOR THE TABLE WITH OIL CHANNELS (Fig. 19)
1. Determine the desired location for the fence (1). Slide the
T-blocks (2) into the appropriate channels as shown.
2. Align the mounting holes of the fence over the T-block’s
threaded holes.
3. Place a washer (3) on the threaded end of the knob(4).
Insert the knob through the mounting hole of the fence into
the T-block, and tighten.
4. Repeat for the other knob and T-block.
MOUNTING THE TOOLS(FIG. 20)
Note:
We highly recommend that bolt this drill press securely to
a work bench to gain maximum stability for your machine.
1. Using the base of the drill press as a template mark the
bench throught the holes in the casting and drill the bench
ZLWKDĭPPGULOOELW
2. Bolt the drill press on the bench with bolts, washes, and
nuts. Note that there fasteners are not supplied with the
machine. The hardware used in the illustration are:
(1) Drill press base (2) Bolt (3) Flat washer (4) Rubber washer
(5) Work surface (6) Flat washer (7) Lock washer (8) Hex nut
(9) Jam nut.
테이블과 오일 채널(그림. 19)
1. 휀스(1)를 어디에 놓을지 결정하세요. T-블록(2)을
그림에서 보는 것처럼 적절한 위치에 놓으세요.
2. 휀스의 고정 구멍과 T-블록의 통과 구멍을 정열하세요.
3. 와샤(3)를 손잡이(4)의 끝에 통과해서 놓아주세요.
T-블록의 휀스의 고정 구멍을 통해서 손잡이를 넣고,
조이세요.
4. 다른 손잡이와 T-블록을 반복하세요.
공구의 고정(그림.20)
알림
기계에 최대의 안정성을 얻기 위해서 작업 벤치에
드릴프레스를 안정적으로 볼트체결하는 것을 권장합니다.
1. ĭPP드릴 비트로 작업 벤치에 드릴프레스 베이스의
주물 구멍을 통과해서 구멍을 내 주세요.
2. 볼트, 와샤, 너트를 가지고 벤치 위 드릴프레스에 볼트를
체결하세요. 볼트 등은 기계에 함께 제공되지 않습니다.
아래 부품은 그림에서 표현되어 있습니다.
(1)드릴프레스 베이스 (2)볼트 (3)플랫 와샤 (4)러버 와샤
(5)작업 표면 (6)플랫 와샤 (7)고정 와샤 (8)육각 너트
(9)잼 너트
 Loading...