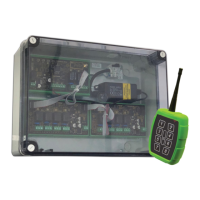
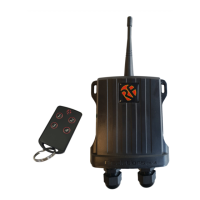
Professional Radio Control
DS-PROTRAP-4
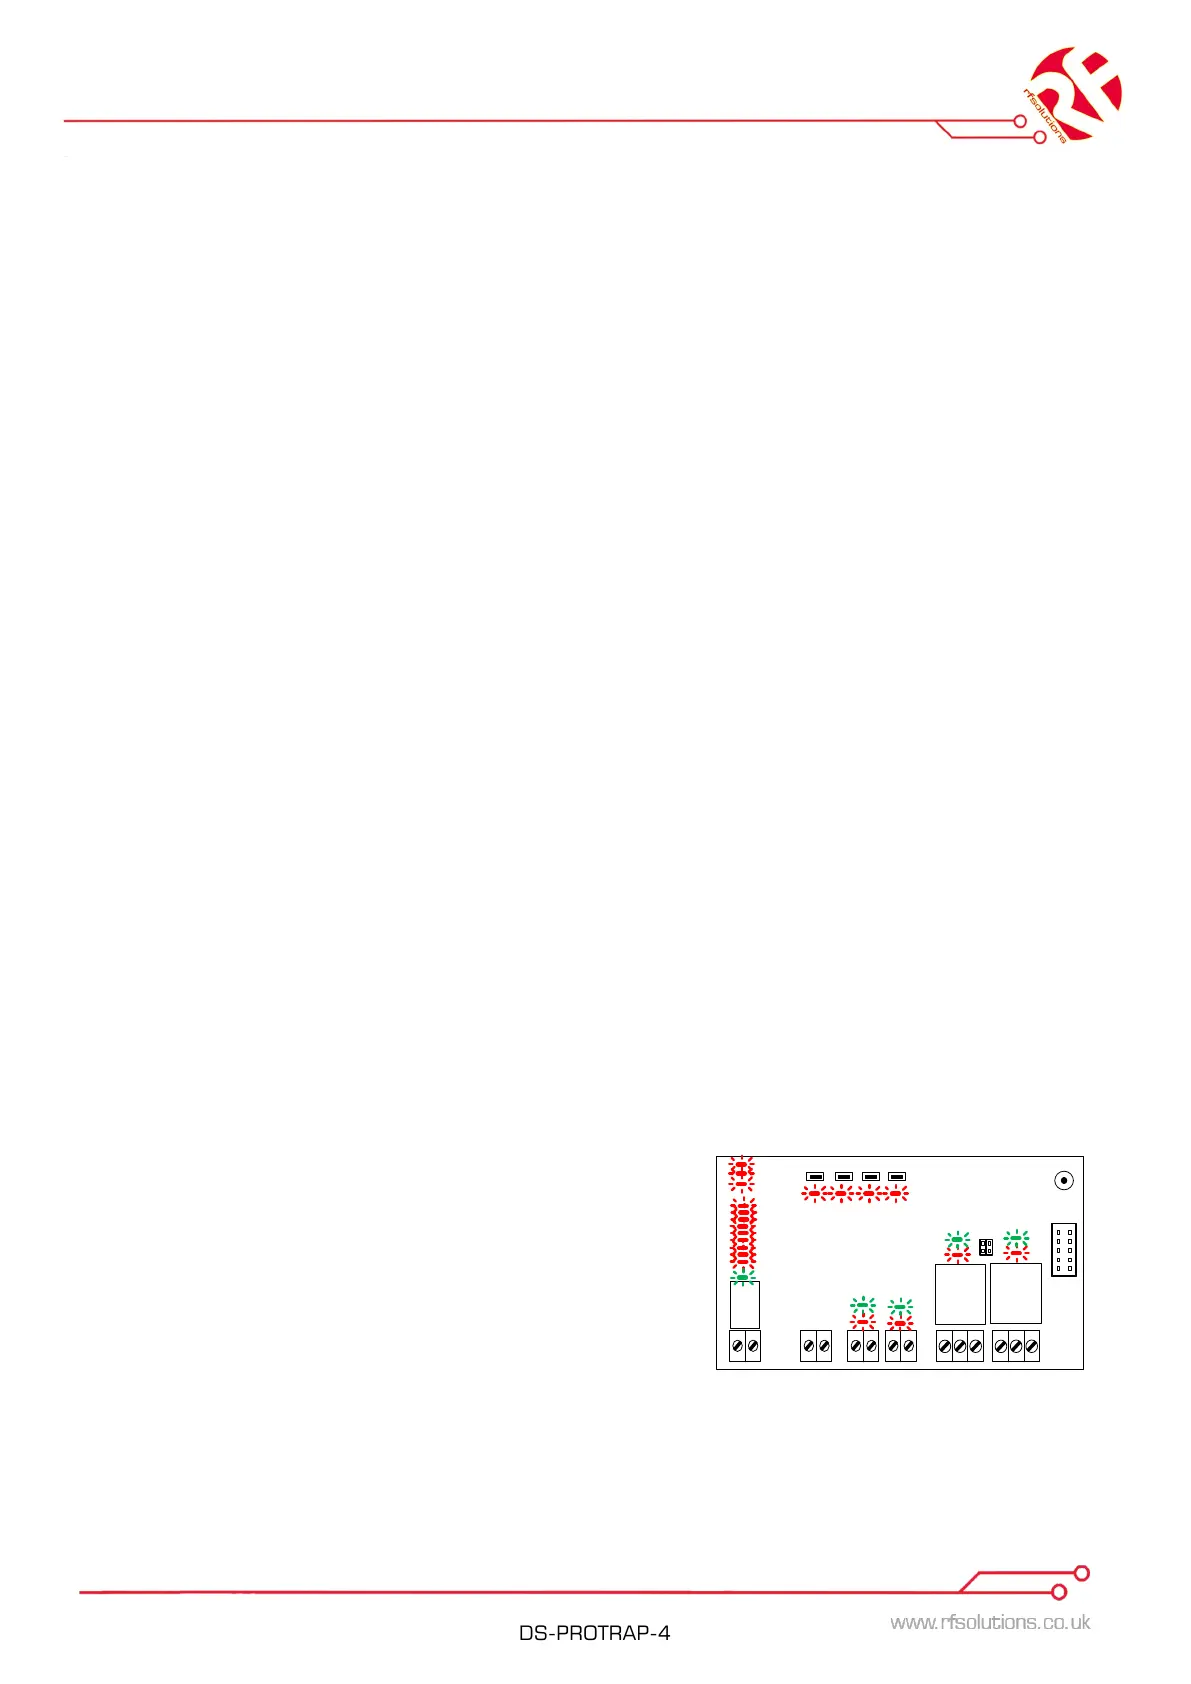
Pairing
Factory Default Status
In Factory Default Input/Output LEDs flash Red/Green alternately
To AUTO-PAIR
1. Press and release the PAIR button on the 725TRX Receiver.
2. The pair and all relay output LED’s will flash on the 725TRX.
3. Activate ANY input on hand held transmitter.
4. All flashing LEDs on 725TRX relays will go out. The PAIR LED will flash quickly for 2
seconds.
5. Pairing Complete
To PAIR a button Manually to an Output 2
1. Press and release the PAIR button on the 725TRX B to enter Pairing mode. Press and
release the PAIR button to cycle through LED’s until only the LED above Relay 2 is
Flashing.
2. Press the button on the hand held transmitter you wish to pair to relay 2 .
3. All flashing LEDs on 725TRX relays will go out, the PAIR LED will flash quickly for 2
seconds.
4. Pairing Complete.
Please Note: Manual pair will not work when auto pair has been used.
The 725TRX may be reset to Factory default at any time by pressing the PAIR button for 15
seconds.
Erasing Everything (reset to Factory Default):
1. Apply power
2. Press and hold the PAIR button for 15 seconds, the PAIR LED will flash slow then fast.
3. Release the PAIR button.
4. 725-TRX is now reset to Factory Default
ERASE Individual Transmitters:
1. Apply power
2. Press and hold the PAIR button for 10 seconds, the
PAIR LED will flash slow as soon as this happens
release the PAIR button.
3. Press any button on the transmitter to be erased.
4. The 725-TRX will exit to normal operating mode and the transmitter will be erased.
 Loading...