9
Place the LP gas tank 56 inches (142.2 cm) away from the fireplace
and position the hose away from pathways or places where it could become damaged.
Watch your step while moving between the tank and the fireplace. Be careful not to
trip on the hose.
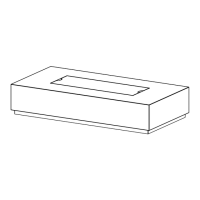
If the table is installed with a portion of the hose under the table, the
hose must be secured, so that no part of the hose will be within 1” or come in contact
with the underside of the burn pan or where the hose will not be accidentally
damaged or pinched.
Failure to secure the hose in a safe location may result in a gas leak that could cause
property damage, injury, or death. Follow all other hose inspection instructions listed
in this manual.
ASSEMBLY INSTRUCTIONS CONTINUED
Coil near a corner that is
adjacent from the valve.
Valve
Do not coil the hose
beneath the valve.
1”
The hose should not
come within 1” from
the bottom of the
burn pan.
56”
56”
3. Place the tank seat on the ground and place a 20 lb LP gas tank into the designated area in
the center. Once the tank is level and steady, tighten down the screw on the side of the
tank seat to secure the tank in place.
4. CONNECT THE LP GAS TANK
Before connection, be sure there is no debris caught in the collar of the LP gas tank, the
regulator valve, the burner tube, or the burner ports.
Connect the gas line to the tank by turning the connection knob clockwise. Hand-tighten only.
DISCONNECT THE LP GAS TANK
To disconnect the LP gas tank, make sure the valve on the LP gas tank is completely closed.
Disconnect the connection knob by turning it counterclockwise until it is detached from the valve.
!
WARNING
!
WARNING
Orizaba Liquid Propane Fire Tables