Do you have a question about the Rhino-Rack RBLW and is the answer not in the manual?
Mark the balance point on the boat side adjacent to the roller.
Measure and mark positions for front eye nuts based on boat dimensions.
Instructions for positioning and drilling for transom eye nuts.
Deburr holes, apply sealant, and assemble eye nuts to the boat.
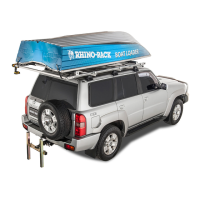
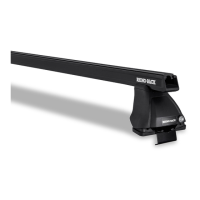
Fit roof racks and position longitudinal bars on the vehicle.
Position longitudinal bars on crossbars with hook section outward.
Ensure parallel alignment and tighten top hat brackets for longitudinal bars.
Slide channel nuts and screw in rope guide pegs between crossbars.
Assemble winch and Z bracket, position on passenger side longitudinal bar.
Slide power roller Z bracket onto driver side longitudinal bar, inline with winch.
Mark roller ends for cutting and align with roller bushes.
Slide eyebolts into longitudinal bars and tighten with channel nuts.
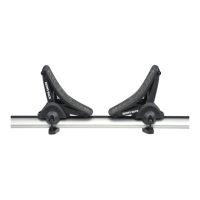
Assemble and fit pivot roller brackets to longitudinal bars at specified distances.
Fit Z brackets for the front roller with smaller spigot diameter at specified distances.
Mark and cut front roller, assemble sleeves and rubber rings, and fit to Z brackets.
Position front crossbar against front roller and middle crossbar between front/rear.
Cut and splice rope for transom tie-down lines, equal to transom to balance point plus 1000 mm.
Cut and splice rope for sliding lines, equal to balance point to front eyebolt plus 500mm.
Tape rope onto power roller, leaving 150mm for winding.
Thread winch lines through sliding line rings, power roller, and pivot roller.
Ensure sliding lines are positioned between the pivot roller and power roller.
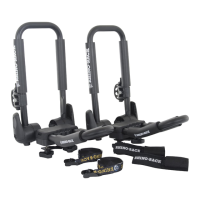
Position boat transom and clip tie-down lines to transom eye nuts.
Clip winch lines to front eye nuts and splice snap hooks and rings.
Turn winch clockwise, tensioning lines to raise the boat.
Check sliding lines are not taut and adjust as needed during winching.
Disengage winch, turn anti-clockwise to move boat off the loader.
| Brand | Rhino-Rack |
|---|---|
| Model | RBLW |
| Category | Automobile Accessories |
| Language | English |