Ricoh 500 Owner’s Manual Page 5 of 14
6 Then wipe off any particles of dust or finger marks on the
film pressure plate with a soft brush or piece of gauze. When
you have done this, put on the cover gently and firmly, taking
good care that the film pressure plate does not get caught on
the edge of the film, and turn the back cover locking discs in
the direction indicated by black arrow, so that the black
marks come in line with C.
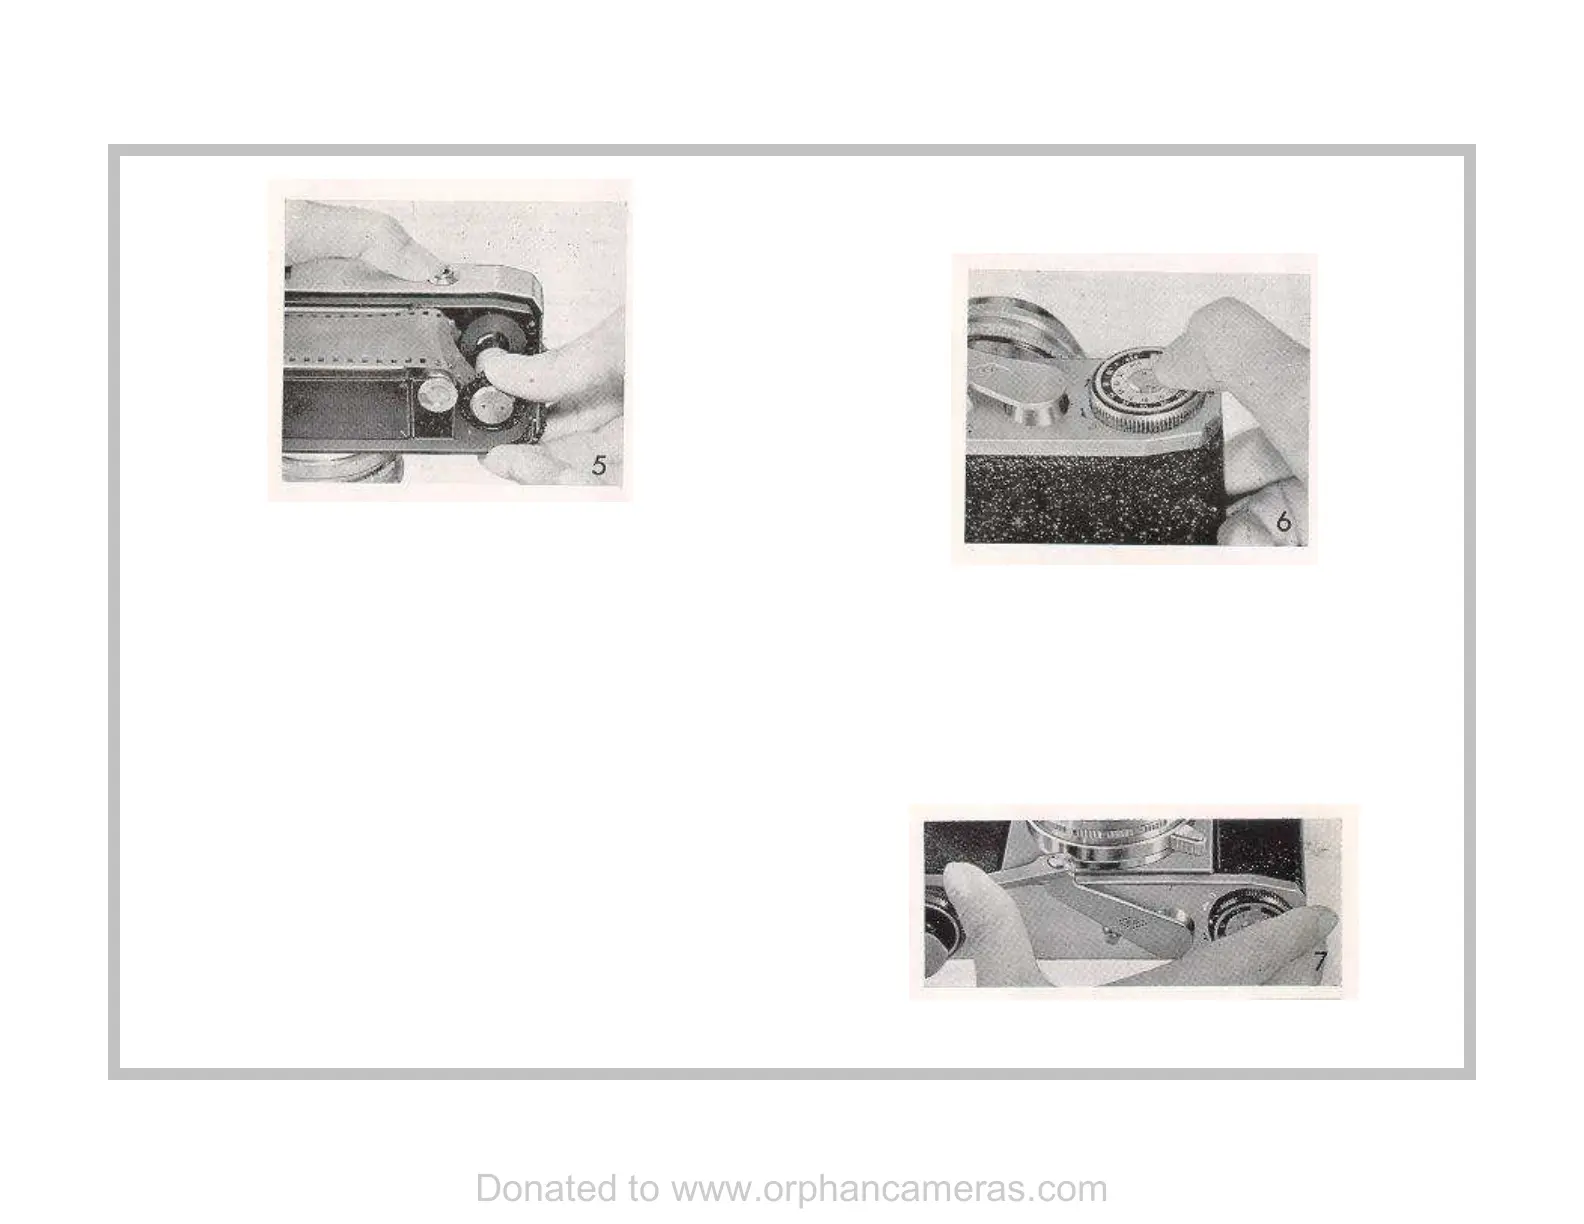
7 At the bottom of the camera, and on one of the back cover
locking discs, you will find your film type indicator with ASA
and DIN numbers. These numbers stand for degrees of
sensitiveness of films to light, so that when the figure is high,
less exposure of faster shutter speeds are required, while in
case of a film with a low sensitivity the figure is also low, so
that greater exposure or slower shutter speeds become
necessary. This exposure index is indicated on the packet in
which your film is sold and probably in the Directions printed
and enclosed in the packet. Bring either ASA or DIN number
of your film in line with the black mark by turning the dial with
the tip of your nail on the tiny metal catch. This is done so
that you might remember what the film speed is, a matter of
utmost importance when taking pictures. When the camera
is empty, bring the catch (where there is no number) in line
with the black mark. (See Figure 6.)
8 Bring out the triggermatic-action lever. (See Figure 7 ) You
will note that the film counter shows "S" (Start). (See Figure
8.) Release the shutter, or at least press the button to ensure
that it is released, and turn the triggermatic-action lever with
your left index or middle finger as far as it will go to the left.
This advances the film by one frame and cocks the shutter at
the same time. If the lever will not advance never force it;
because it means the shutter has not been released.
Donated to www.orphancameras.com
 Loading...